


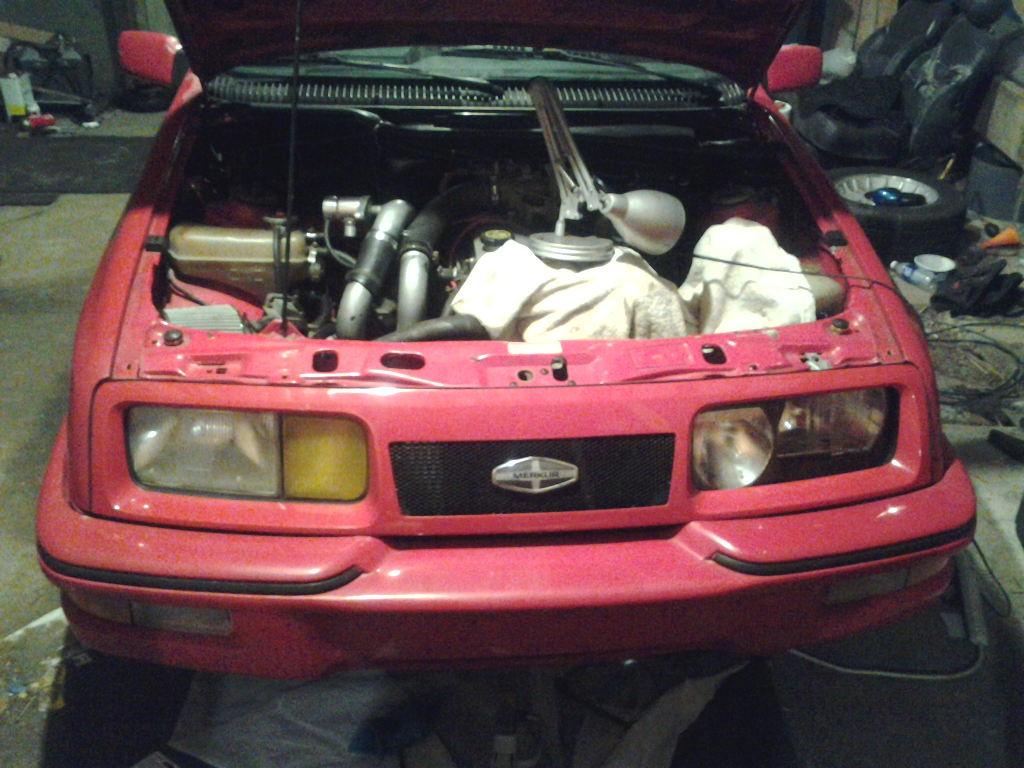
Been a while since updating.
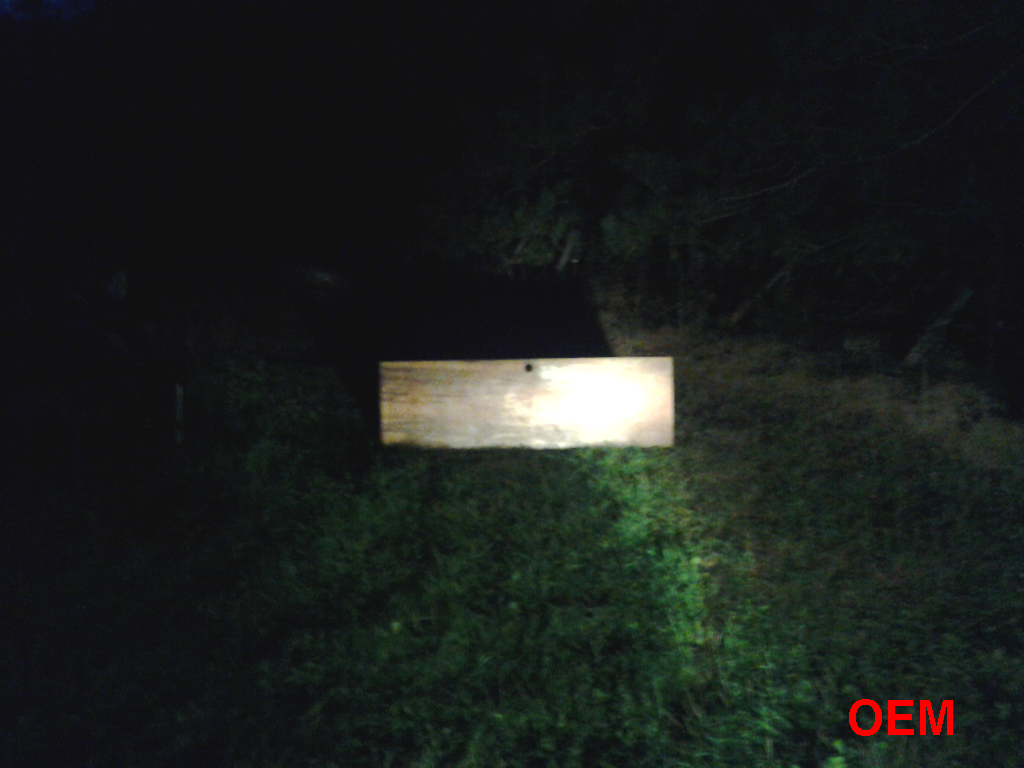
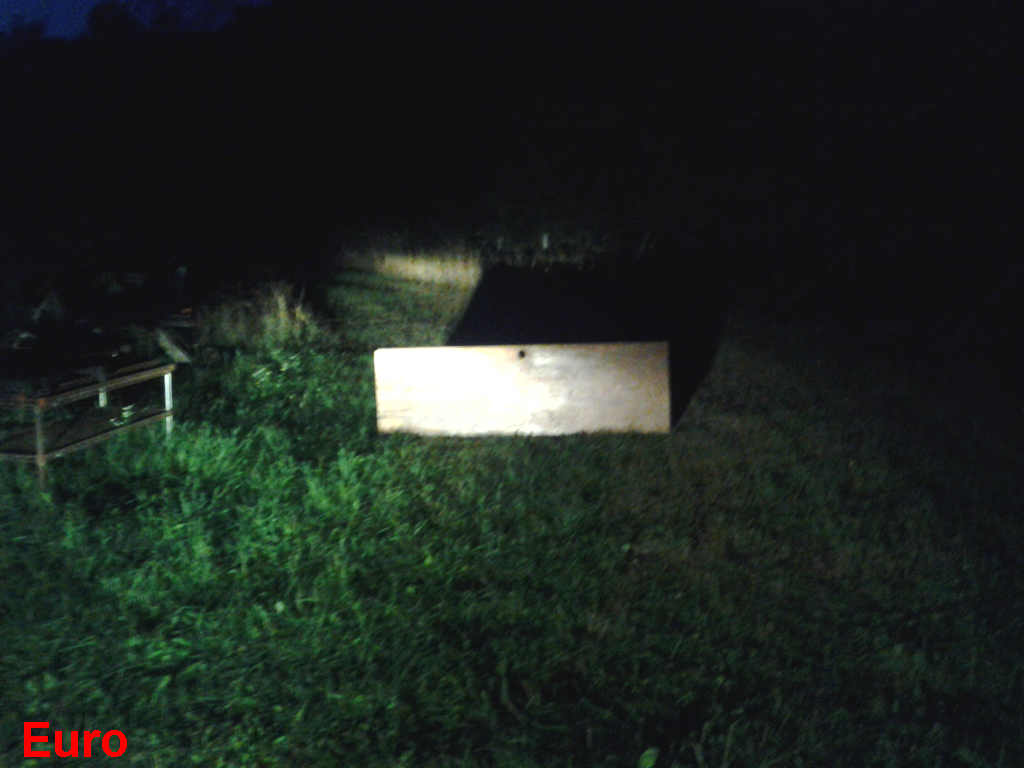
Headlights are really bad, driving at night with a desktop monitor mounted to the bumper would put out more light. Tried wet sanding them, but with a set of Euros on the side I just as soon replace them.
Based off This Write Up [Read First]:
http://www.merkurencyclopedia.com/Exter ... dlamp.html
In all honesty, you could fold the bulk head back and use that as a bracket, however drilling a hole in the right spot is quite difficult on the flimsy metal within the engine bay. You could do it with a scrap 2x4 as a back support, but I like the workability of the write up.
Bolts/Nuts needed per headlight:
3* 1/4x20x1/2"
2*1/4x20 U-Nut
1*M6x1.00x12
2*Sheet Metal Screws
Materials per headlight:
Cereal Box [any thin cardboard]
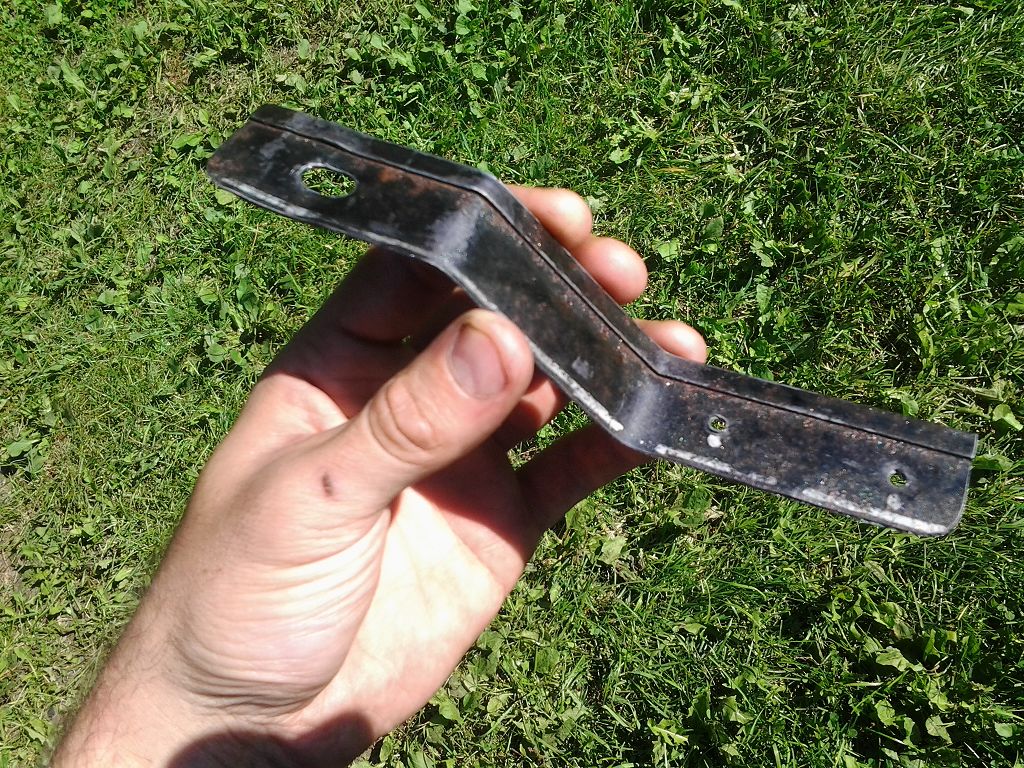
Junk 1/16" sheet metal [1.25"x7"]
Rattle Can Paint [I use a Rust Converter Primer, clear on paint and a good rust preventer]
Tools:
Tape Measure
Marker [Silver showed up the best on the black scrap grill i was using]
Duct Tape
Drop Cloth [for inside engine bay]
Bench Vice [two pieces of 2x4 with your knee works just as good]
Drill with bits for Screws
Rasp/File
Way to cut spot welds [Not required, Vice Grips work good but take a lot more time to do]
Screw Driver [and wrench] for Screws
Angle Grinder with cut & grinding wheel
Vice Grips
11mm socket [deepwell]
Extension for said socket
10mm wrench
11mm wrench
Hammer [The Clarkson =P]
Unless your looking at using the side of the bulk head as a bracket, follow the write up provided above. This is mostly to cover it in more detail.
The marker light bolts get seized up and just spin in the plastic housing, this is a 10mm head. You can try to pinch it in the housing and/or try to WD-40 the nut, but usually the plastic is so brittle it breaks off.
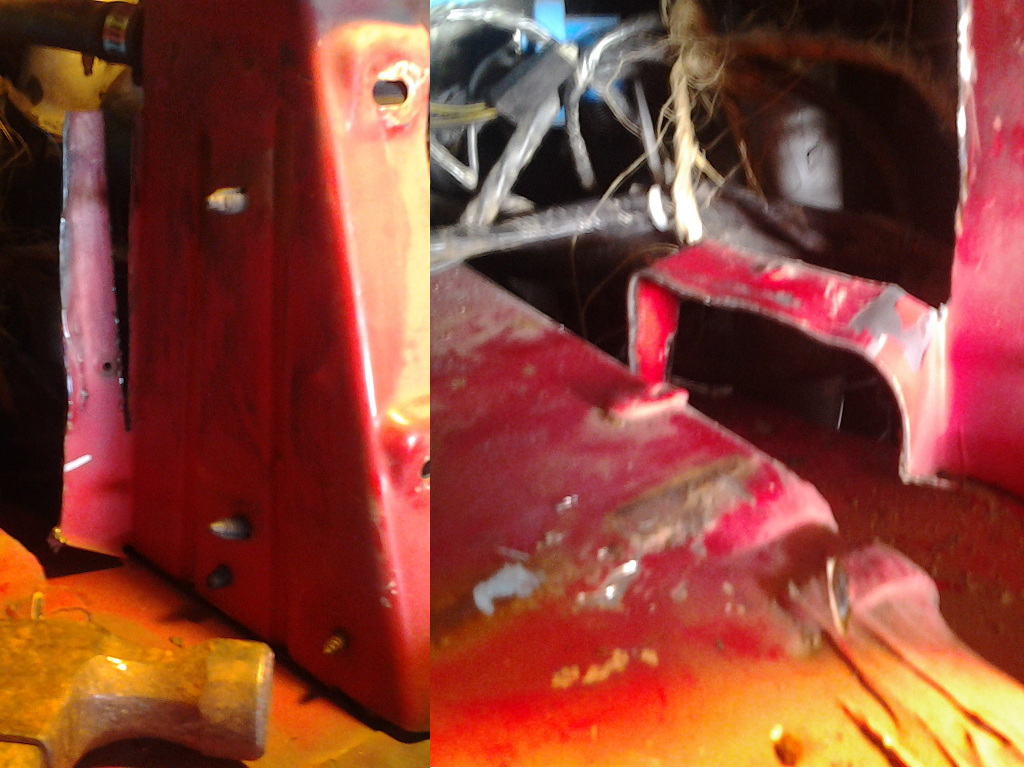
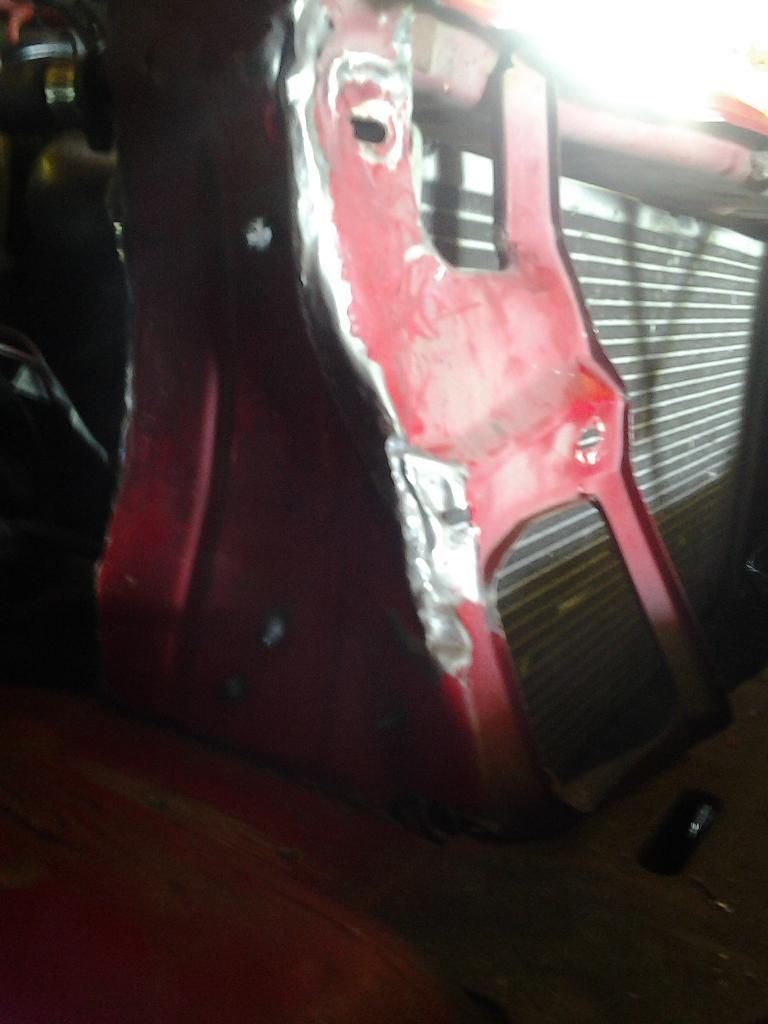
If you don't have a spot weld remover, take a flat screw driver and pry the edge of the bulk head up. Take the cutting wheel and carefully section off the welds to its own piece and use the vice grips to wiggle break the pieces off [sometimes they break off clean, other times they leave a weld hole].
When 'modifying' the core support, swing from the centerline of the car. This will roll the corner of the metal toward the light, it will look better.
Use the cardboard to make a template, mark the fold lines. Use this to help cut and bend the sheet metal to general shape later on.
The extra 0.25" on the sheet metal is used to reinforce the bracket BEFORE BENDING TO SHAPE. Keep in mind which way to fold this over before bending the shape. Fold should be on the side closest to radiator and on the upper side, so as to not obstruct the sheet metal screw mounting surface. Drill the sheet metal screw holes, make sure the bit is slightly undersized so the screw can thread.
Can't stress this enough, TEST FIT IS ESSENTIAL. To get the bracket mounted in the right spot [and bent to the right height], duct tape the bracket into place to make sure the general location is right. Drill through the duct tape through the bracket holes [hold bracket down with hand]. Remove the bracket and duct tape to finish/tap the holes. Install the bracket with the screws, temporarily, to mark the hole for the headlight. Make sure the hole is big enough for the U-nut & screw.
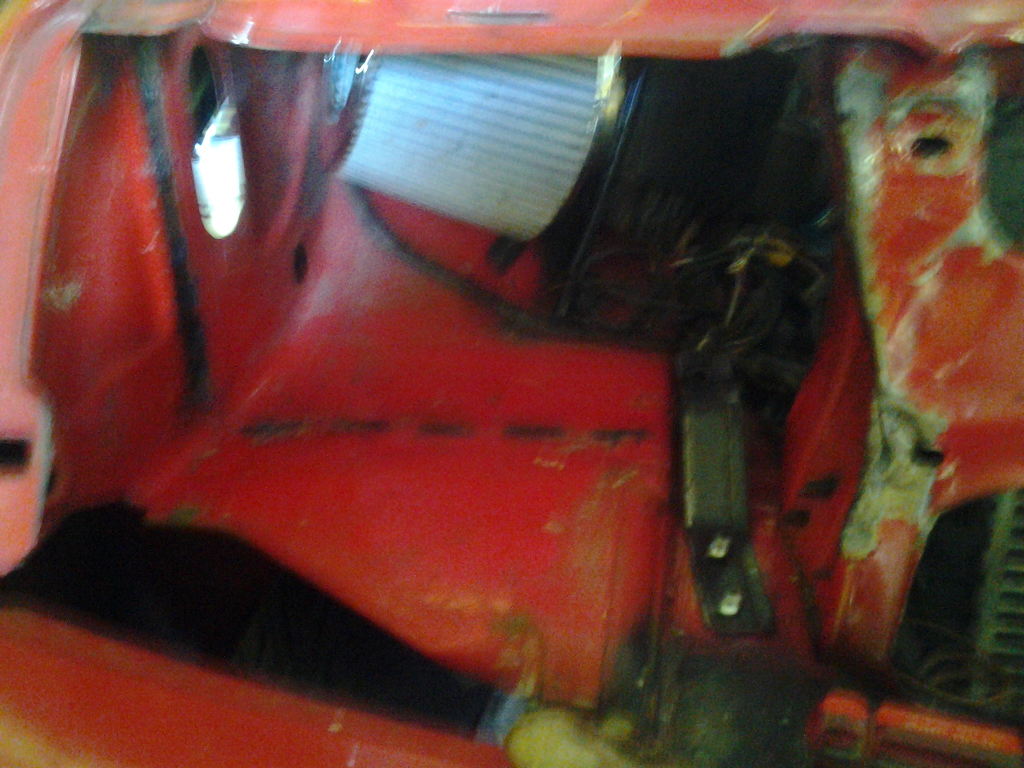
Clean up edges and spot welds for paint. Use a newspaper on the backside of bulkhead radiator edge to minimize overspray.
Euros Maintenance
These lights are getting up there in age, so they may need some work. The headlight is quite common to come off a pivot, tilit the light and if there's any movement inside it needs work. The fact you can work on these lights is one of the things that make them great. There are three knobs: Driving light, Horizontal head, Vertical head. Driver right light pictured.
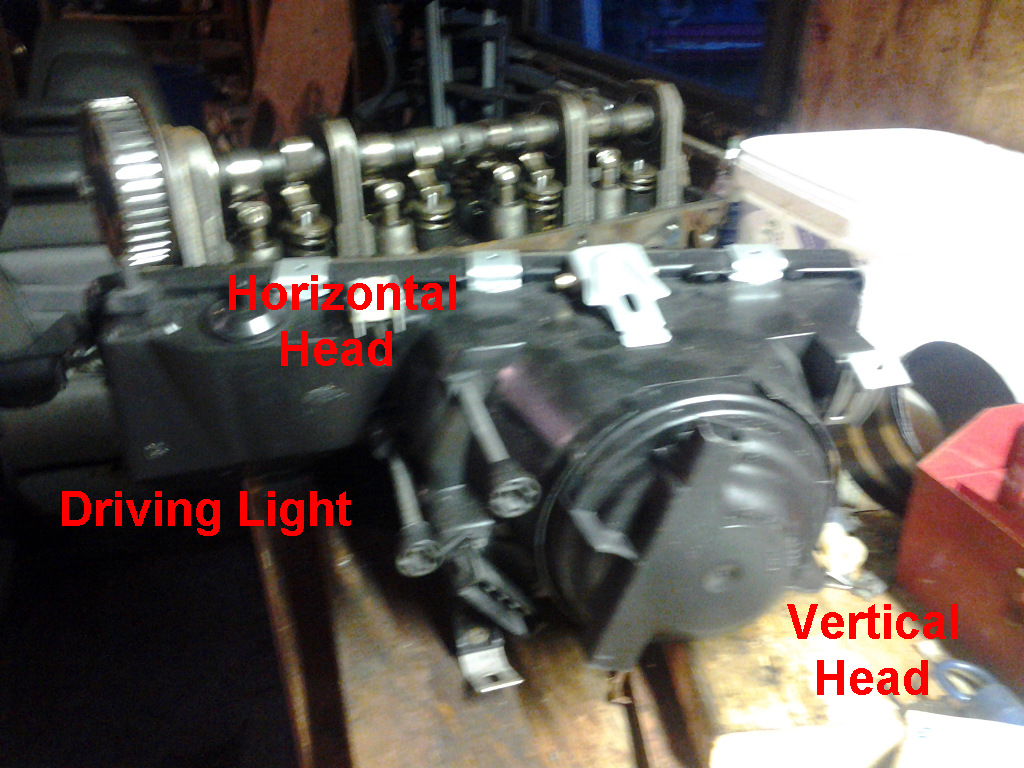
You should be able to turn these knobs with ONLY THREE FINGERS, so with ease. The Vertical head knob most commonly seizes. Twist the attachment knob and slightly pull it out [if it's off the head, best to do this beforehand but not necessary].
Use a pair of needle nose pliers, vice grips, etc to hold the plastic rod.
Spray some WD-40 [penetration fluid] into the backside of the cap above the rod [half second spray should do it].
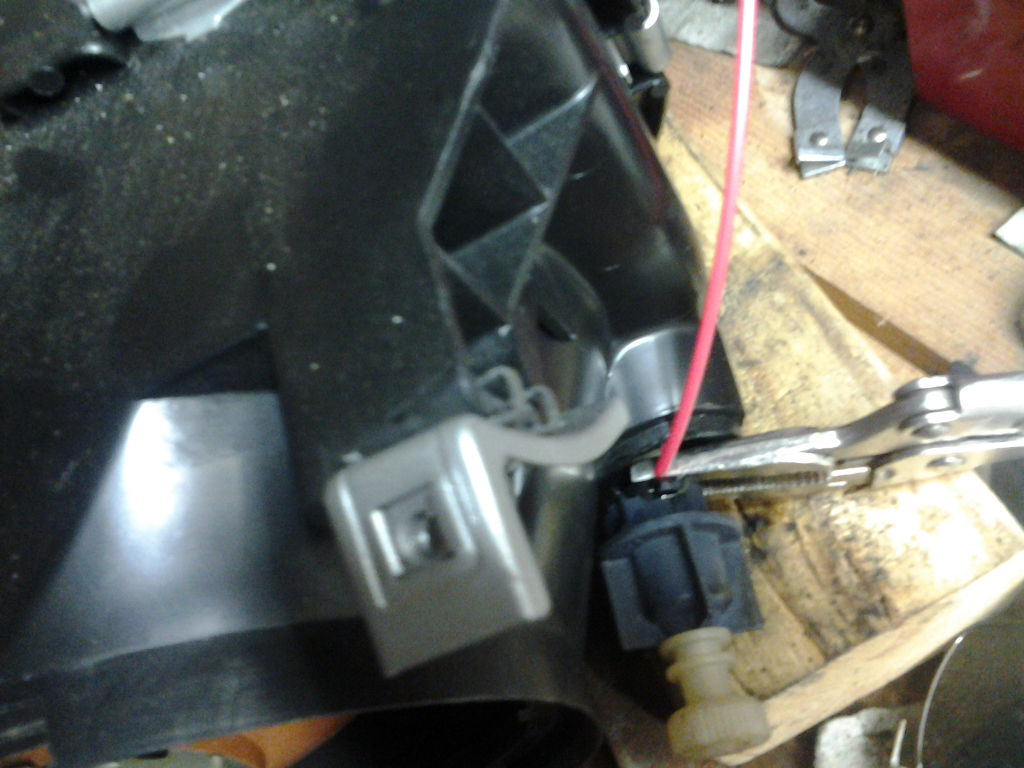
While holding the rod with the needle nose, turn the knob counter clockwise off the rod. Put some anti-seize on the threads, so this doesn't happen again. Rethread/reinstall.