My Build Thread: Project "Rain Cloud"

Documenting your big project with photos/videos? Have photos/videos to share of anything Merkur related? Place your links to photos and videos here. Please - Merkurs and Merkur-related pictures only. Cosworths welcome!!
Carlisle and event related pictures are to be placed in the relevant section under 'Events'.
Post Reply
Merkur Club web site
hEaT
Level 7
Level 7
Posts: 3880
Joined: Mon May 07, 2007 10:12 pm
Location: USA

Re: My Build Thread: Project "Rain Cloud"

Post by hEaT »

andrew626 wrote:nice merkur man. question for you where are you finding all the parts to mod it? Im thinking of buying one and im having a hard time looking for aftermarket parts.
Thanks.

Which parts specifically? A few are off-the-shelf parts like the suspension (http://www.mc2racing.com) and the intake manifold (www.40bob.com). A lot of the other parts were fabricated by myself or members here.
hEaT
Level 7
Level 7
Posts: 3880
Joined: Mon May 07, 2007 10:12 pm
Location: USA

Re: My Build Thread: Project "Rain Cloud"

Post by hEaT »

No real updates, just driving the car and having a blast.

2 events ago, other runs are somewhere on my buddy's computer he still hasn't uploaded. This was the most entertaining. Best run of the day for me until I got a bit excited and went too deep into the corner at the bottom of the hill and then planted my angry foot the rest of the run. NSFW language.

http://www.youtube.com/watch?v=BwMkTL64J7s

Event this past weekend was the second time CART has run at Mohegan Sun, my first time. Due to the small turnout of CP cars (I was the only CP car IIRC) I was bumped to XP. GoPro was out of commission for this race, but a friend got my first run from the sidelines. I took 4 seconds off the this time by my third, but unfortunately ran into some wiring issues and the car was done for the rest of the day. Will be going through much of the charging system and grounds within the month to hopefully make another event this year.

http://www.youtube.com/watch?v=J6y32YoP_rI

Pics from last event:
Image

Image

Image

Image

Image

Image

Image
Last edited by hEaT on Mon Jun 25, 2018 10:38 pm, edited 2 times in total.
hEaT
Level 7
Level 7
Posts: 3880
Joined: Mon May 07, 2007 10:12 pm
Location: USA

Re: My Build Thread: Project "Rain Cloud"

Post by hEaT »

After last event, I ended up with a broken regulator on the alt. Was able to limp the car home thankfully, but needed replacement. Instead of replacing just the regulator, decided to go extreme overkill and pickup an entire new one from RJM Injection. 160amp 3G alt, 7" pivot. Same as the junkyard Taurus unit I had before, but brand new (NOT a reman) and 160amp vs 130amp. At the same time, also picked up a new harness since mine was original from the junkyard Taurus and a new pulley. Was a good move since the bearings in the old one were toast too and had a bit of end play in the shaft.

Broken regulator:

Image

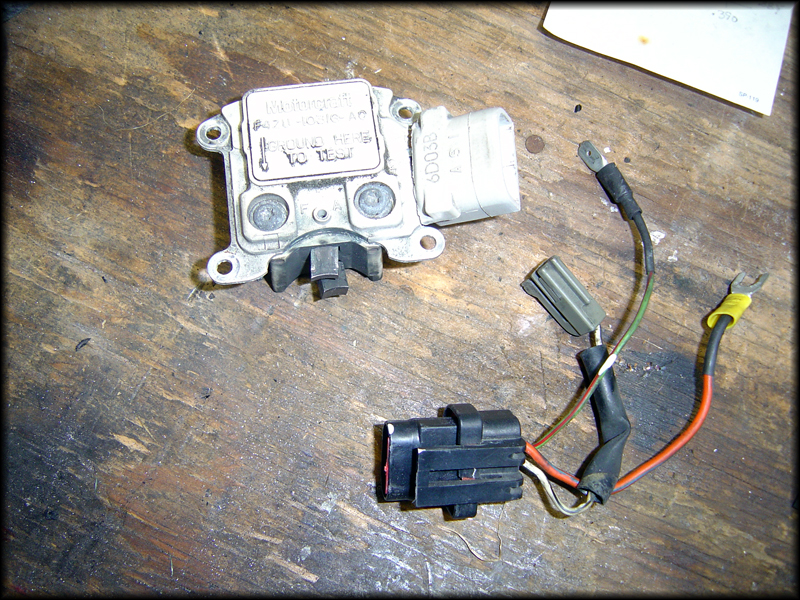
Old alt with the broken pieces:

Image

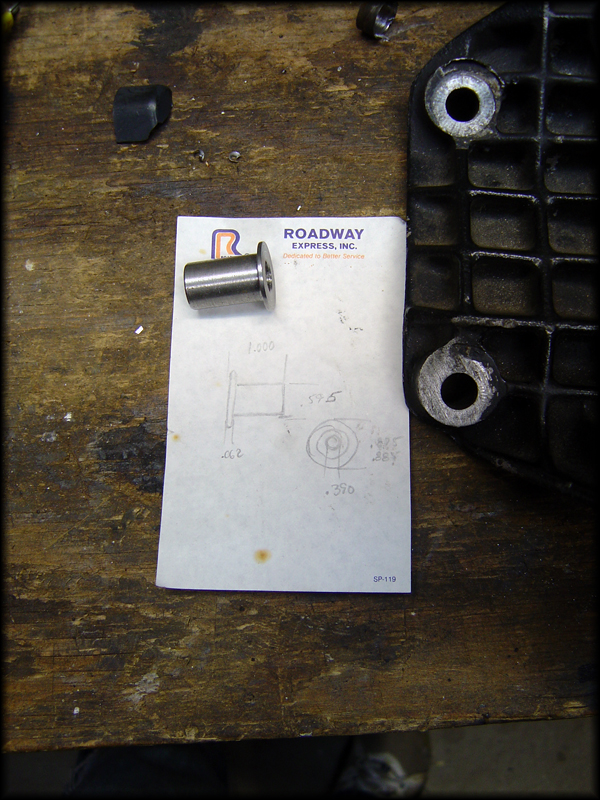
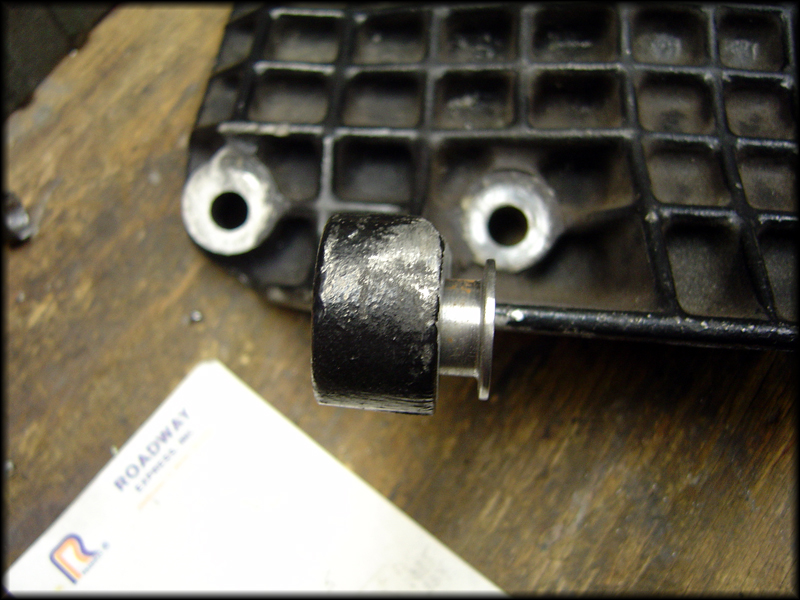
In the process of removing the old alt from the modified AC bracket, the bushing was heavily seized into the ear. Couldn't move it with a mini sledge and didn't want to break the ear off. My father surprised me while I was away by drilling out the old brass bushing and machining a new steel bushing. Much better fit.

Image

Image

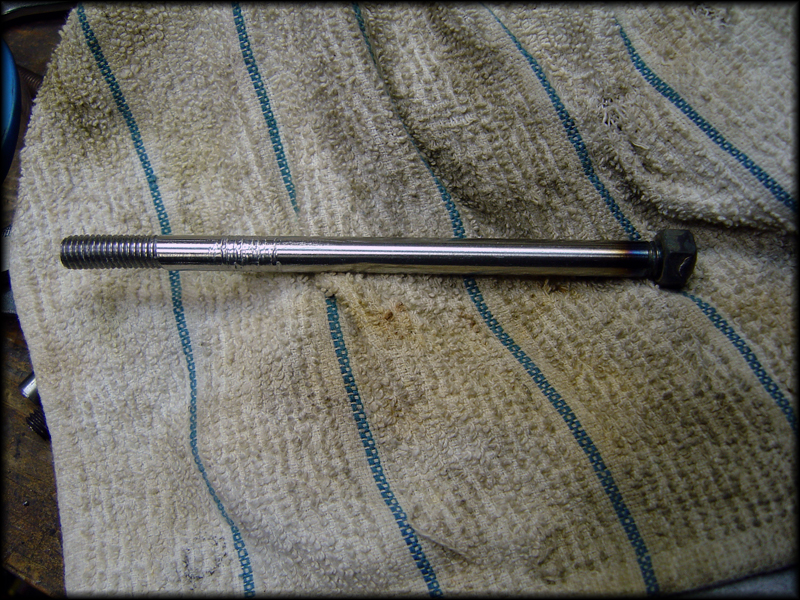
Along with the bushing, I made a new pivot bolt to replace the threaded rod I had used previously. Threaded both ends and welded a nut on one side. Other side is topped with a nylock.

Image

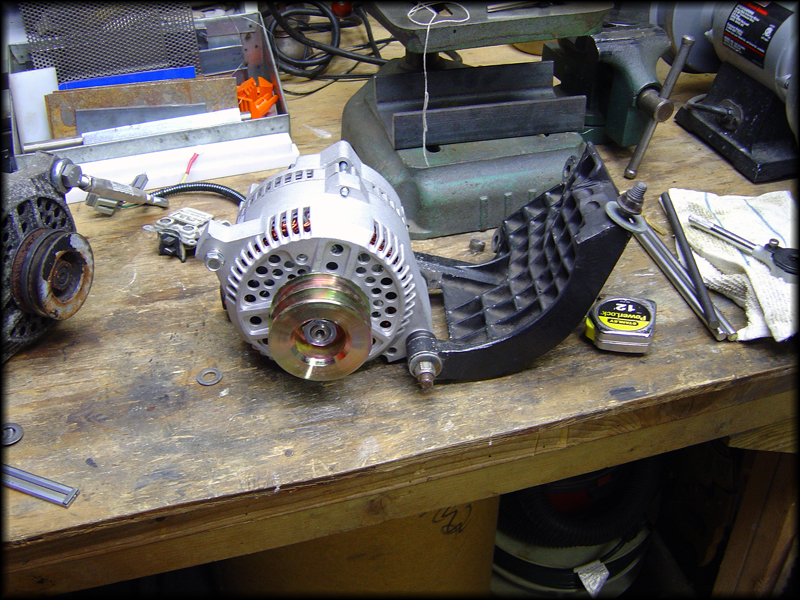
New alt with pulley:

Image

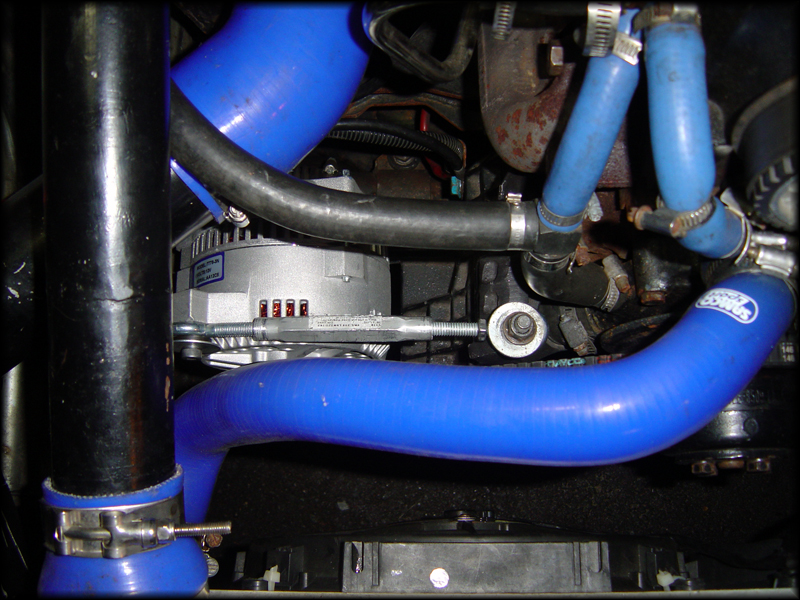
Mounted in old bracket:

Image

Unfortunately, the pulley is setup for a different series belt so I had to retain use of the stock one. Cleaned it up with a wire wheel and shot with paint. Had to space it off the front cover as I did with the Taurus piece and reset belt dept in car; .450" off the front of the bracket pivot and rear .200" to allow the bushing enough travel to clamp.

Also, when I ordered the alt I had it clocked at the 12 o'clock position which puts the harness right on top for easy access and better run to the charging post. Comparison to the old:

Image

Also came with a new Weatherpack connector for the charging light. Much better than the spade connector I was using previously. These are a breeze to crimp/solder and put together as well:

Image

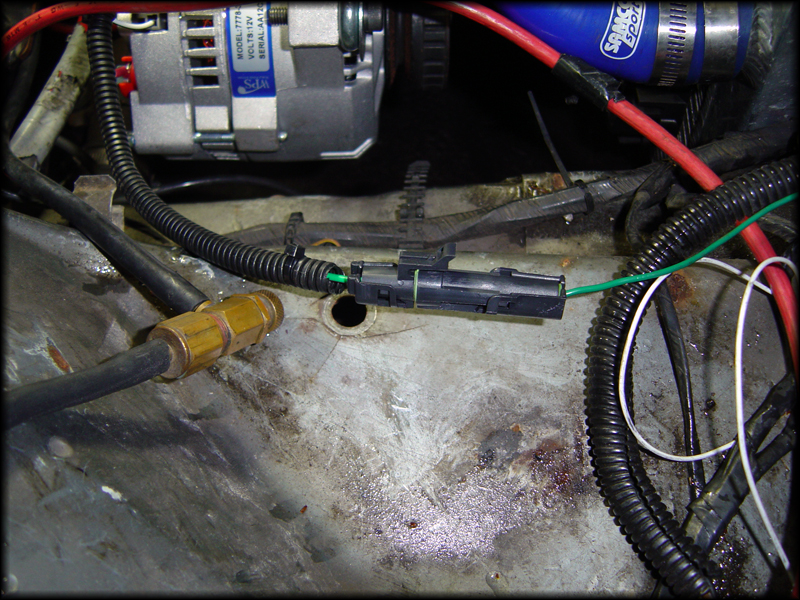
In car and running. For my tensioner setup, I tossed the bolt that came with the alt since it had no printed hardness rating. Hole is M8x1.25 which I replaced with a spare grade 12.9 allen I had. Looks better and I'm not worried about losing the bolt under tension.

Image

Image

Volts at cold idle (1100rpm). This is with rear defrost, HVAC, headlights, fogs and dual slim fans running.

Image

At hot idle (750rpm) the voltage with all accessories on is around 12.2v. Blipping the throttle hits 15v then settles mid 14s again. VERY impressed and next setup will be a proper battery relocate and getting rid of the hack wiring. This is with the Essy UDP as well which really affects alt RPMs. With the factory 90amp unit I had to rev to 2k before it would even start charging.

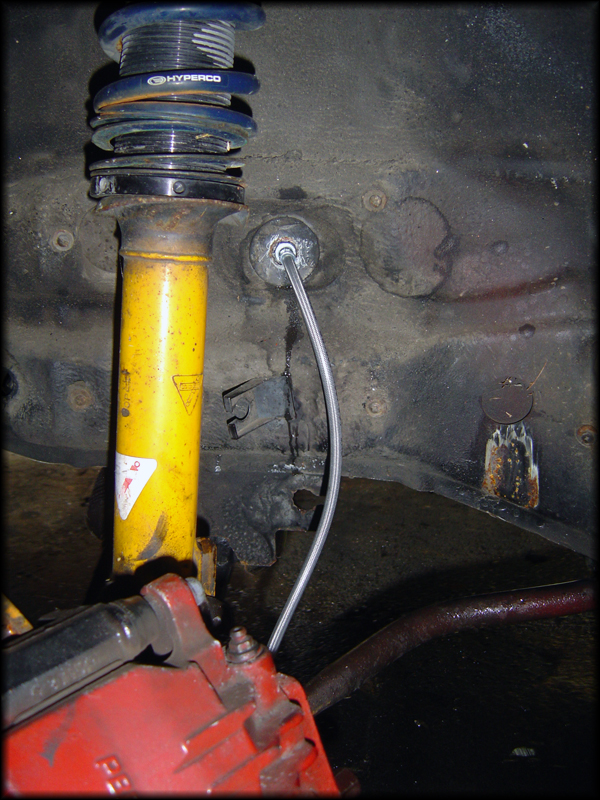
Also took time this weekend to replace the front brake hoses. I had Pegasus Racing pieces in the front which have been known to BLOW APART OR HAVE THE ENDS SEPARATE. Unacceptable. Big props to Mike McCreight who offers these lines, DOT rated (unlike the Pegasus garbage) and sleeved which runs from the XR hardline to PBR banjo. The longer lines in the picture are for the rear TBird discs which I have, just not yet installed.

Image

Compared to the old crap coming off:

Image

In car:

Image

Bleeding. I hate bleeding brakes. I. HATE. BRAKES. And brake fluid on my hands. And getting brake cleaner in my eyes. And dealing with the STUPID mounting of the brake line and hose through the fender so you need two people. UGH.

Image

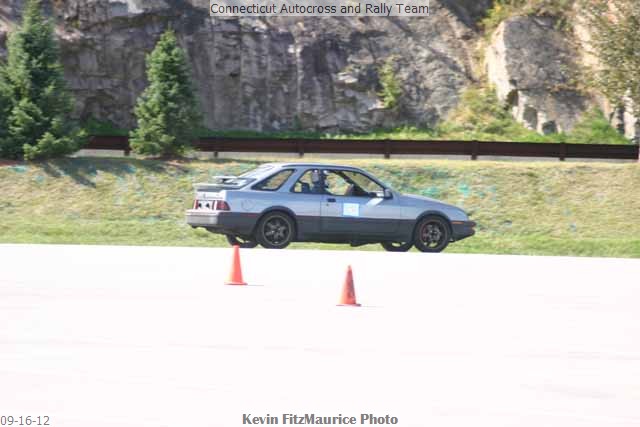
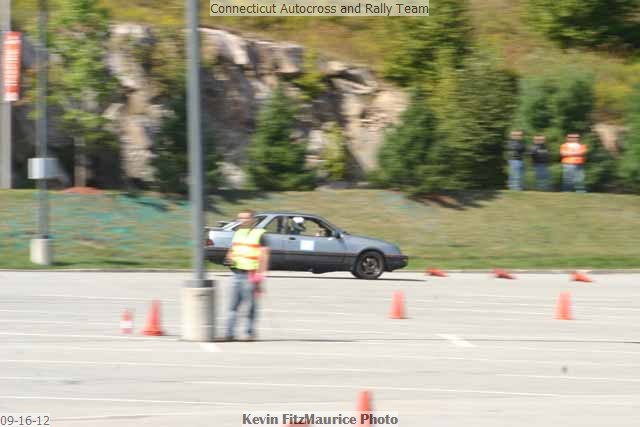
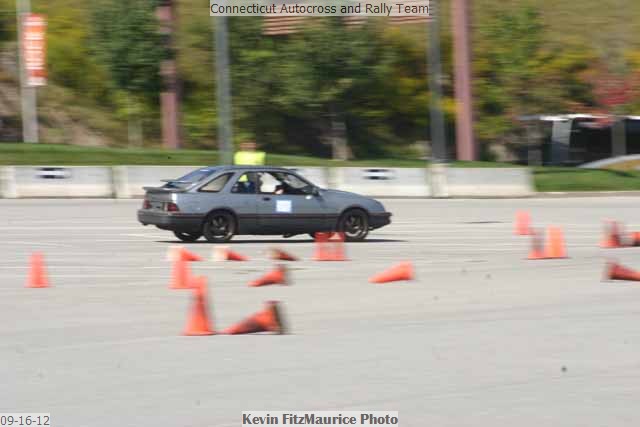
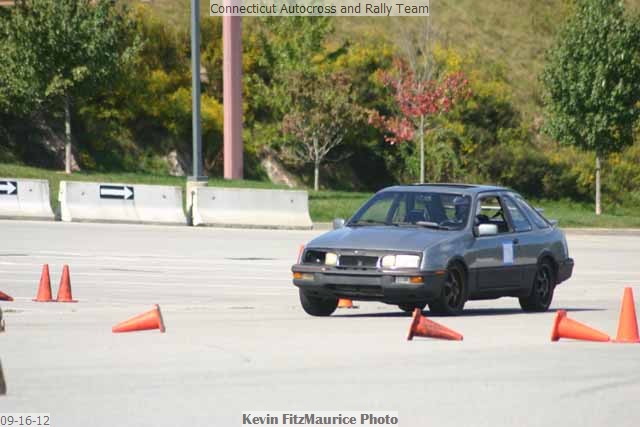
Car runs and drives again.
Last edited by hEaT on Fri Jun 22, 2018 11:30 pm, edited 1 time in total.
hEaT
Level 7
Level 7
Posts: 3880
Joined: Mon May 07, 2007 10:12 pm
Location: USA

Re: My Build Thread: Project "Rain Cloud"

Post by hEaT »

Nothing major from the past month or so. Father surprised me and asked if he could have the headlights from the car. I obliged and out they came:

Image

He had picked up a cheapo headlight restoration kit. I was skeptical but here's the final results. Can't complain!!

Image

Also made it to the dyno with a few friends for S&G's. My car ended up with the same numbers as last time (245whp) with an intercooler and intake manifold change, but this time didn't have the ~20% correction up factor. Last time the numbers were corrected to match a DynoJet (run on a DynoDynamics). Overall, I was happy. The power curve is much smoother and flatter, doesn't drop off like it used it so I couldn't care less about the actual numbers. The intake manifold made a nice different in power delivery. IATs were 15* or so above ambient with only the dyno fan so the new intercooler is working well too.

Highlight of my day :lol:

Image

Few more pics and videos from the day:

http://www.youtube.com/watch?v=IwFk-t0XDIY

http://www.youtube.com/watch?v=HMljeHONM6Y

http://www.youtube.com/watch?v=rYmJfn58hjs

http://www.youtube.com/watch?v=4IjpSEh-FPE

http://www.youtube.com/watch?v=jb71Cqqo7wo

http://www.youtube.com/watch?v=X8EVUUhO8jE

Image

Image

Image

Image

Image

Image

Image

Image

Image

Attempted to race last Sunday. Car decided it didn't want to race last Sunday. More stupid wiring BS. Oh well, still had fun and did my work assignment before I made the drive home. No pictures of the racing because I didn't make it on course. Did have a local Focus Fanatics guy drive up the 3 hours from NYC to hang out. He's working on a story for his film major about manual transmissions and we both agreed, this would be the venue to meet enthusiasts. Was able to help him out with the project and introduce him to some people before he raced back down home to weather Sandy.

Image

Pondering Matt's GTI coolant leak. 2 German car issues woo!
Image
Last edited by hEaT on Mon Jun 25, 2018 10:43 pm, edited 3 times in total.
hEaT
Level 7
Level 7
Posts: 3880
Joined: Mon May 07, 2007 10:12 pm
Location: USA

Re: My Build Thread: Project "Rain Cloud"

Post by hEaT »

Forced upgrade time, again.

Image
Last edited by hEaT on Mon Jun 25, 2018 10:47 pm, edited 1 time in total.
User avatar
Ray
Level 7
Level 7
Posts: 4338
Joined: Sun Oct 24, 2004 10:40 am
Location: CT, USA

Re: My Build Thread: Project "Rain Cloud"

Post by Ray »

UNLIKE. That's the second time that has happened on this board in a few weeks.

And i'm getting ready to pull my turbo to swap to the GN cold side. Note: loctite.
-Ray
1985 Ford F150 - Tow Missile
1985 Merkur XR4Ti -#141 CP "Miss Daisy"
2005 Subaru LGT
http://www.cartct.com
jkxr4ti
Level 7
Level 7
Posts: 1003
Joined: Tue Apr 27, 2004 1:43 pm
Location: Rochester, NY

Re: My Build Thread: Project "Rain Cloud"

Post by jkxr4ti »

So what are you going to go with for a turbo now?

I've been scoping out the EFR lineup for a little while now.
Jeremy Kemp

RIP: the Mutt….1988 XR4Ti Chestnut Brown/Spice Leather
MC2 Coilovers and Bushings, Contour Rims and Rotors, Ported Motorsport Head, Cosworth 4x4 Intercooler, Holset HY35 Turbo, 80LB Injectors, Megasquirt2 EFI
hEaT
Level 7
Level 7
Posts: 3880
Joined: Mon May 07, 2007 10:12 pm
Location: USA

Re: My Build Thread: Project "Rain Cloud"

Post by hEaT »

jkxr4ti wrote:So what are you going to go with for a turbo now?

I've been scoping out the EFR lineup for a little while now.
As have I. EFR 6258/6758 would be NICE. That would force me to change manifolds too since the small exhaust sides I want only come in a T25 flange. Changing the downpipe for a 3" VBand would only take a few hours.

Depending on funds, I may just end up with a DBB version of the same turbo. I really had nothing bad to say about this one, even with a fully stock head it spooled pretty damn quick.
hEaT
Level 7
Level 7
Posts: 3880
Joined: Mon May 07, 2007 10:12 pm
Location: USA

Re: My Build Thread: Project "Rain Cloud"

Post by hEaT »

Some updates.


This is what happens at full boost and the nut comes off:

Image

Image

Exhaust side is still good thankfully. No wheel contact and shaft still in the center section spins ok.

This is the replacement. Borg Warner EFR 6258:

Image

Image

Image

And of course not making things easy, this is a T25 inlet flange and I found a good deal on a center mount log manifold...T4 flange. Working with a good friend of mine to make an adapter piece for this.

Image

Tear down this weekend:

Image

Finishing one Bring Me The Horizon album later, and here we go:

Image

Image

Mock up time...LOTS of work left for sure between getting the turbo bolted in, oil drain, coolant lines, downpipe, what is happening with the overflow bottle...

Image

Image

Image

Image

Not much else I can do until the turbo is mounted in the car so I played with my AN parts :roll:

Image
Last edited by hEaT on Mon Jun 25, 2018 10:51 pm, edited 1 time in total.
User avatar
whitelx
Level 7
Level 7
Posts: 1209
Joined: Mon Oct 06, 2003 3:01 pm
Location: Riverside, CA
Contact:

Re: My Build Thread: Project "Rain Cloud"

Post by whitelx »

cute turbo :wink:
1986 XR4Ti - 294rwhp/315ft-lbs
1992 Mustang 5.0 notch - 434rwhp/445ft-lbs
http://www.youtube.com/user/whitelx
hEaT
Level 7
Level 7
Posts: 3880
Joined: Mon May 07, 2007 10:12 pm
Location: USA

Re: My Build Thread: Project "Rain Cloud"

Post by hEaT »

Haha thanks, I'm really excited to see how this thing works :D
User avatar
Jon L.
Level 2
Level 2
Posts: 129
Joined: Wed May 11, 2011 9:19 pm
Location: New Jersey

Re: My Build Thread: Project "Rain Cloud"

Post by Jon L. »

Cool

It would be interesting to see the old and new VE tables next to each other in 3d mode
Jon
06 Subaru Outback 2.5i, black steelies (DD)
06 Subaru STI, light bar, built EJ257 w/ 2618, GTX3582r .82, meth (nights)
95 Jeep XJ, 5 speed, 2.5" OME lift, 31" MT's (alt. DD)
99 Jeep XJ, NP242 auto, 2.5" OME lift, 31" MT's (radios)
89 Merkur XR4Ti, Megasquirt, DP, cam, meth (Sunday cruiser)
hEaT
Level 7
Level 7
Posts: 3880
Joined: Mon May 07, 2007 10:12 pm
Location: USA

Re: My Build Thread: Project "Rain Cloud"

Post by hEaT »

Jon L. wrote:Cool

It would be interesting to see the old and new VE tables next to each other in 3d mode
Good idea! Before I start tuning, I'll export the tables and then compare after.


Heading out in a couple. Buddy is coming over, CAD is up and running, going to plan this out.
hEaT
Level 7
Level 7
Posts: 3880
Joined: Mon May 07, 2007 10:12 pm
Location: USA

Re: My Build Thread: Project "Rain Cloud"

Post by hEaT »

Some progress, but I am BEAT. Wow.

Adapter to mount the turbo. Don't comment on my welds please:
Image

Image

Turbo mounted:
Image

Image

Image

Image

Image

Playing with the downpipe, still some work left here before seaming it:

Image

Whole package, but still need some tweaking on the downpipe. Can see where old meets new.
Image

Adapter bolts to the T4 manifold and adapts down to the T25 flange. Vband connects between the two for a modular setup (pipe is sunk through the flange to help seal). Adapter is seamed and good to go, downpipe is tacked and still needs some work. Still have a lot of work left for the coolant bottle fab, inlet, hot side pipe, oil feed, coolant drain, fuel, etc.
User avatar
Ray
Level 7
Level 7
Posts: 4338
Joined: Sun Oct 24, 2004 10:40 am
Location: CT, USA

Re: My Build Thread: Project "Rain Cloud"

Post by Ray »

The Vband on the turbo flange is great - that will make life so much easier during R&R for the lines and downpipe.

Nice work.
-Ray
1985 Ford F150 - Tow Missile
1985 Merkur XR4Ti -#141 CP "Miss Daisy"
2005 Subaru LGT
http://www.cartct.com
Post Reply