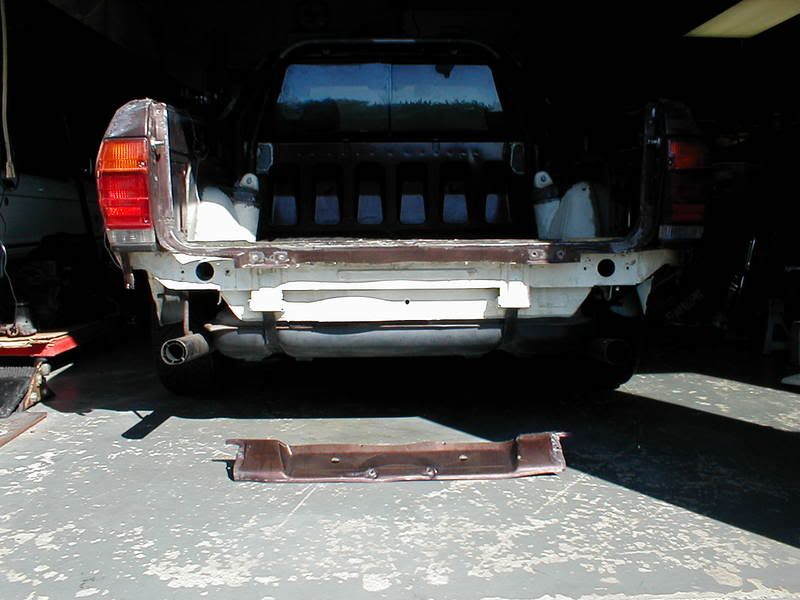
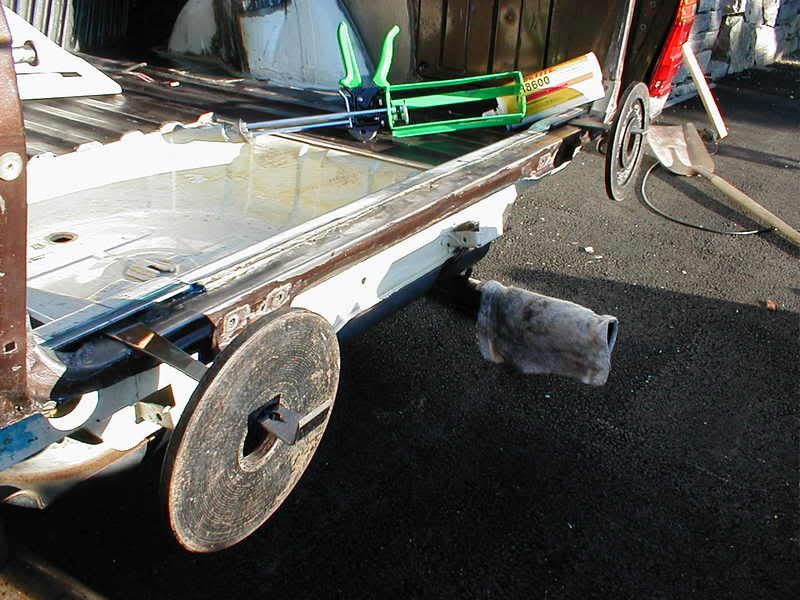
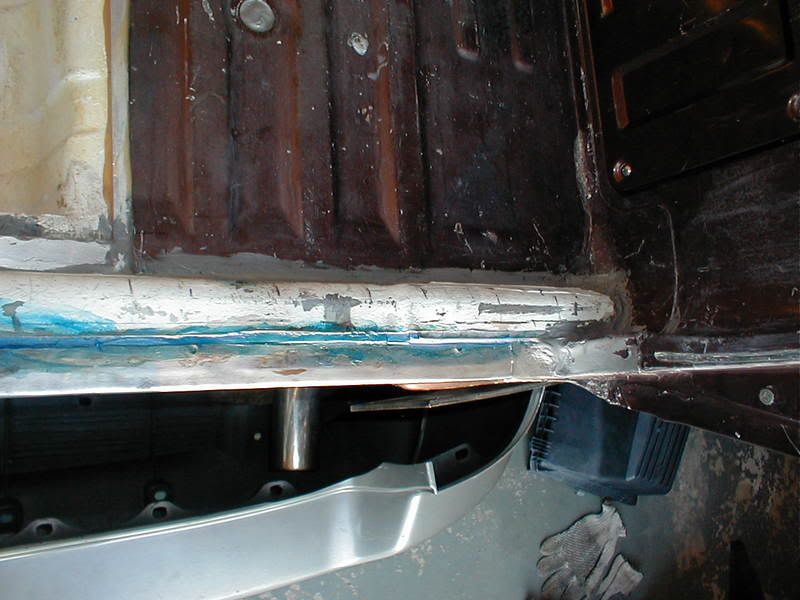
XRBrati Underway....

Documenting your big project with photos/videos? Have photos/videos to share of anything Merkur related? Place your links to photos and videos here. Please - Merkurs and Merkur-related pictures only. Cosworths welcome!!
Carlisle and event related pictures are to be placed in the relevant section under 'Events'.
Merkur Club web site
User avatar
DPDISXR4Ti
Site Admin
Posts: 14824
Joined: Wed Jan 08, 2003 11:40 pm
Location: New York

Post by DPDISXR4Ti »

Not very exciting, but I finally got around to getting the last of the holes through the bed sealed off. All shots of the driver side.
Before...
Image

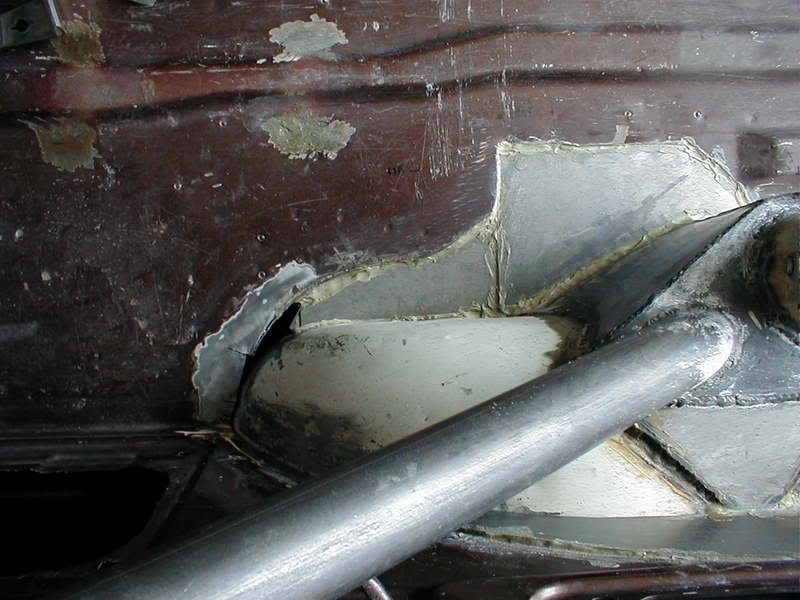
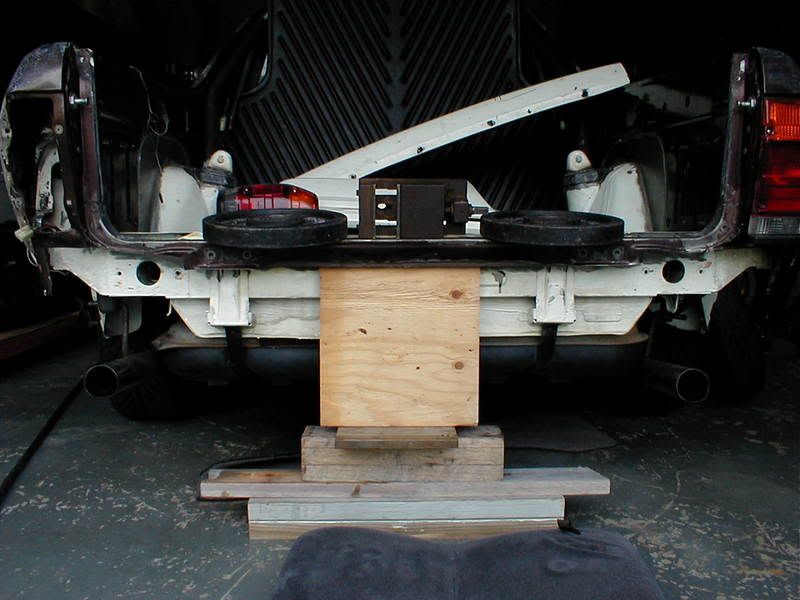
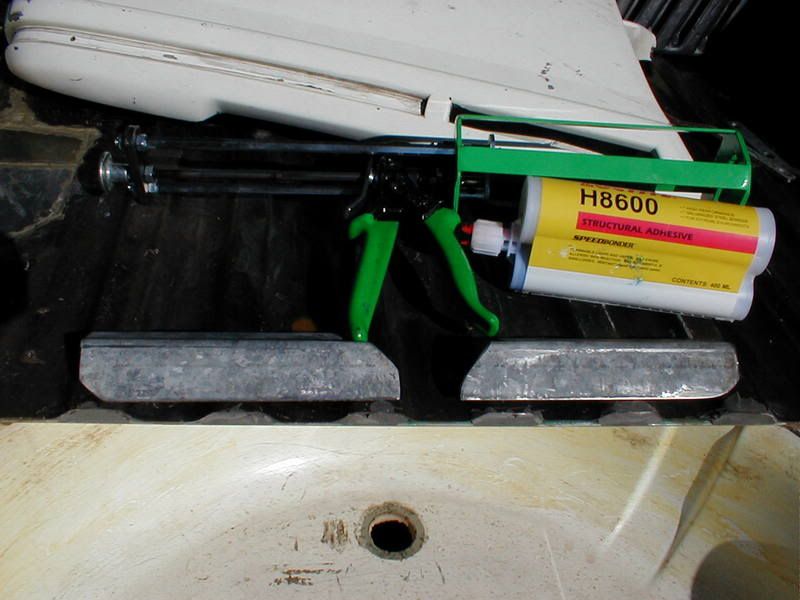
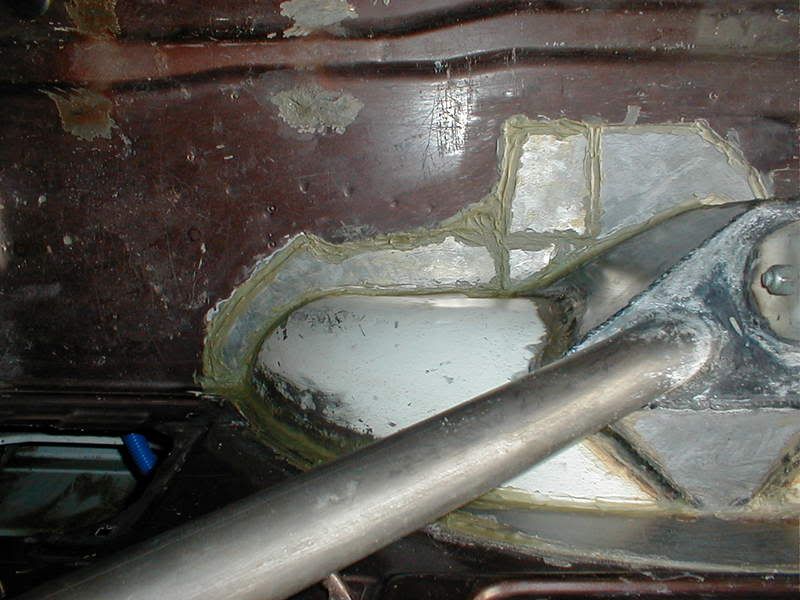
Filler plates cut and located in place...
Image

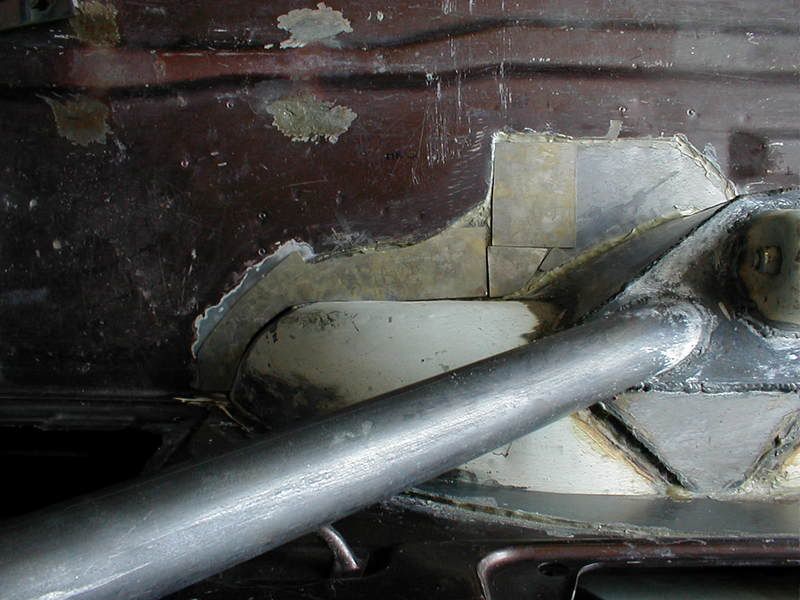
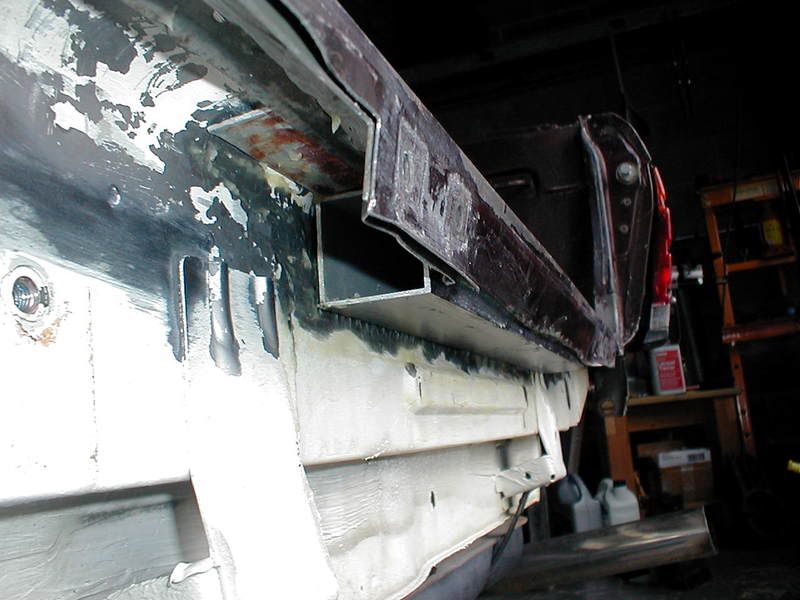
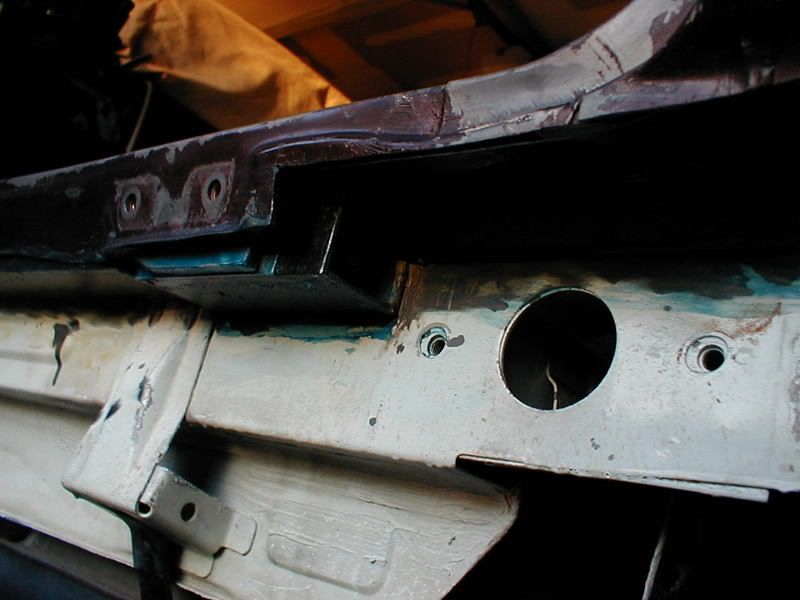
Filler plates bonded in place...
Image

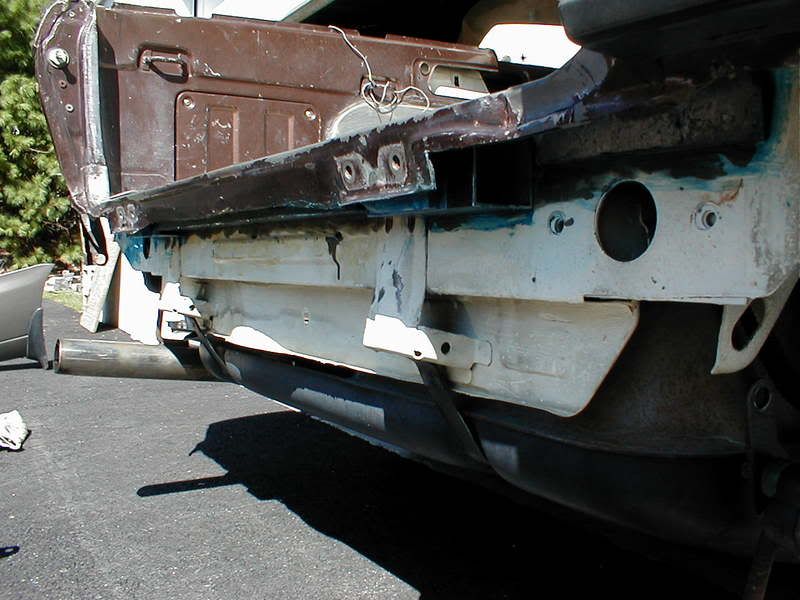
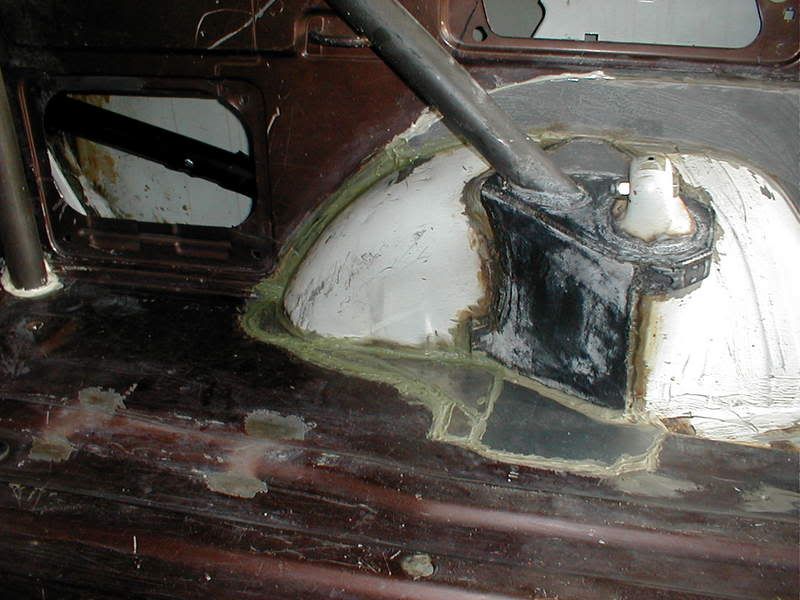
Same area as viewed from the other side...
Image

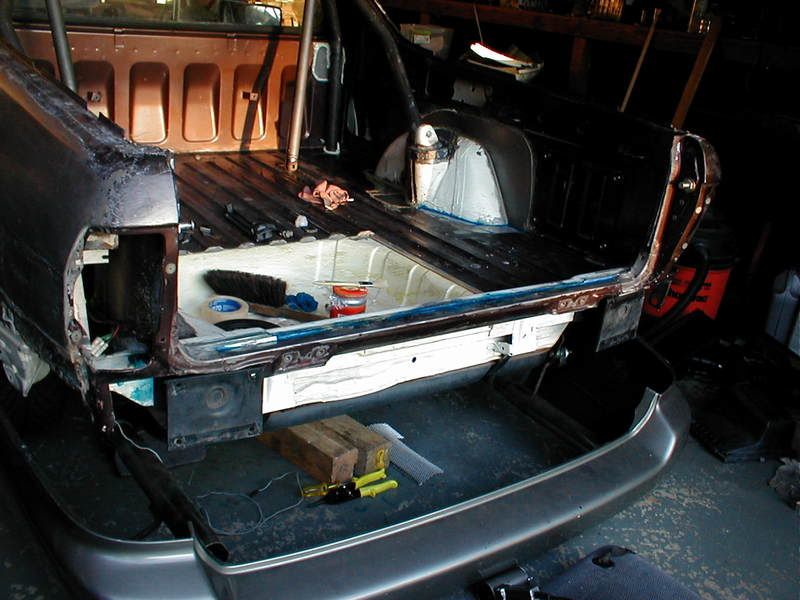
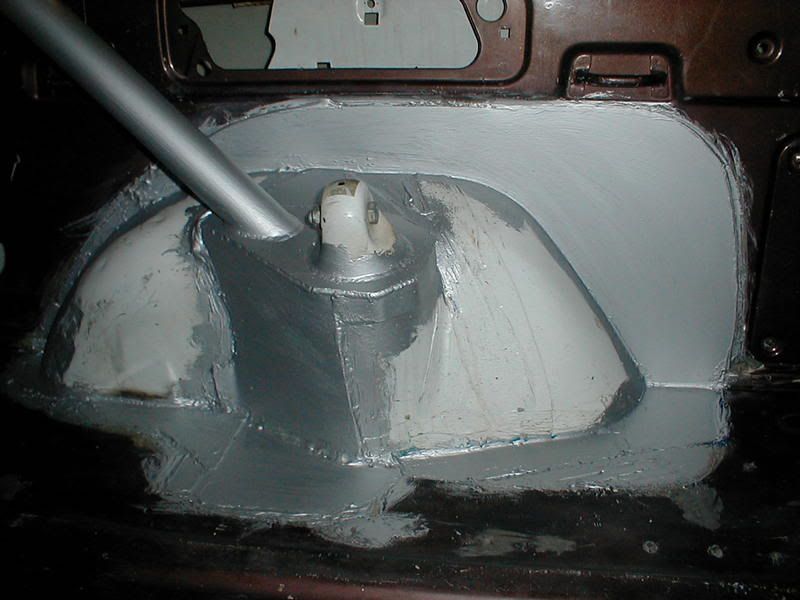
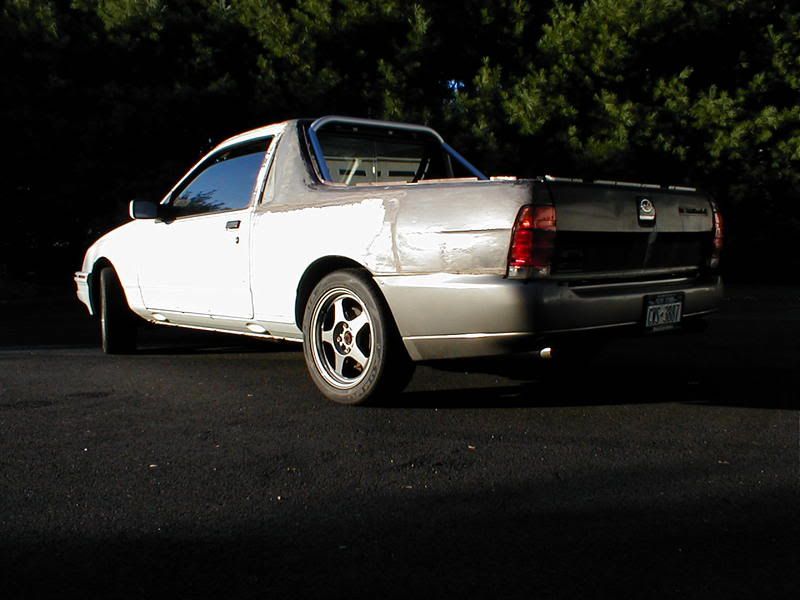
Speaking of "the other side", here's a shot of the completed passenger side...
Image

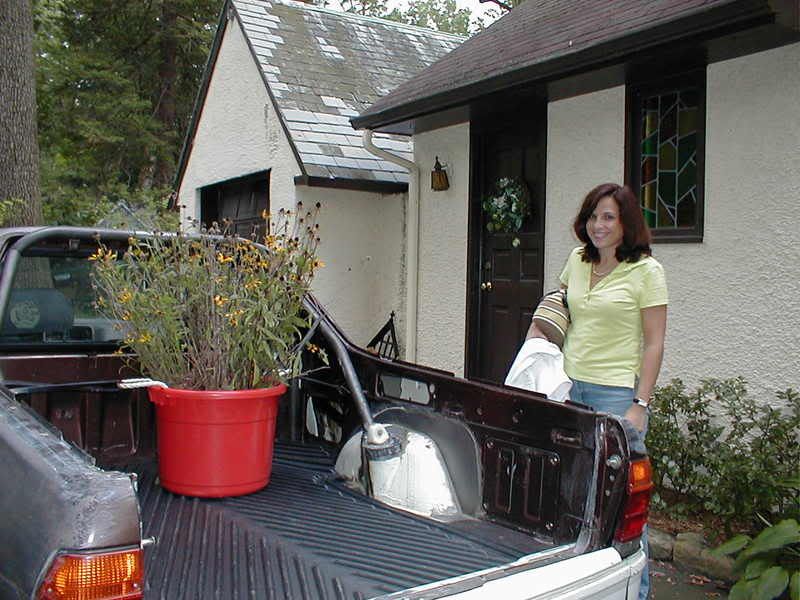
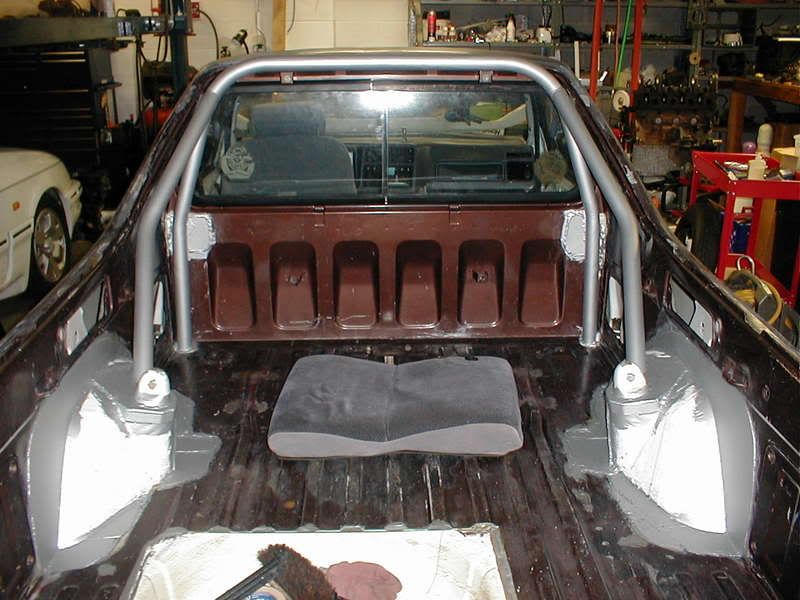
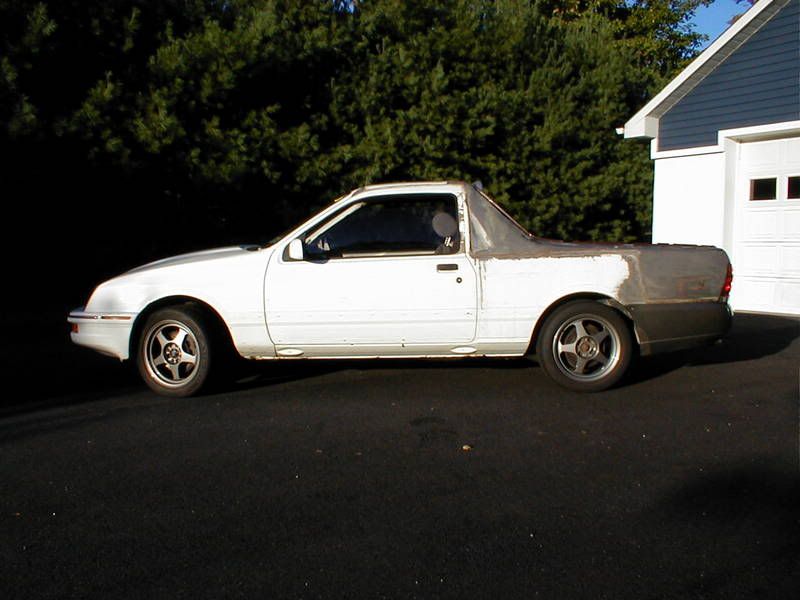
Starting out on my new career as a flower delivery-man... :mrgreen:
Image
Brad
User avatar
Ray
Level 7
Level 7
Posts: 4338
Joined: Sun Oct 24, 2004 10:40 am
Location: CT, USA

Post by Ray »

I am happy your wife is as tolerant as mine.
-Ray
1985 Ford F150 - Tow Missile
1985 Merkur XR4Ti -#141 CP "Miss Daisy"
2005 Subaru LGT
http://www.cartct.com
User avatar
DPDISXR4Ti
Site Admin
Posts: 14824
Joined: Wed Jan 08, 2003 11:40 pm
Location: New York

Post by DPDISXR4Ti »

Okay, finally got around to getting the rear of the bed attached to the main body. First, clip off the useless sheet metal...
Image

High-tech method for holding square tube in place for bonding...
Image

Ugly, but functional... (it all be mostly hidden any way)
Image
Image

Some custom pieces cut for the corners out of galvanized angle, opened up to about 110 degrees with the press...
Image

And the even more high-tech way I held these in place...
Image

Yum, yum, blue glue... :lol: (Loctite H8600 Structural Adhesive)
Image
Image
Image
Image
Brad
User avatar
DPDISXR4Ti
Site Admin
Posts: 14824
Joined: Wed Jan 08, 2003 11:40 pm
Location: New York

Post by DPDISXR4Ti »

And just tonight, finally got some rust encapsulator/primer (http://nomorerust.com/) on the roll cage and bare metal in the bed...

Image
Image
Brad
User avatar
grve66
Level 4
Level 4
Posts: 467
Joined: Fri Apr 02, 2004 5:54 am
Location: Santa Monica

Post by grve66 »

nice. did not know you had some welding skillz.. LOL

looks like a fun project.
xr4outcast
Level 3
Level 3
Posts: 268
Joined: Sun Nov 18, 2007 4:36 am
Location: Annapolis,Md

Post by xr4outcast »

Keep up the good work. :D
User avatar
DPDISXR4Ti
Site Admin
Posts: 14824
Joined: Wed Jan 08, 2003 11:40 pm
Location: New York

Post by DPDISXR4Ti »

LS2XR4 wrote:nice. did not know you had some welding skillz.. LOL
For the most part, I don't. The cage fabrication was totally out-sourced - if you go back to page 18 you can follow along and see that portion being completed. Most everything else is bonded in place - a few exceptions here and there where the spot welder got used.
Brad
CV12Steve
Level 7
Level 7
Posts: 1473
Joined: Tue Oct 30, 2007 3:57 pm
Location: Sacramento, CA area
Contact:

Post by CV12Steve »

Brad, you need one of these!
This one is a little less "busy".
Last edited by CV12Steve on Sat Sep 20, 2008 4:43 pm, edited 1 time in total.
Stephen
CV12Steve
Level 7
Level 7
Posts: 1473
Joined: Tue Oct 30, 2007 3:57 pm
Location: Sacramento, CA area
Contact:

Post by CV12Steve »

Here's a Sierra-based pickup that's not a P100.
Stephen
User avatar
DPDISXR4Ti
Site Admin
Posts: 14824
Joined: Wed Jan 08, 2003 11:40 pm
Location: New York

Post by DPDISXR4Ti »

CV12Steve wrote:Here's a Sierra-based pickup that's not a P100.
I see you've been spending some time on UK eBay lately Steve! :lol:

This conversion looks really well done. It also helps that a 4-door was used as the donor, for both aesthetic and function reasons. If I was to do it all again :beats head I'd use a Scorpio.

Interesting bull bars too - I didn't know there were several different types. Wonder if they'd bolt-on to the US cars just as easily as the Euro?
Brad
CV12Steve
Level 7
Level 7
Posts: 1473
Joined: Tue Oct 30, 2007 3:57 pm
Location: Sacramento, CA area
Contact:

Post by CV12Steve »

The mounts on the second bar seem to extend much higher than on the first. The headlight openings are also shaped differently. It's possible one may be for a Mk I and the other for a Mk II, though neither specifies.
I would expect some moding/fabing to the mounts being required due to front end sheet differences because of 5mph bumpers.
You'd probably also have to fit a Euro bumper cover (most likely not a Cossie), obviously with less concern about the lack of crash protection underneath. Maybe a 4x4 front cover? It would be good to see something a little different (that is before someone gets overwhelmed with that amazing backside (any thought of naming it J-lo? It is all about the bum)).
Stephen
User avatar
DPDISXR4Ti
Site Admin
Posts: 14824
Joined: Wed Jan 08, 2003 11:40 pm
Location: New York

Post by DPDISXR4Ti »

Subaru Outback rear bumper and cover in place....

Image
Image

See related post in General section, Photoshop my Ride
Brad
User avatar
Raze
Level 3
Level 3
Posts: 248
Joined: Sun Dec 03, 2006 7:59 pm
Location: Atlanta, GA

Post by Raze »

Damn that's hot...
HY35w, FMIC & BOV, 3" exhaust, 75#/hr, 255lph, MegaSquirt-I V3 w/3bar, T5, 4-point roll bar, rear strut brace, gutted, lexan windows and sunroof, Odyssey PC680, Koni + Ground Control (7" 250#/in) front, KYB (8.5" 600#/in) rear, TC rear brakes
User avatar
DPDISXR4Ti
Site Admin
Posts: 14824
Joined: Wed Jan 08, 2003 11:40 pm
Location: New York

Post by DPDISXR4Ti »

Raze wrote:Damn that's hot...
Thanks Paris. :lol:
Brad
xr4outcast
Level 3
Level 3
Posts: 268
Joined: Sun Nov 18, 2007 4:36 am
Location: Annapolis,Md

Post by xr4outcast »

Hurry up and give me your money so I can finish that dam thing. Your time is up!! You need to start another, not so ambitious project that you can finish in less than a year. :thumb

I think you need to take an early morning road trip Saturday and hang out in VA/MD.

By the way its really starting to take shape.
Post Reply