Yet another LS swap

Documenting your big project with photos/videos? Have photos/videos to share of anything Merkur related? Place your links to photos and videos here. Please - Merkurs and Merkur-related pictures only. Cosworths welcome!!
Carlisle and event related pictures are to be placed in the relevant section under 'Events'.
Merkur Club web site
Ghost
Level 5
Level 5
Posts: 507
Joined: Fri Jun 27, 2003 12:37 pm
Location: Broomfield, CO
Contact:

Re: Yet another LS swap

Post by Ghost »

Continued on with the swap... The last pic of the 2.3T before it came out.

Image

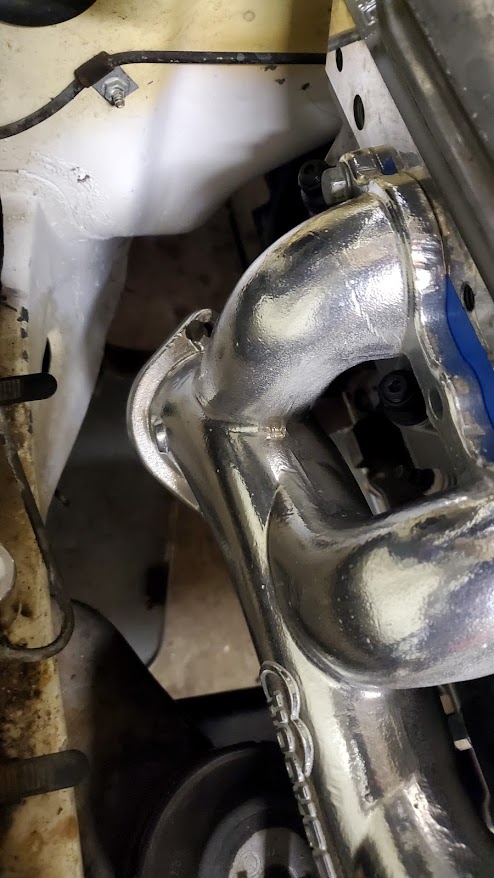
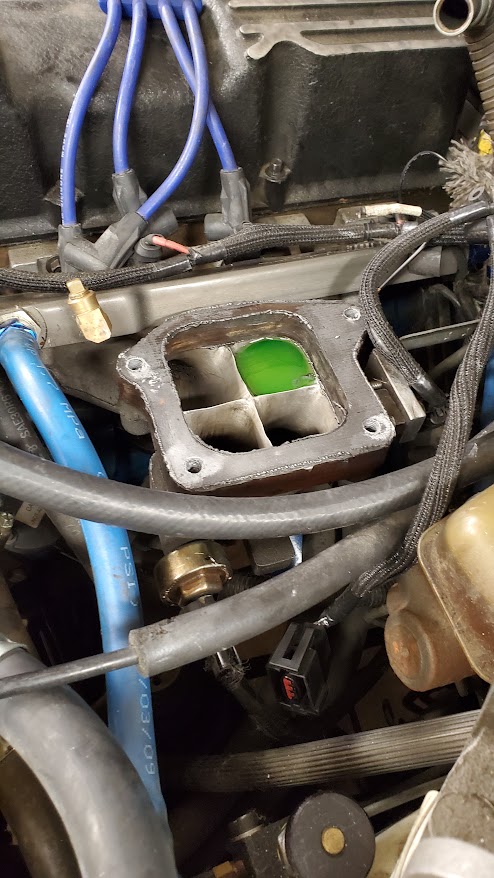
And the reason for finally getting off my butt to start the swap - cracked #4 intake runner in the head. It was filling up with coolant anytime I turned off the motor. When the intake valve was closed it would fill up the intake. I guess when I ported the head I left the port wall too thin and it finally gave way after living with 30 psi for over 7k miles.
Image

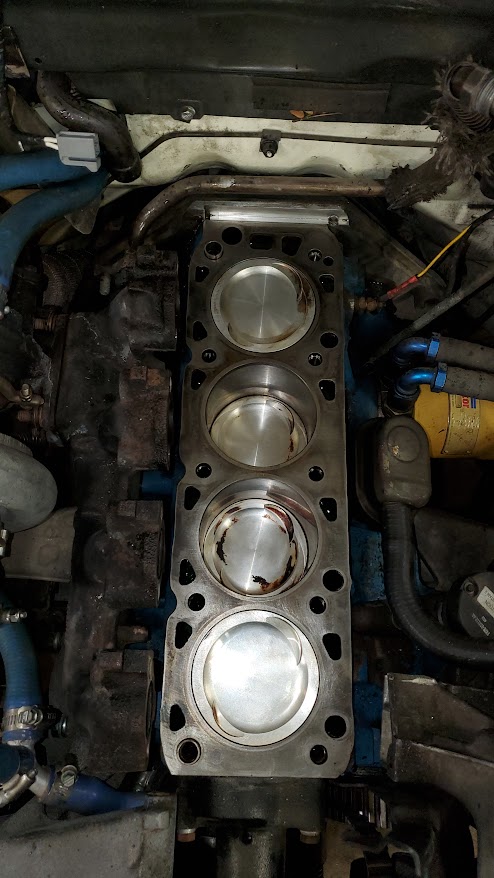
The motor still looked nice inside:
Image

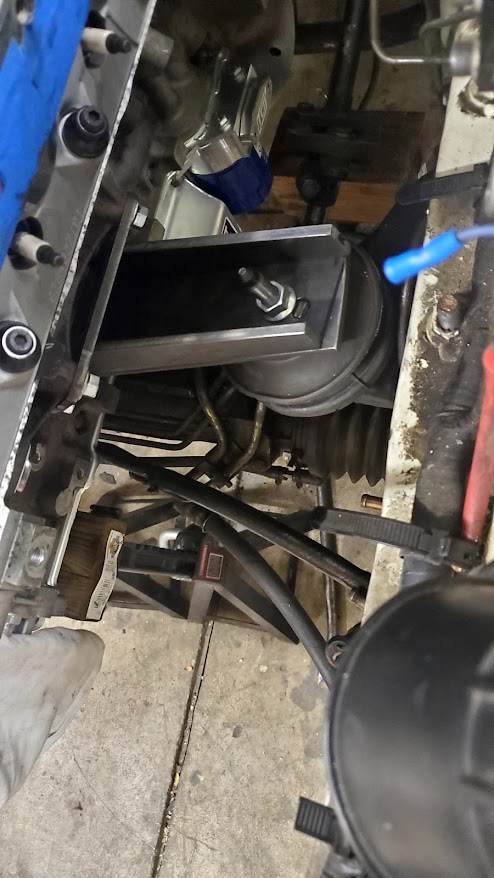
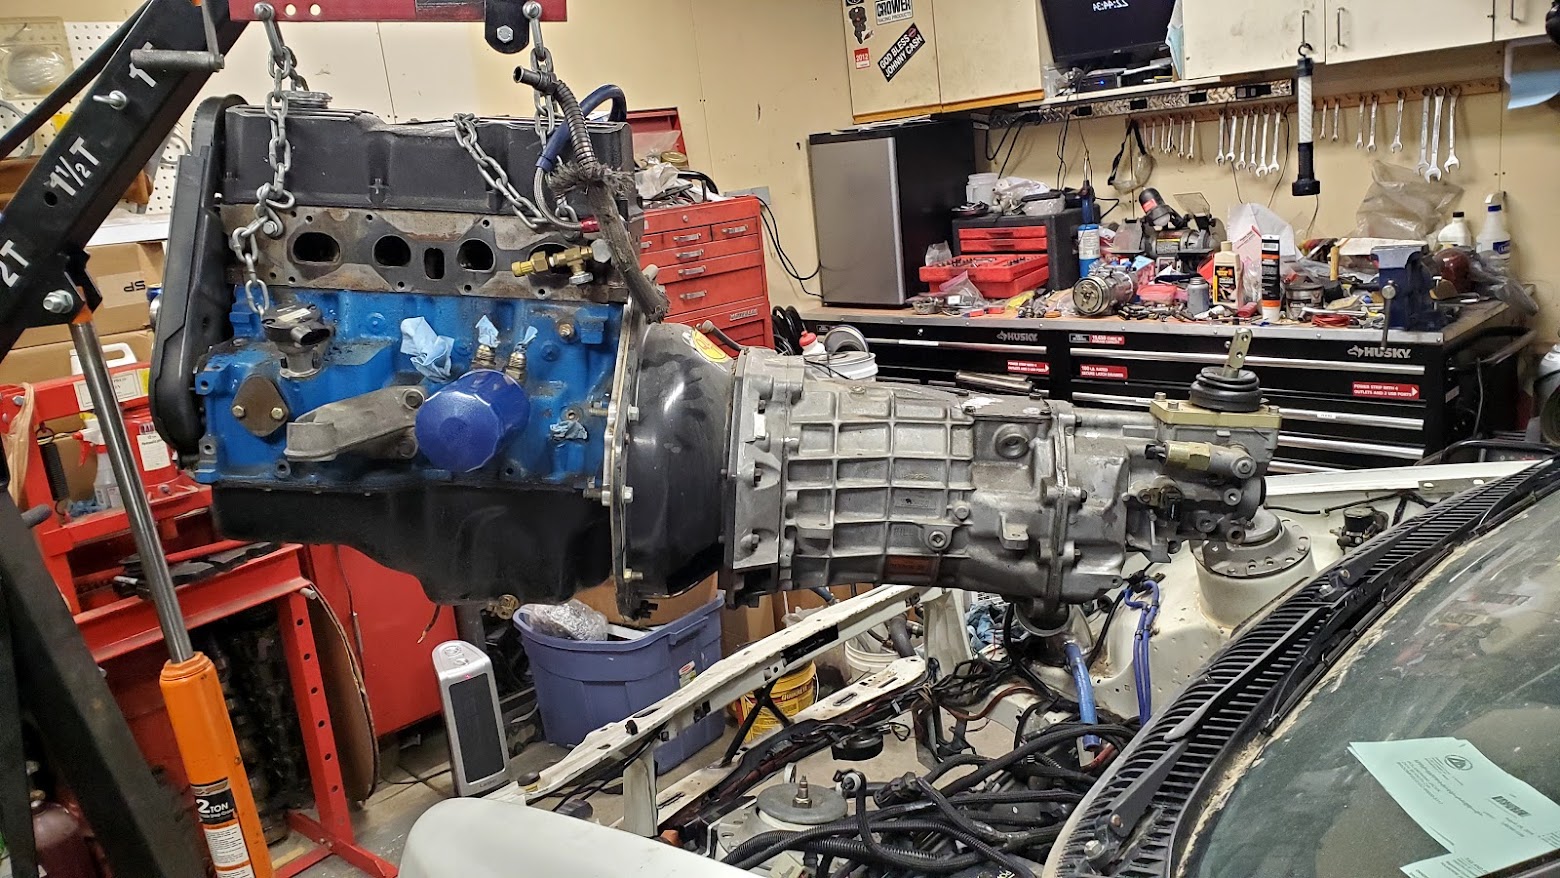
And out it went. I needed to modify the Cobra T56 to the LS configuration (different input shaft, midplate and bellhousing). While I was in there I swapped the main shaft and 5/6 gears from the Cobra pieces to the LS pieces (Cobra is a .8/.63 5/6 gear, LS is .74/.5 5/6).

Image

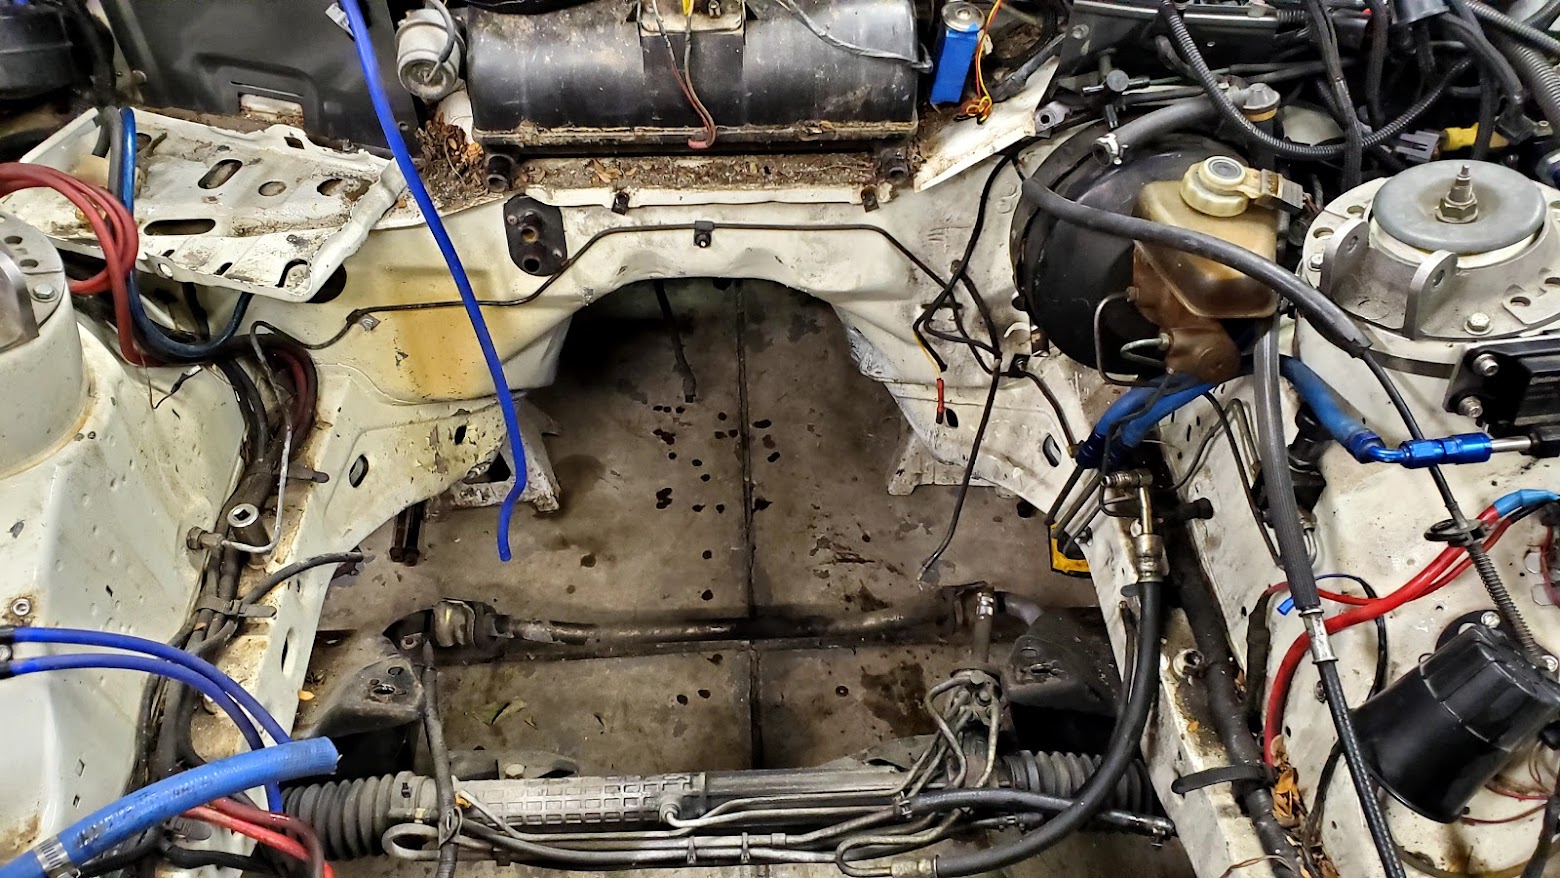
Lots of clean up to do...

Image

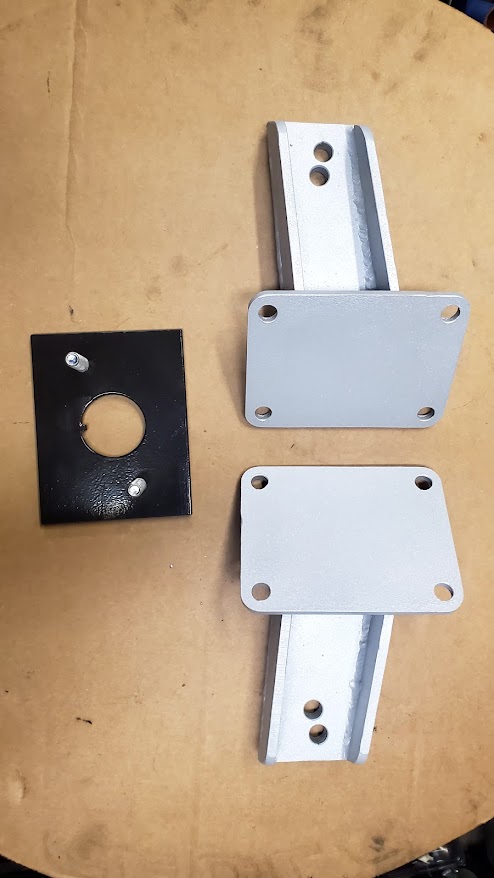
Trans taken apart for mods:
Image
'85 XR4Ti: Stuck in "Project Forever" SC LS swap hell...
Image Image
"All cruelty springs from weakness" - Seneca
Ghost
Level 5
Level 5
Posts: 507
Joined: Fri Jun 27, 2003 12:37 pm
Location: Broomfield, CO
Contact:

Re: Yet another LS swap

Post by Ghost »

Transmission all done. Using a QuickTime bell makes life much easier in the XR - it clears the body and the sway bar with minimal massaging of the tunnel. I'm using a factory LS7 clutch setup and a GTO slave cylinder. I used a -3AN pressure line and a -4AN Hinson remote bleeder line. In retrospect I would not use the Hinson remote bleeder again - it's way too long at 36" and the bleeder setup is garbage - they just thread an m12 bleeder valve into a -4AN female fitting at the end which doesn't let one vacuum bleed and would probably spew fluid everywhere with conventional bleeding. Better to either get a Tick Performance setup or build your own. I shortened the line to around 14", then used a Russell RUS-640421 -4AN male to M10x1.0 fitting so I could thread in a m10x1 speed bleeder into it. Voila, one person bleeding of the clutch made easy!

Image

Image

Whole mess ready to go in. You can see how ridiculously long the Hinson bleed line is:
Image

Getting ready to throw it in. The whole assembly is really long and I had to get very creative with the engine leveler and angles to drop it in without trashing the body. In retrospect it would have been a lot easier to lift the body higher and guide the whole thing in from the bottom.
Image
'85 XR4Ti: Stuck in "Project Forever" SC LS swap hell...
Image Image
"All cruelty springs from weakness" - Seneca
Ghost
Level 5
Level 5
Posts: 507
Joined: Fri Jun 27, 2003 12:37 pm
Location: Broomfield, CO
Contact:

Re: Yet another LS swap

Post by Ghost »

Motor set in the engine bay, about 3/8" above the steering rack. I had to modify the crossmember at the rear seam by grinding the seam down and re-welding because it was barely touching the oil pan. I also had to space the crossmember down 3/8" from the body to have enough clearance between the top of the transmission and the tunnel and to get the driveline angles correct. The centerline of the LS crank sits a little higher than the centerline of the 2.3 crank, hence the need to lower the crossmember.

Image

Image

Image

Image

Image
'85 XR4Ti: Stuck in "Project Forever" SC LS swap hell...
Image Image
"All cruelty springs from weakness" - Seneca
thesameguy
Level 7
Level 7
Posts: 2625
Joined: Mon Apr 18, 2005 5:06 pm
Location: Sacramento
Contact:

Re: Yet another LS swap

Post by thesameguy »

This is brilliant - thank you so much for posting this.

Does dropping the crossmember affect alignment in any appreciable way? Do you think slotting it and moving it forward be an option, or would that impact be worse?
Ghost
Level 5
Level 5
Posts: 507
Joined: Fri Jun 27, 2003 12:37 pm
Location: Broomfield, CO
Contact:

Re: Yet another LS swap

Post by Ghost »

thesameguy wrote: Fri May 29, 2020 12:36 pm This is brilliant - thank you so much for posting this.

Does dropping the crossmember affect alignment in any appreciable way? Do you think slotting it and moving it forward be an option, or would that impact be worse?
I know that dropping the crossmember lowers the roll center, about the same effect as lowering the car. I don't think I'd want to slot the crossmember - moving it forward might be detrimental to bushing life (I'm running Powerflex bushings, not rubber OE pieces) and I'm not sure what the effect on the suspension geometry would be as far as handling goes. I lowered the crossmember to get some additional clearance in the trans tunnel and to get the pinion and transmission output shaft angles within half a degree to avoid driveshaft vibrations. the position of the crossmember relative to the body doesn't change the oil pan clearance since the motor mounts attach to the crossmember rather than the body of the car.
'85 XR4Ti: Stuck in "Project Forever" SC LS swap hell...
Image Image
"All cruelty springs from weakness" - Seneca
Ghost
Level 5
Level 5
Posts: 507
Joined: Fri Jun 27, 2003 12:37 pm
Location: Broomfield, CO
Contact:

Re: Yet another LS swap

Post by Ghost »

Carrying on. I originally bought LSA exhaust manifolds, but the drivers side would not clear the steering shaft. I ended up ordering Hooker ceramic coated block hugger cast manifolds with 2.5" outlets, part# 8502-1HKR, they fit really nice and clear the shaft.

Image

Image

Image

Image

Image
'85 XR4Ti: Stuck in "Project Forever" SC LS swap hell...
Image Image
"All cruelty springs from weakness" - Seneca
Ghost
Level 5
Level 5
Posts: 507
Joined: Fri Jun 27, 2003 12:37 pm
Location: Broomfield, CO
Contact:

Re: Yet another LS swap

Post by Ghost »

Now that exhaust manifolds were sorted out it was time to get working on the engine mount brackets. I'm using LS7 Corvette rubber mounts, if these turn out too soft I have a pair of Hinson urethane mounts as well. The brackets are made from 1/4" steel plate welded together.

Initial fitting:
Image

Image

Image

Image

Welded and trimmed:

Image

Image
'85 XR4Ti: Stuck in "Project Forever" SC LS swap hell...
Image Image
"All cruelty springs from weakness" - Seneca
Ghost
Level 5
Level 5
Posts: 507
Joined: Fri Jun 27, 2003 12:37 pm
Location: Broomfield, CO
Contact:

Re: Yet another LS swap

Post by Ghost »

I realized after the brackets were done that I didn't account for the rubber mounts compressing under the weight of the engine. What used to be 3/8" clearance from oil pan to the steering rack became about 3/16-1/4". I cut out and welded 1/4" thick steel discs to the bottom of the brackets where they bolt to the rubber mount.

Image

Finished brackets:

Image

Image

Engine mount brackets and the hydroboost mount plate finished and powdercoated. I probably should've went with black powdercoat all around instead of using a hammered aluminum finish on the brackets.

Image

Image
'85 XR4Ti: Stuck in "Project Forever" SC LS swap hell...
Image Image
"All cruelty springs from weakness" - Seneca
Matt01
Level 4
Level 4
Posts: 484
Joined: Fri Aug 10, 2012 11:29 pm
Location: Montreal (Canada)

Re: Yet another LS swap

Post by Matt01 »

If my engine ever goes, Im gonna seriously consider this swap. Great work, please keep updating, and if every you decide to fabricate those engine mounts, you might have a few buyers here.

your tranny parts, is there like a ford to GM kit for that?
GPz11
Level 6
Level 6
Posts: 871
Joined: Sun Apr 25, 2010 6:56 am
Location: Aurora, IL

Re: Yet another LS swap

Post by GPz11 »

So are you using the stock motor mount holes in the crossmember?

Your headers clear the steering shaft better than my 302 swap. You can see marks where it has just touched the header.
User avatar
DPDISXR4Ti
Site Admin
Posts: 14824
Joined: Wed Jan 08, 2003 11:40 pm
Location: New York

Re: Yet another LS swap

Post by DPDISXR4Ti »

Thanks for documenting all this Jacek. Look forward to seeing it run down the road.
Brad
RX-78 Gundam
Newbie
Newbie
Posts: 20
Joined: Thu Apr 28, 2016 1:20 pm

Re: Yet another LS swap

Post by RX-78 Gundam »

Thanks for sharing in your journey. Giving me plenty to learn and lots of motivation.
Post Reply