


You must have a Myspace account to view, sorry!
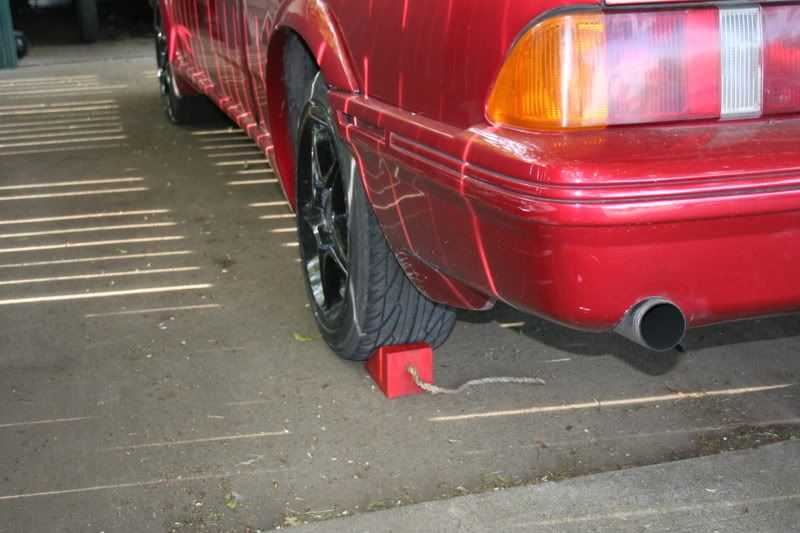 Block the car from rolling.
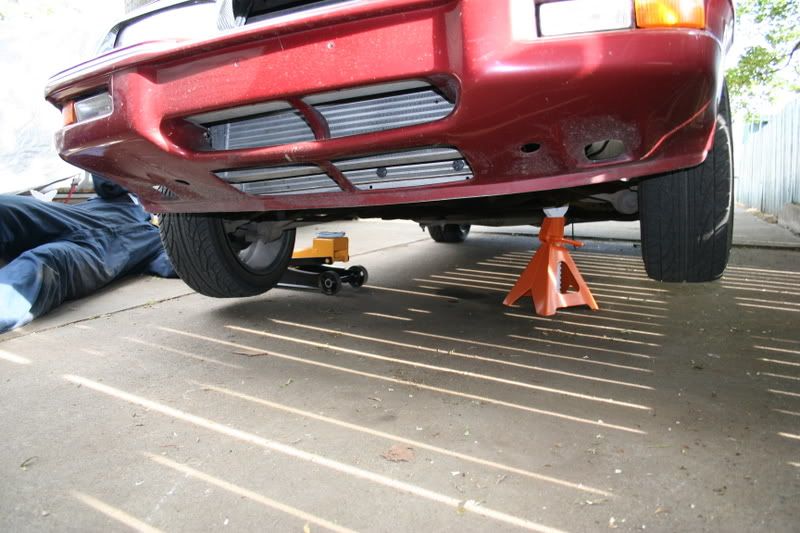 Jack stand 1
 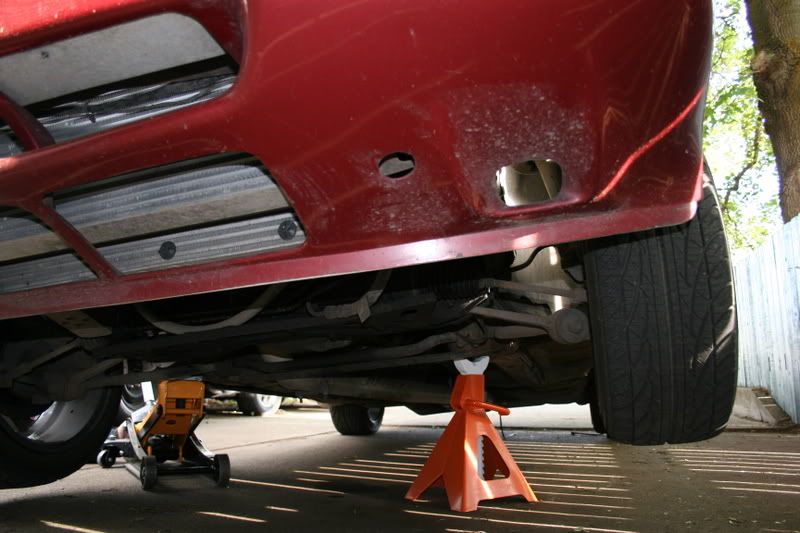 Jack up the opposite.
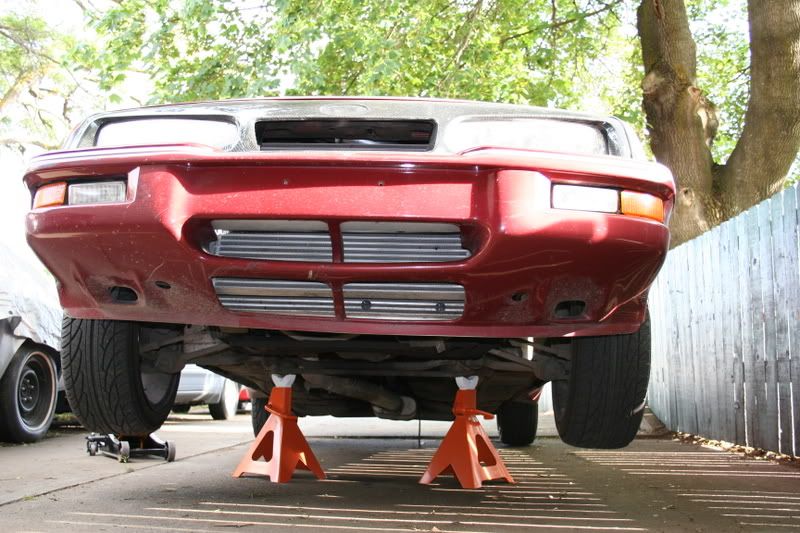 Jack stand 2.
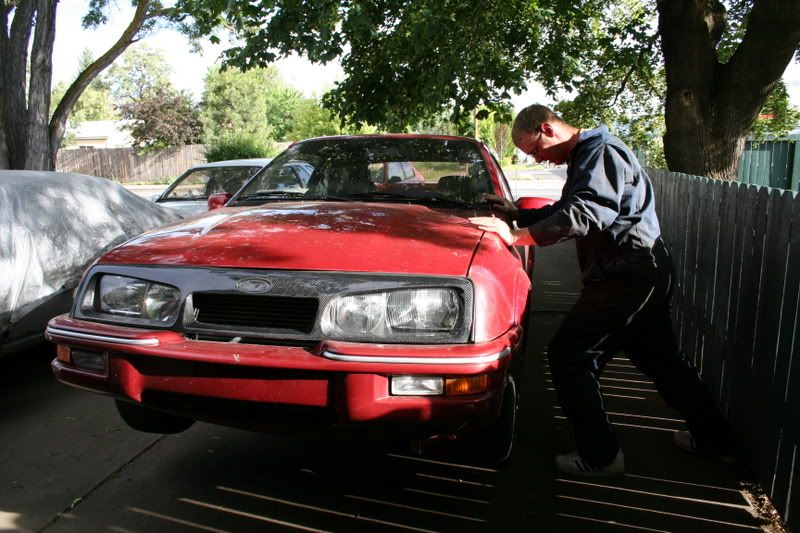 Push car does it rock-n-roll? I hope not.
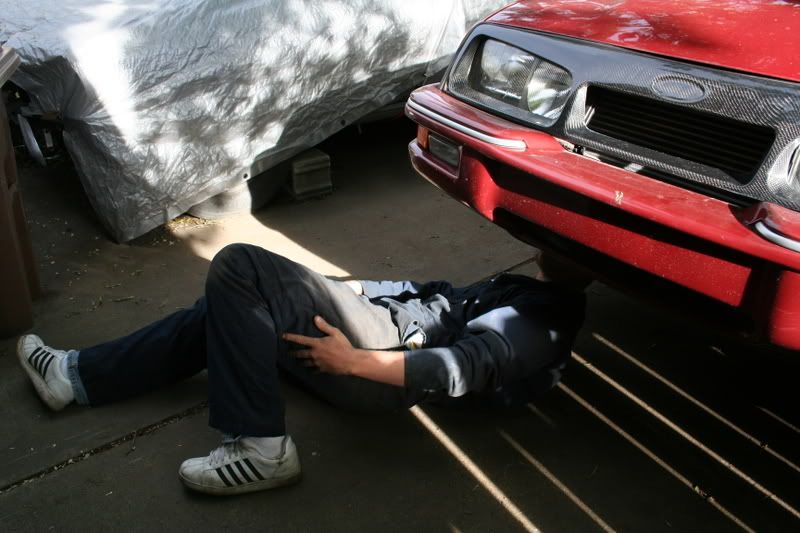 Crawling under
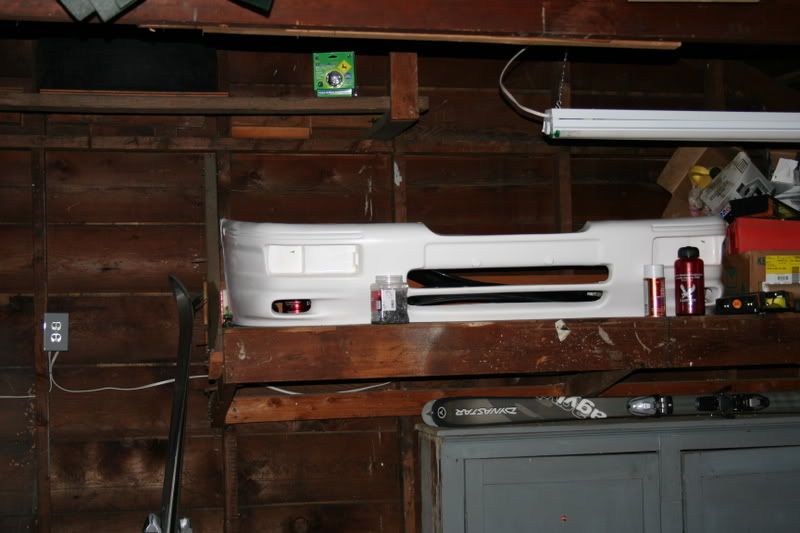 The new piece NACS fiberglass RS 500 Cosworth bumper.
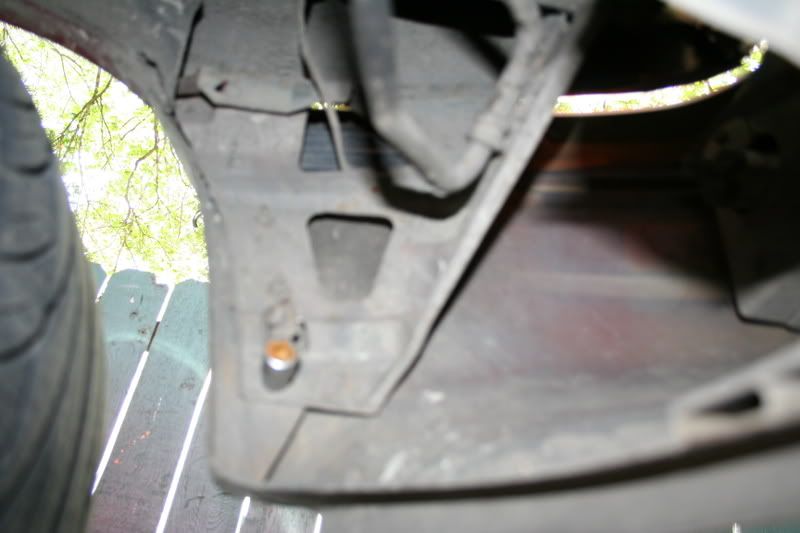 Remove 4 of these bolts per side
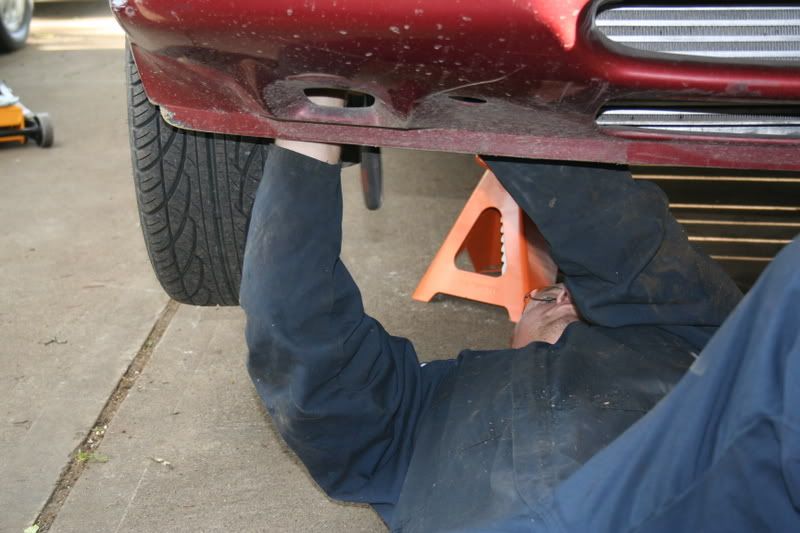
 the opposite side
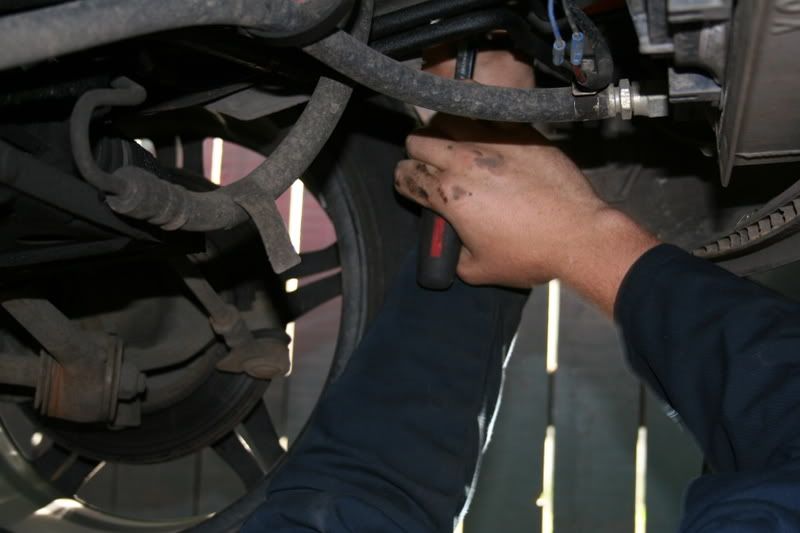
 Un-done
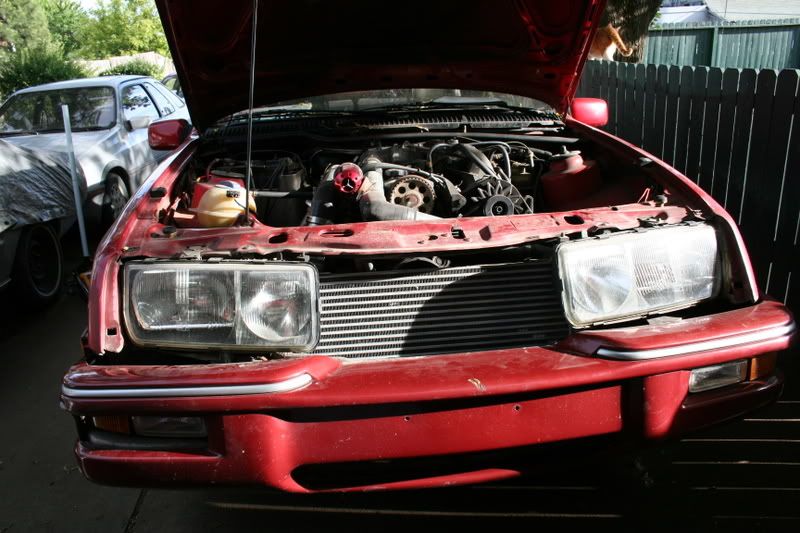 Remove grill, 4 screws along the top of the radiator suppot.
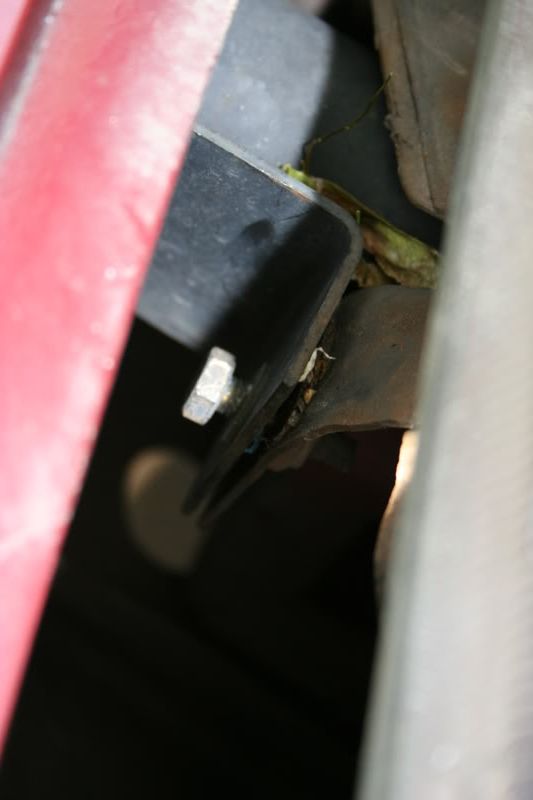 Remove bumper shocks 2 bolts each.
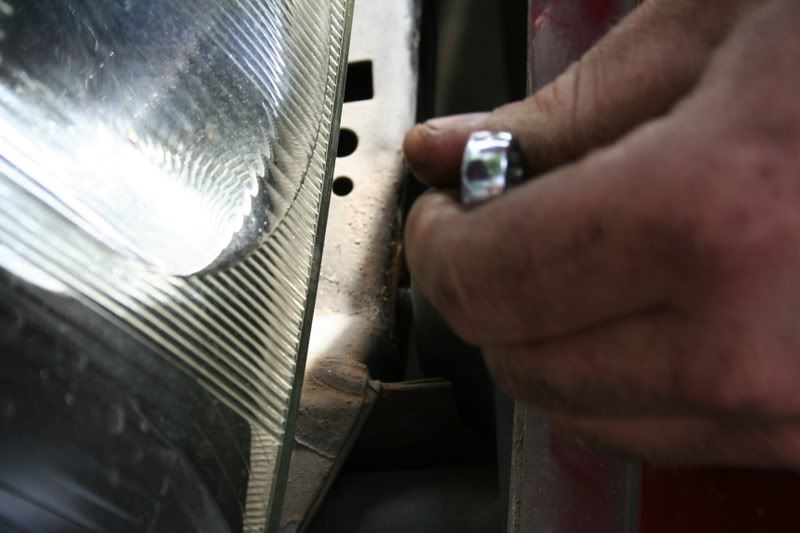 An end wrench works well, if you have a ratcheting end wrench this is easy as pie! Which is 3.14 Ect.
 Nice, working it well!
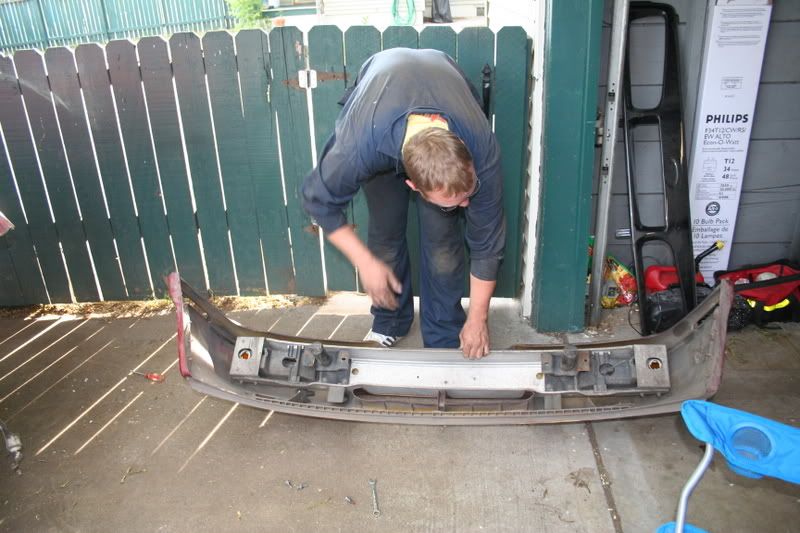 Off!
Off!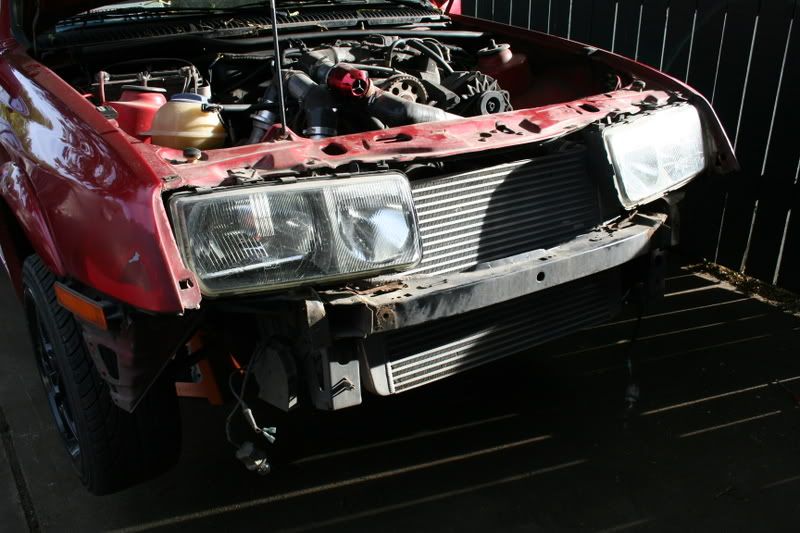 See!
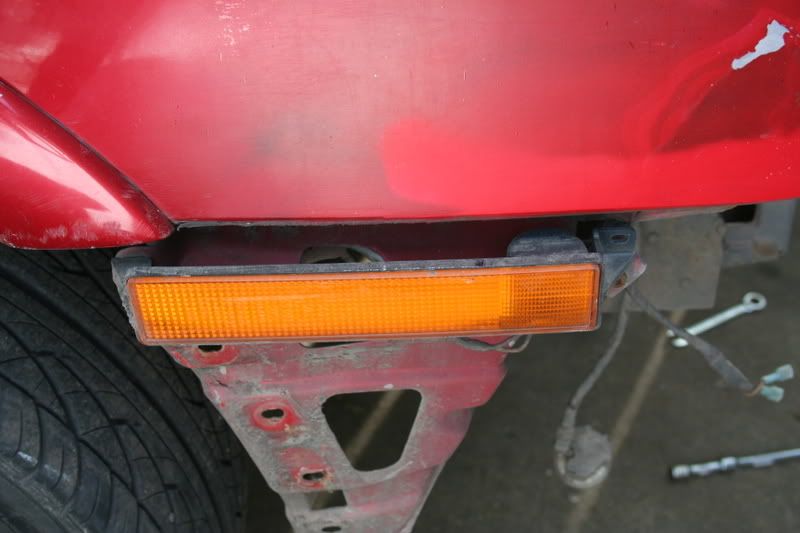
See!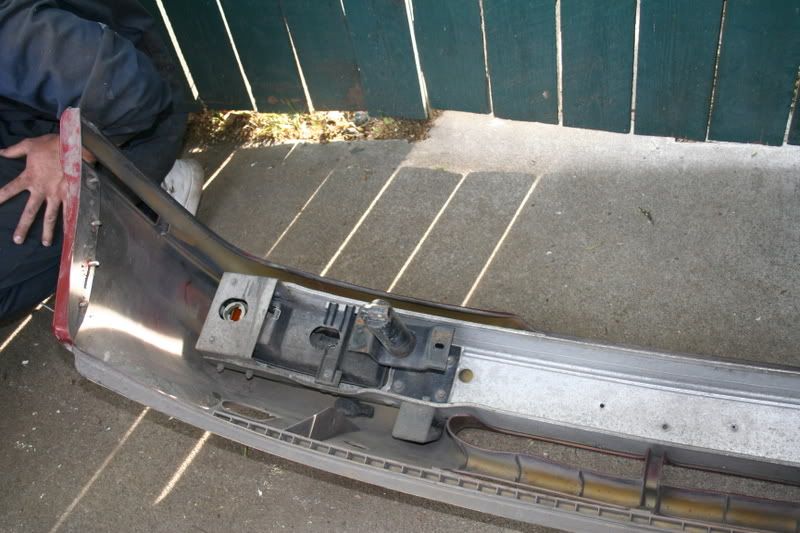 Remember to remove fog and directional light connections
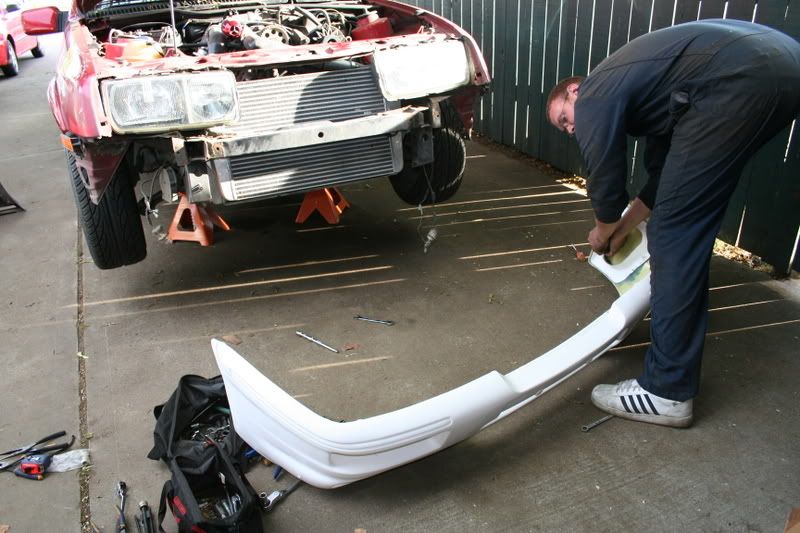 ready to fit
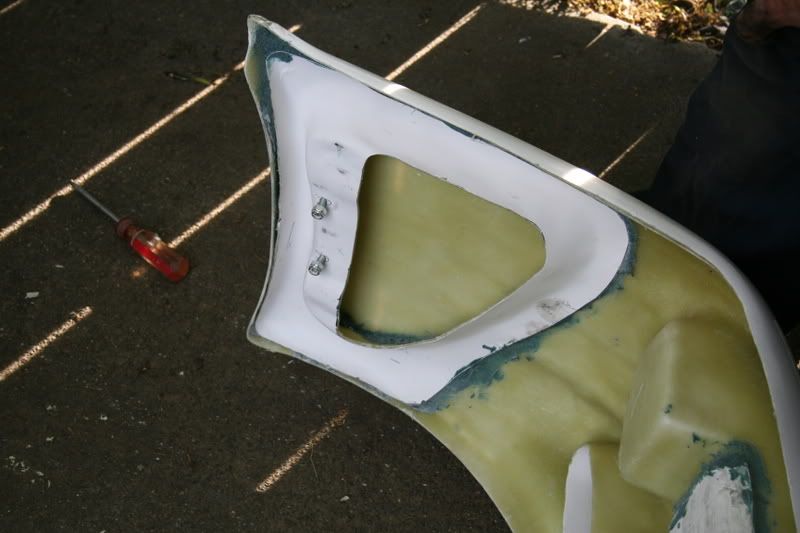 NACS Bumper uses 2 bolts per side and 2 in front
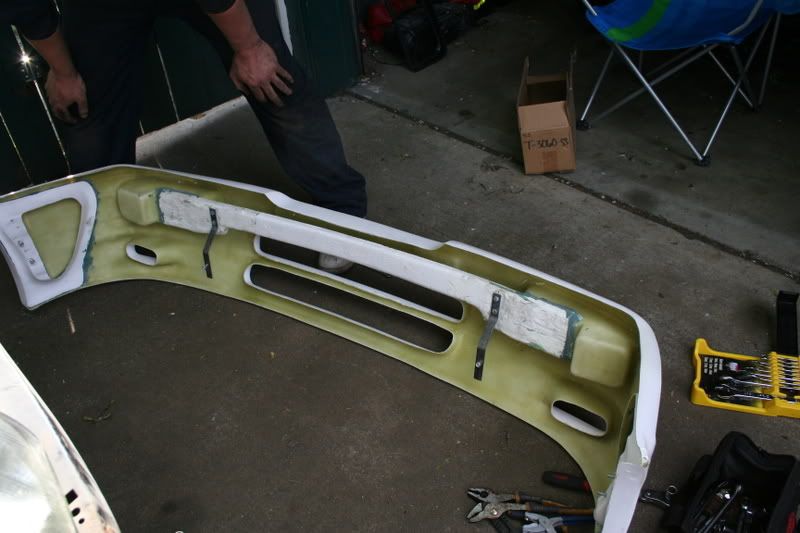 2 steel front support rods
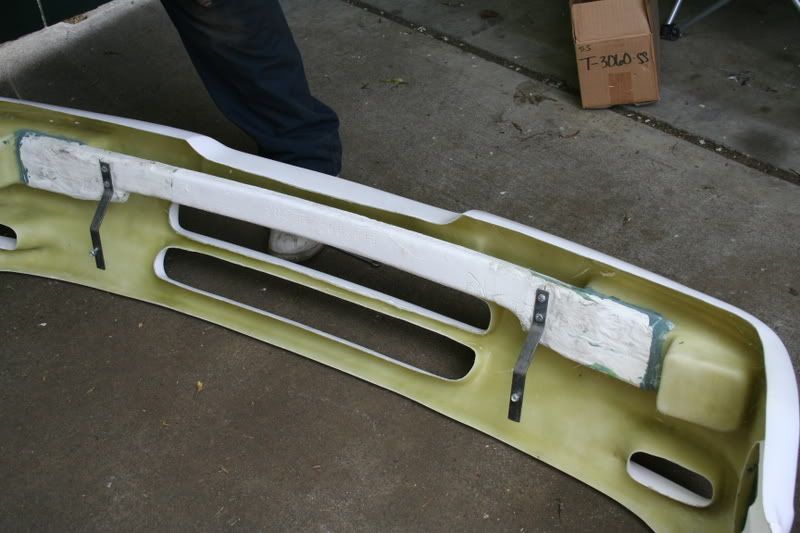
 removal of side reflectors is needed, This turn signal harness will Probably be lengthened and turned into euro style side markers
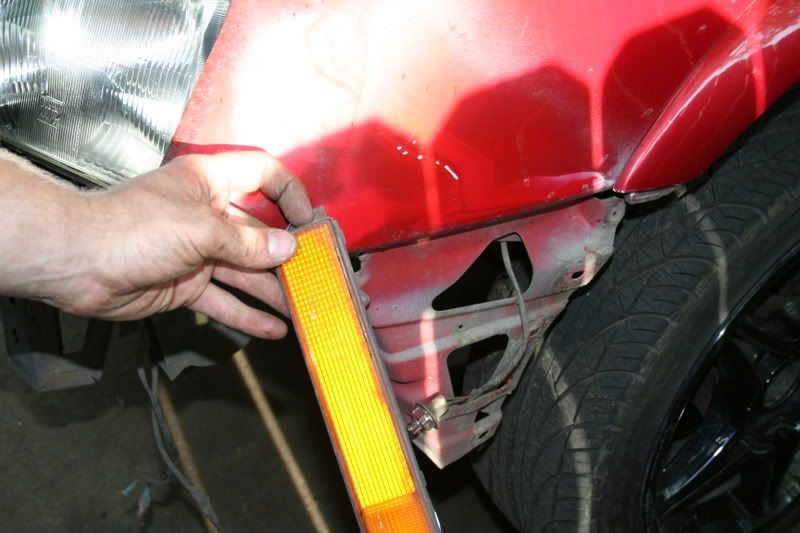 see!
see!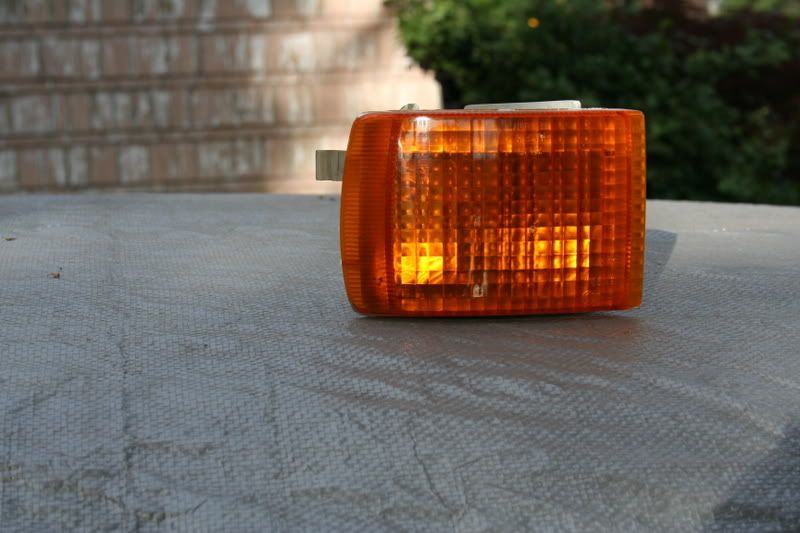 Cossie directional lights
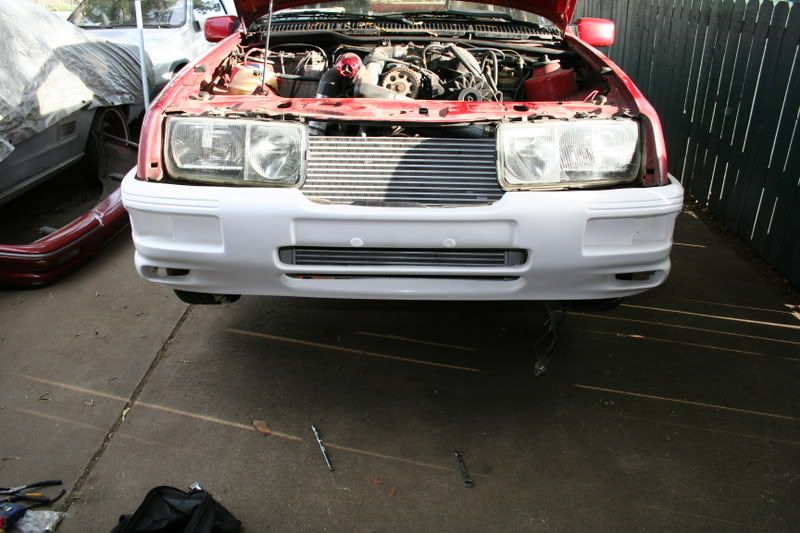 Rough fit, Just hangin there
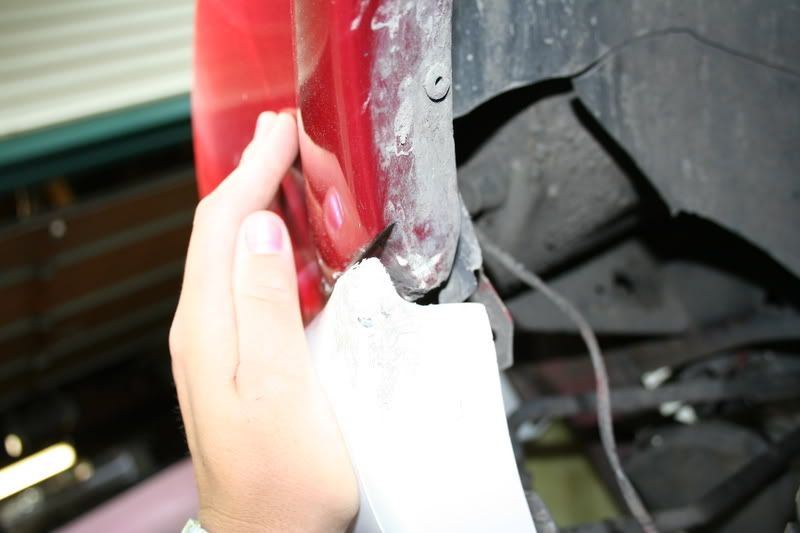 The re-pop fiberglass arches need to be trimmed a little; a hack saw blade works great for this.
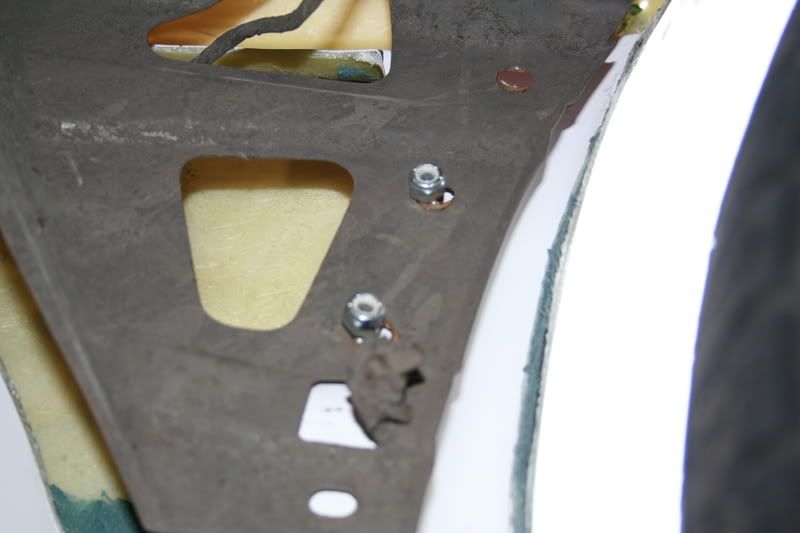 The 2 side bolts in place
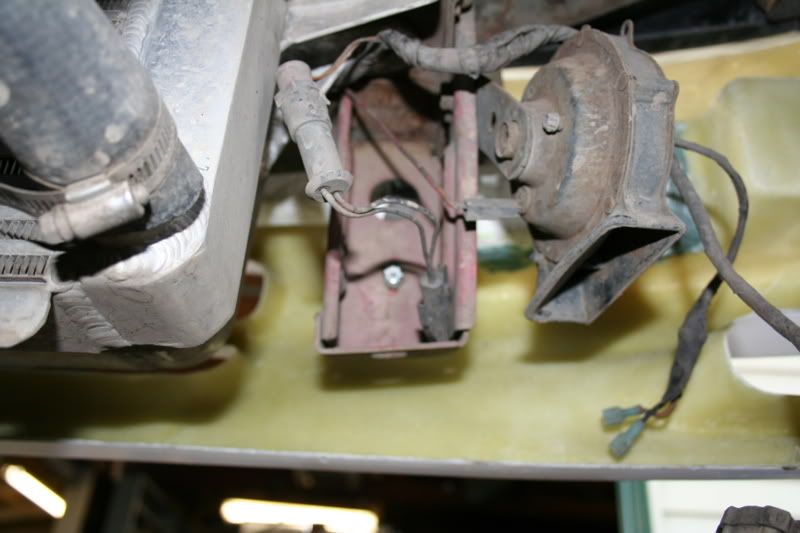 The front bracket that the forward bracket mounts. On the Passenger side a switch needs to be removed to mount the forward bracket. (Notice the switch just left of the horn)
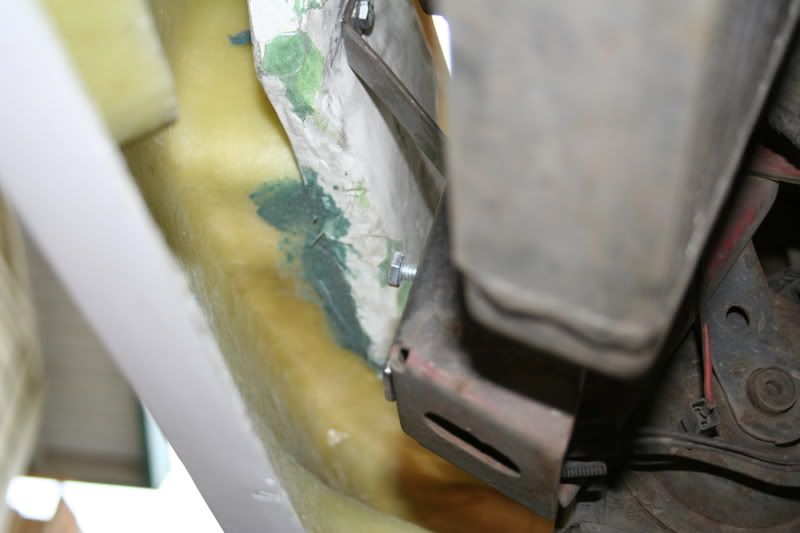 Bolts loose in place
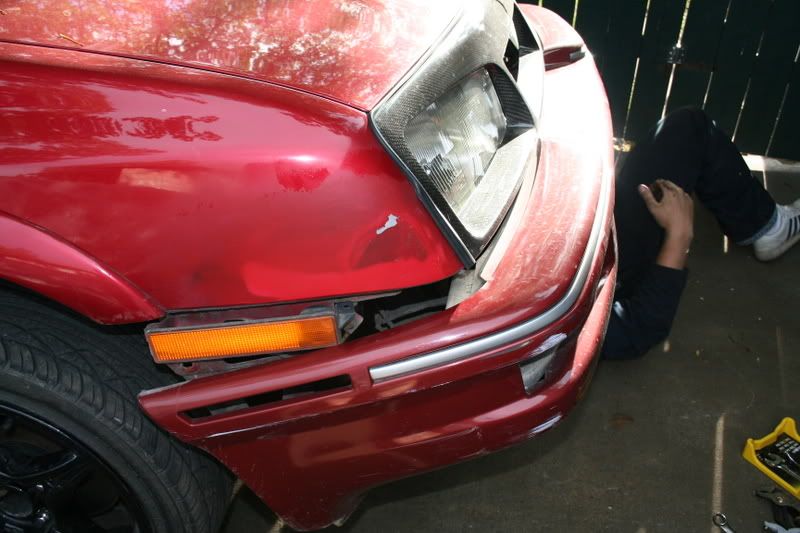
 Oh snap, A gap!!... this car has had some front end work in the past!
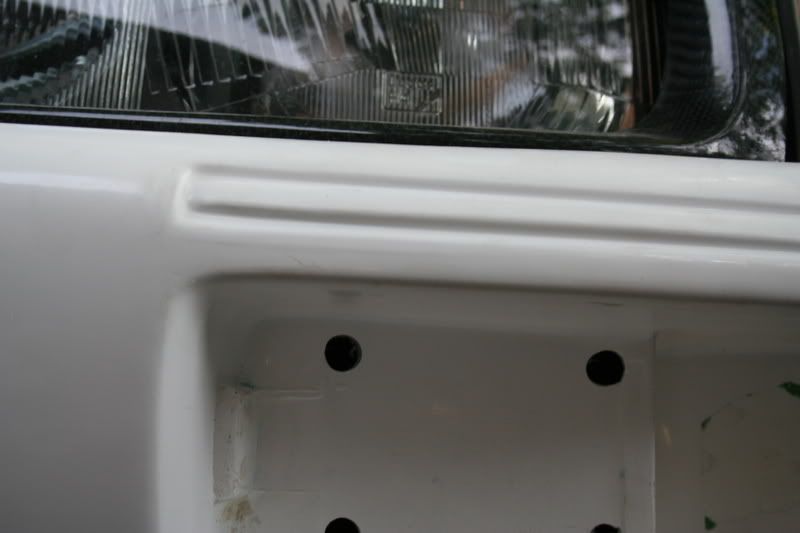 4 drilled holes to allow the new fog lamps
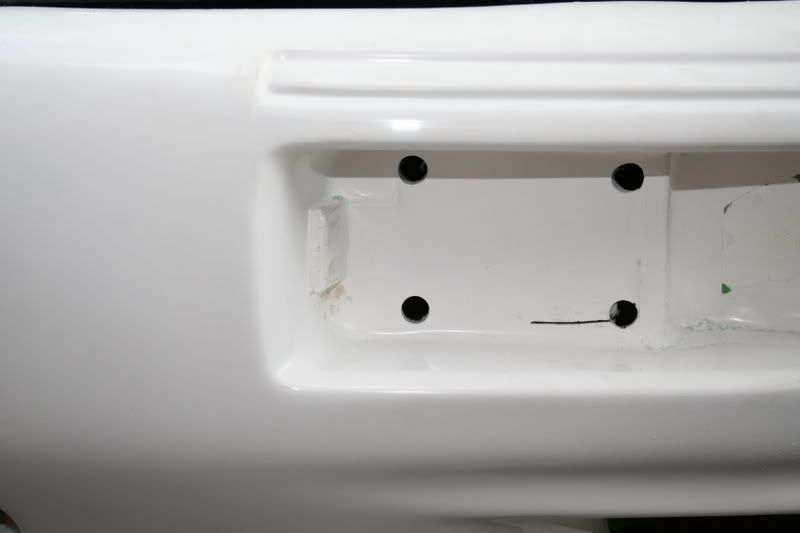 Starting the hack saw cut.
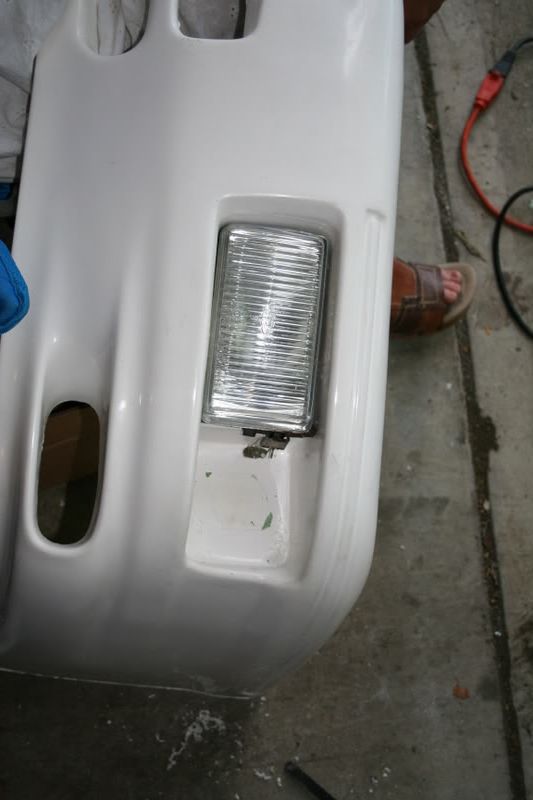 Fog is in place
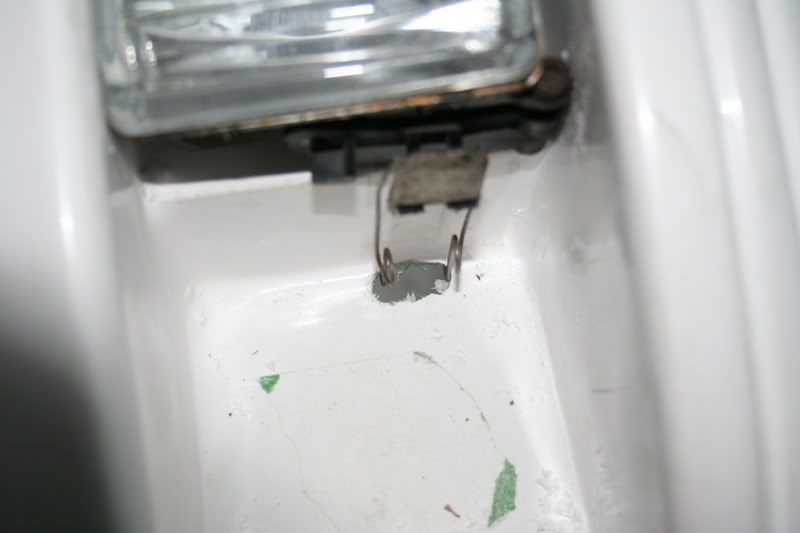 The original lamp uses a locking clamp like shown; easy work with a 1/4" drill bit, Just drill then waller out the slot.
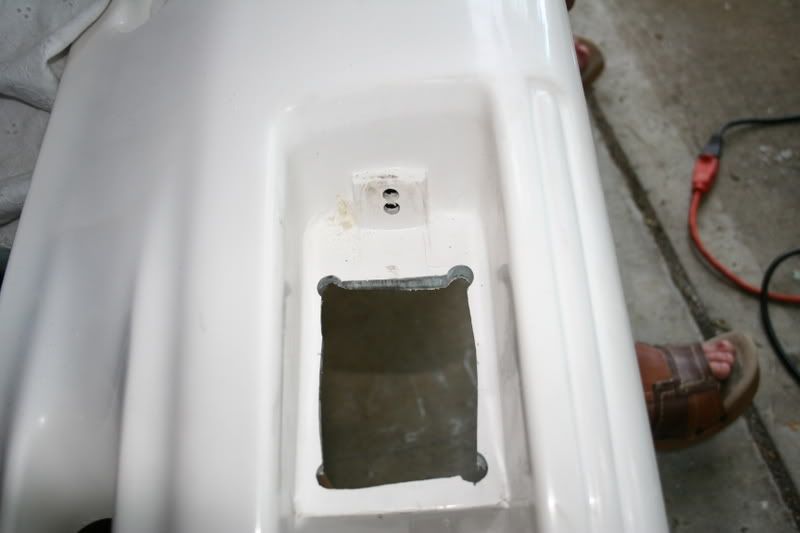 Drill a pivot hole for the original ball to rest, the upper one is in the correct place
 The directional fogs use a plastic pivot finger which locks into the bumper and friction retains the plastic body into the bumper.
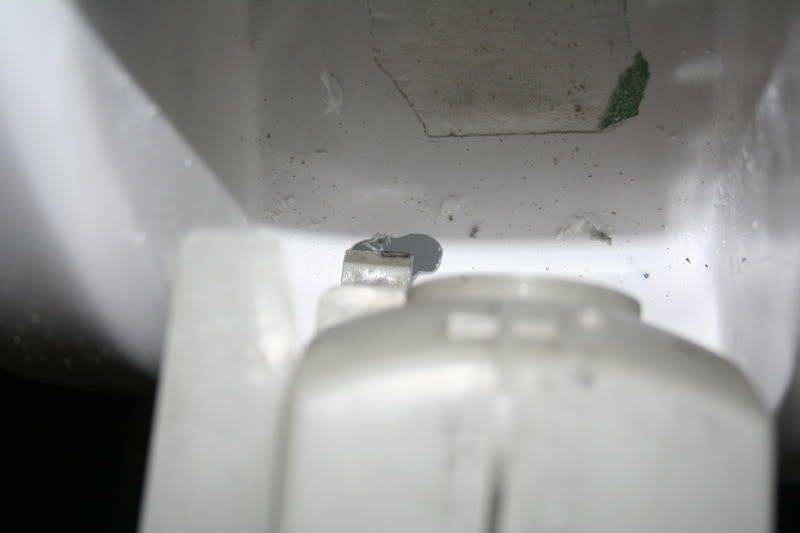 see the plastic pivot, almost like a finger
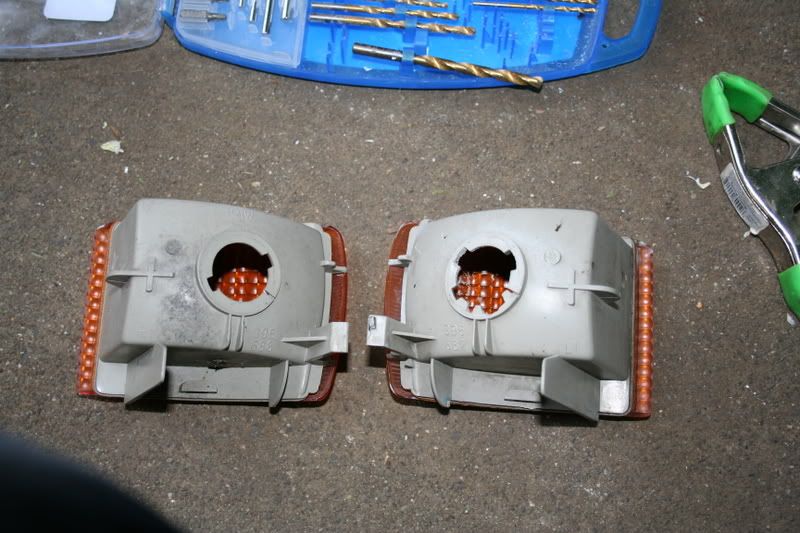 This was a tough decision... modify the cossie lamps or the XR sockets, I decided to modify the lamps as a original cossie socket will still fit. (left is the unmolested housing, Right is the modified version)
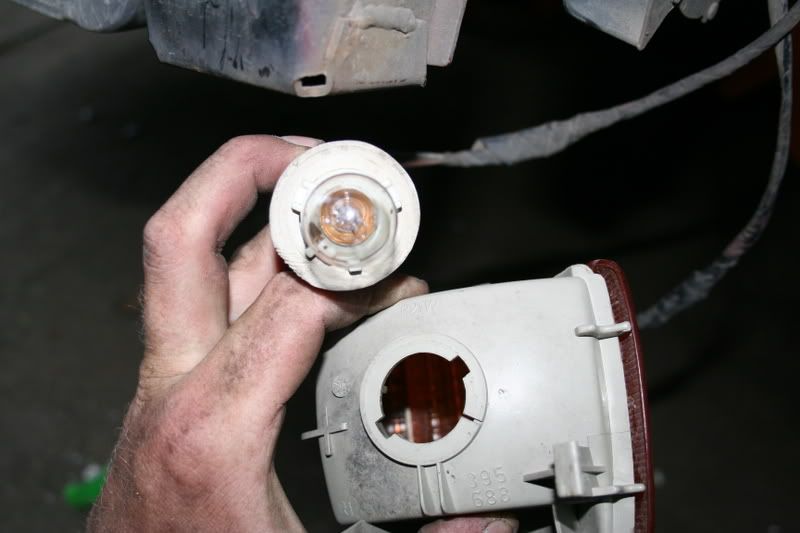 Top- XR socket, the XR socket has more alignment/centering studs Bottom- un molested cossie lamp housing
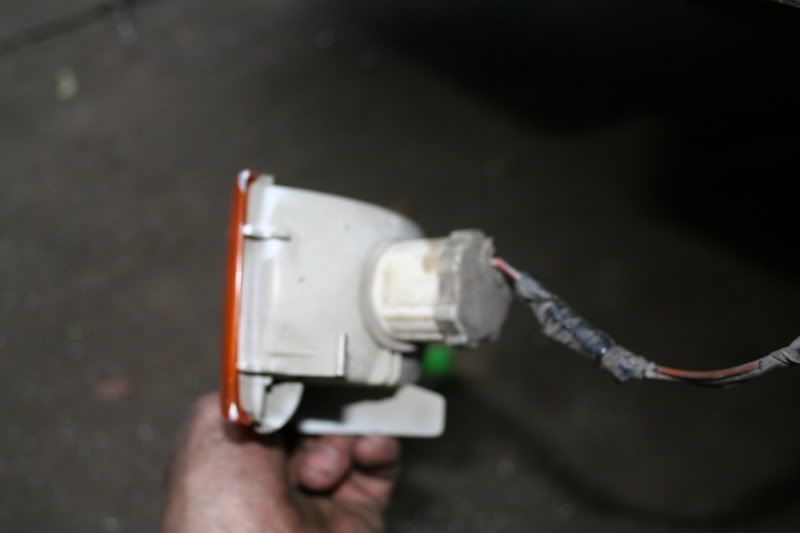 XR socket in cossie lamp
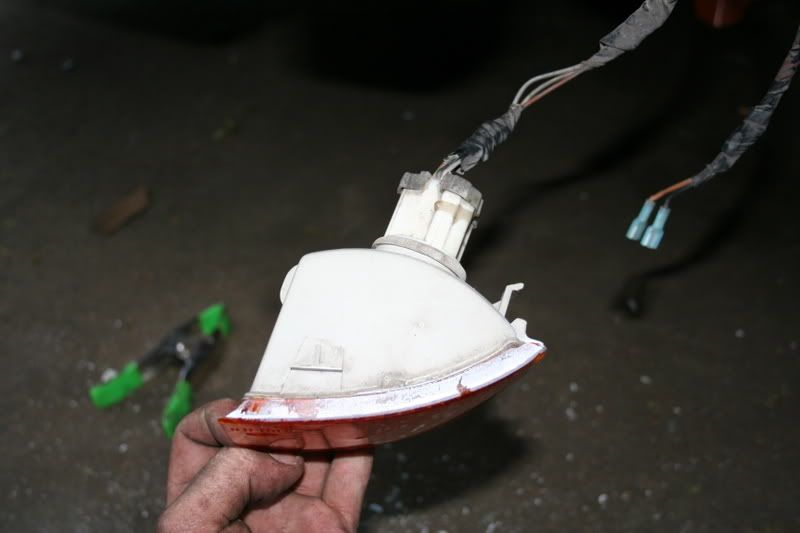 nice tight fit and the Stock Cossie Socket will still work! As will the Stock XR lamp. Assuming you wanted to back to original.
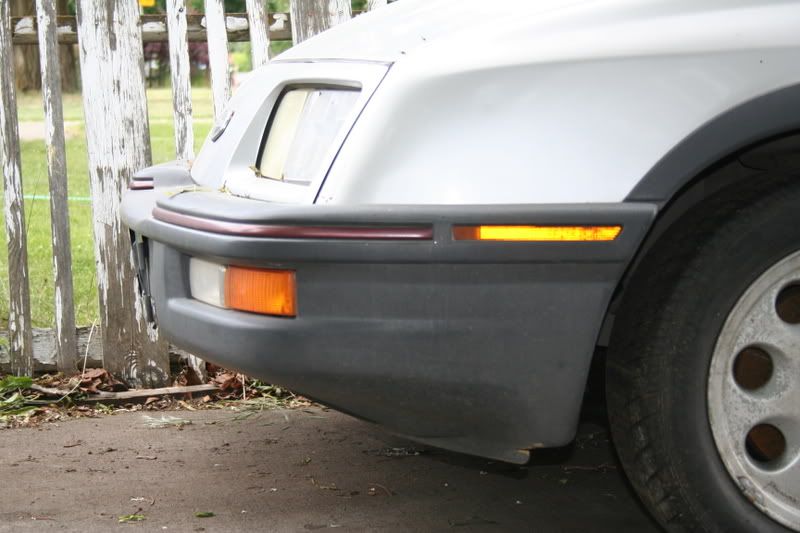 Original Bumper... It has a FAT lip someone musta punched it!
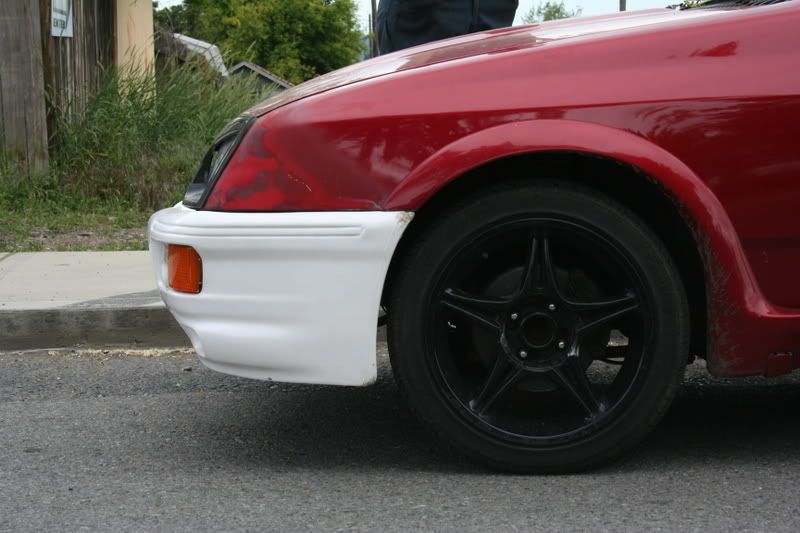 Swelling has gone down! Time for paint!
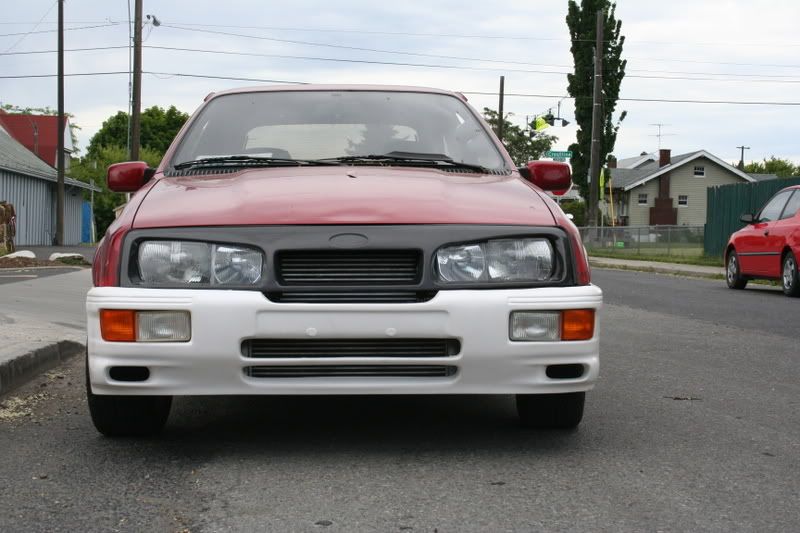 all fitted up!
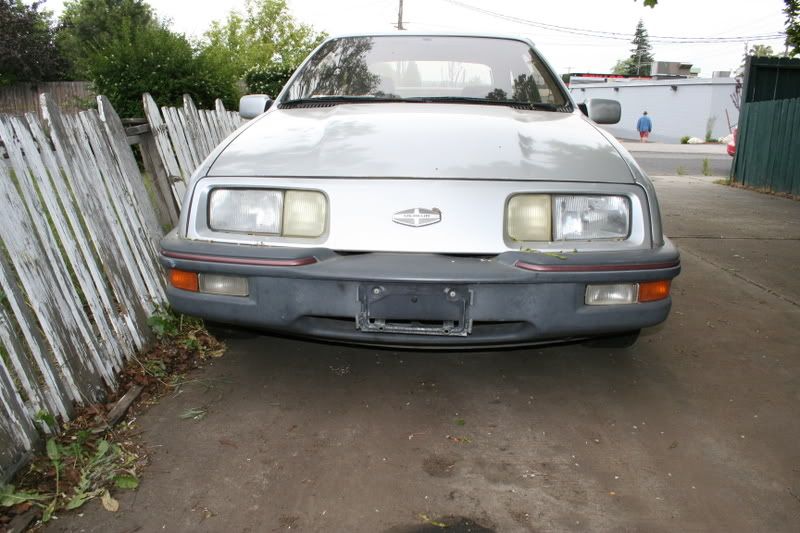 Ugly Cousin!
Enjoy!


