

It goes in chronological order and it's funny to see the plans I had back when I first got it and what is had turned into now.
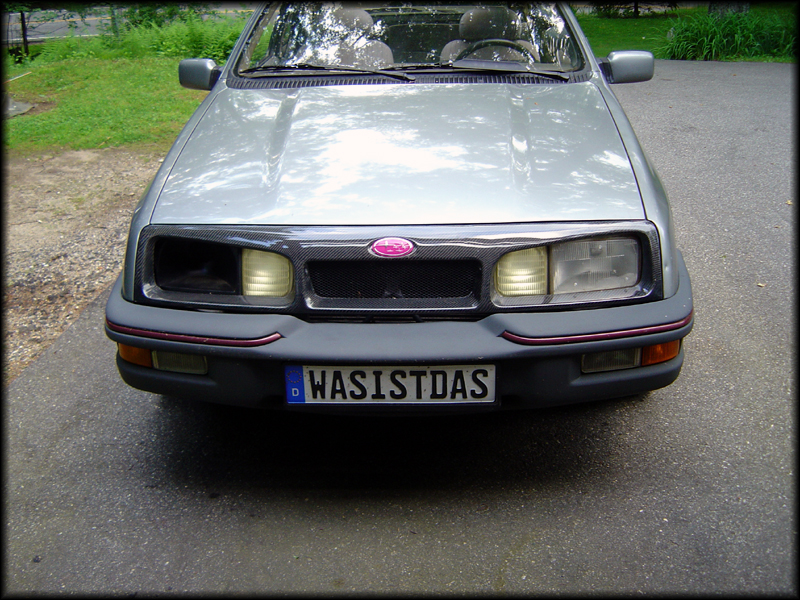
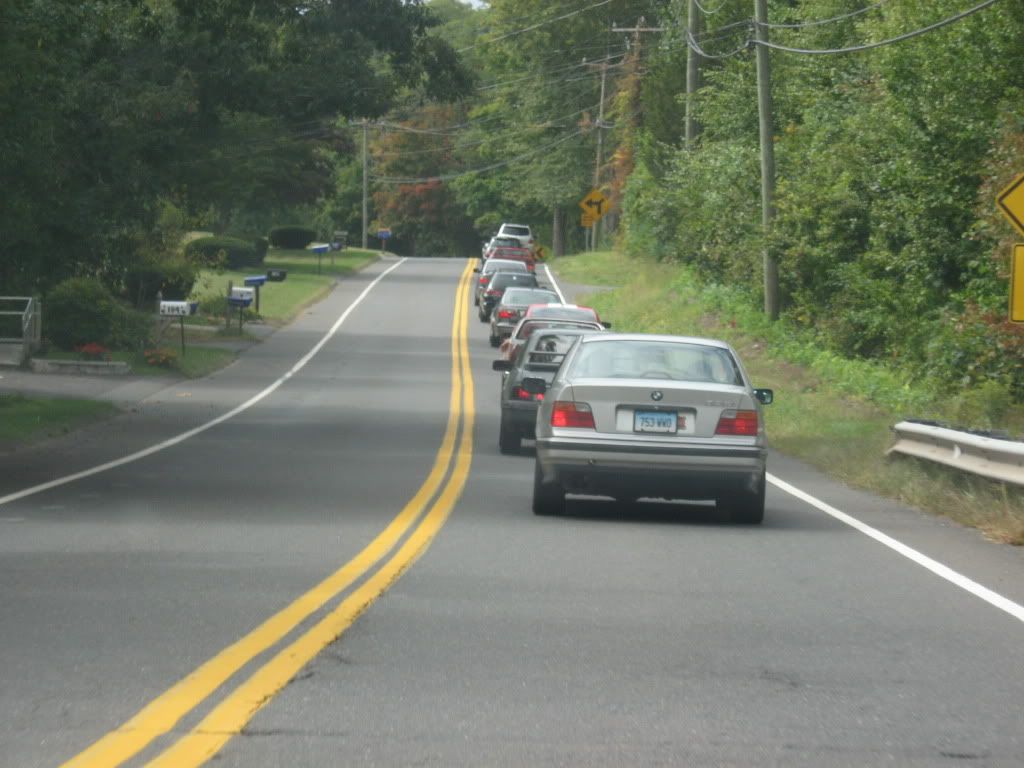
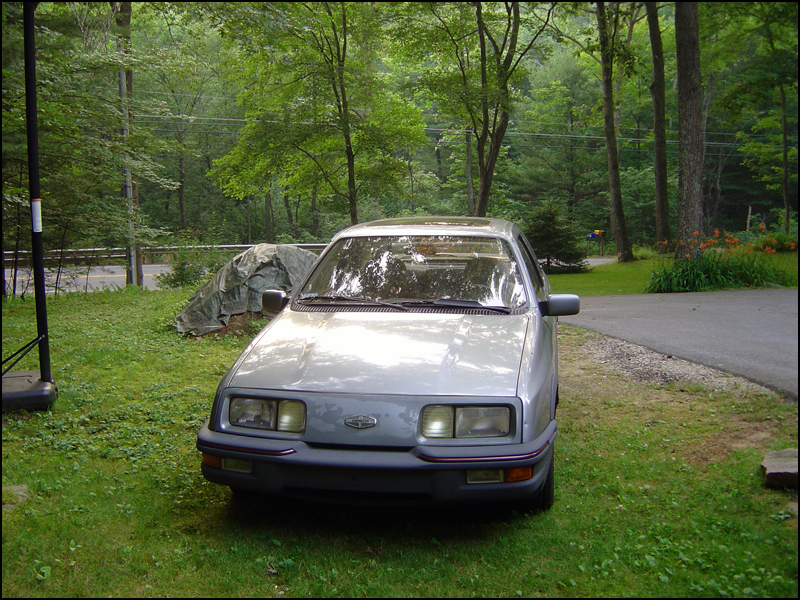
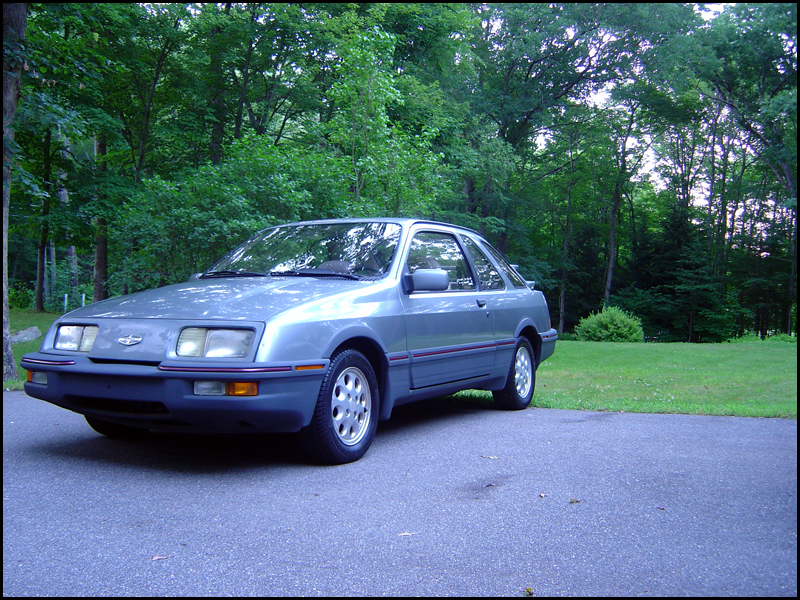
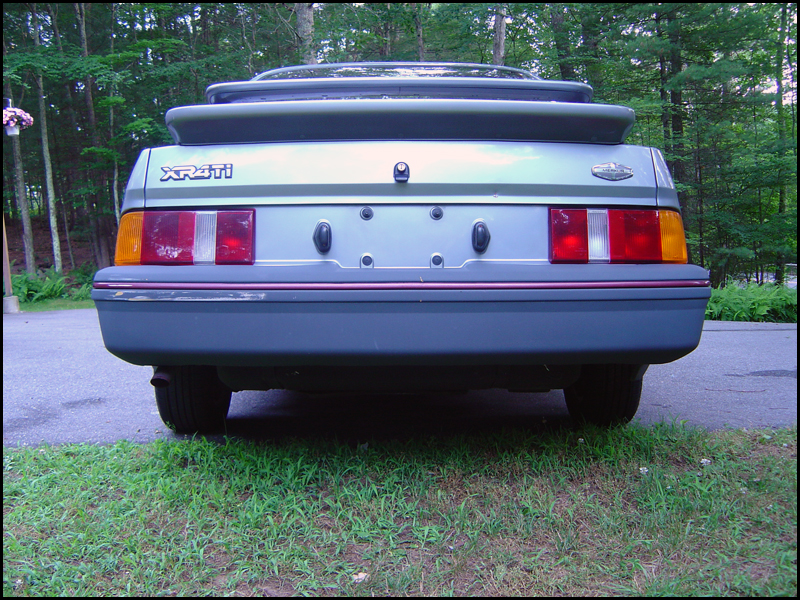
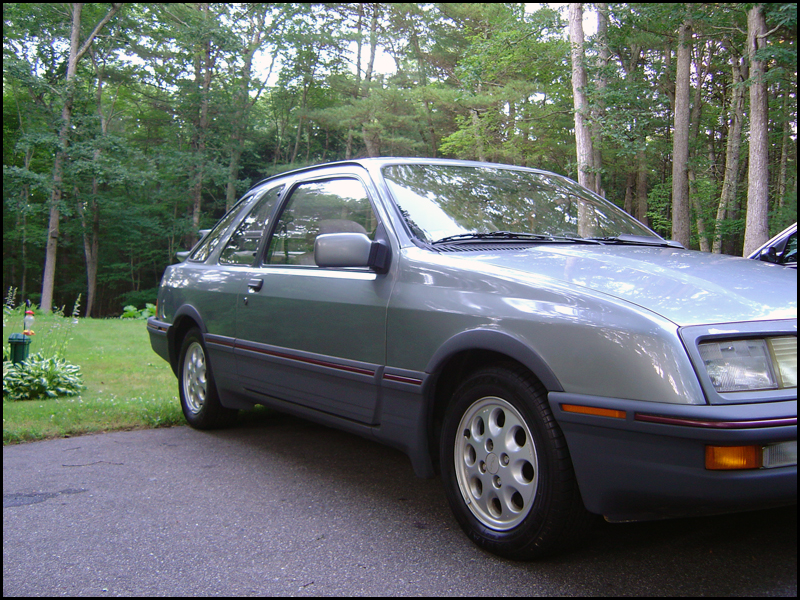
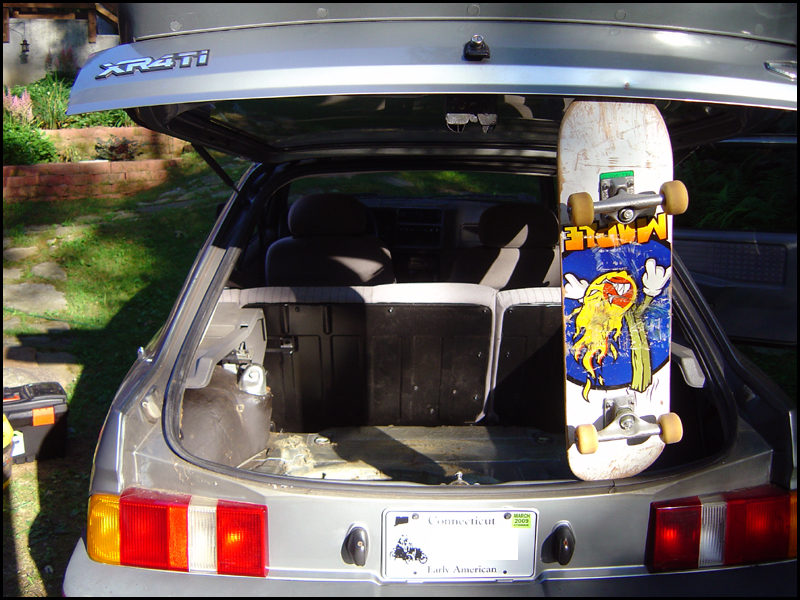
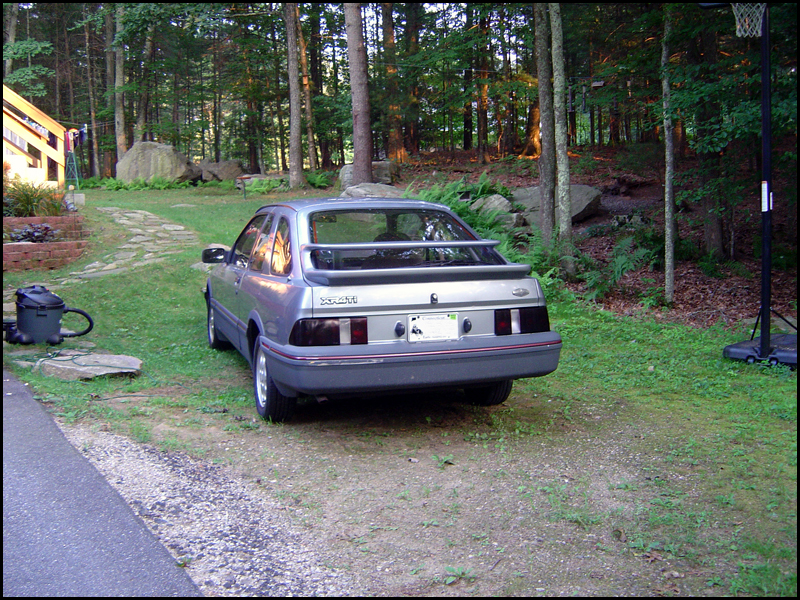
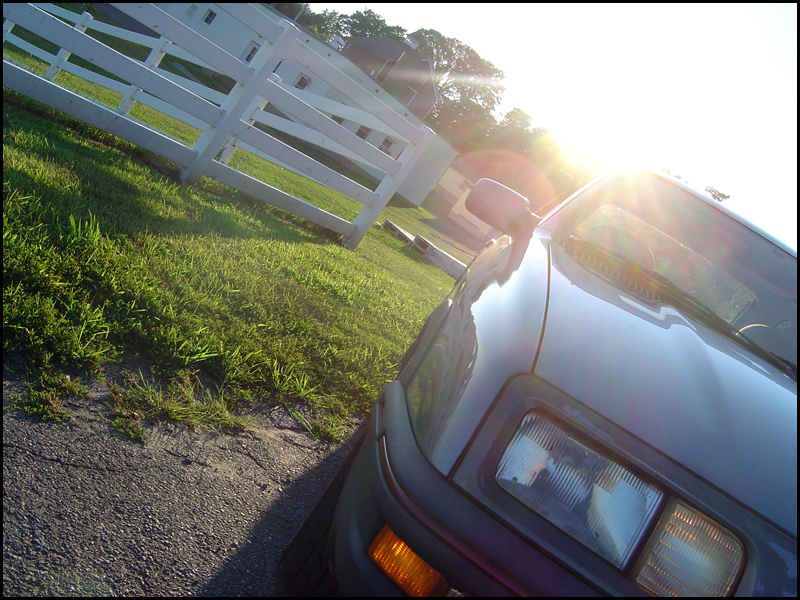
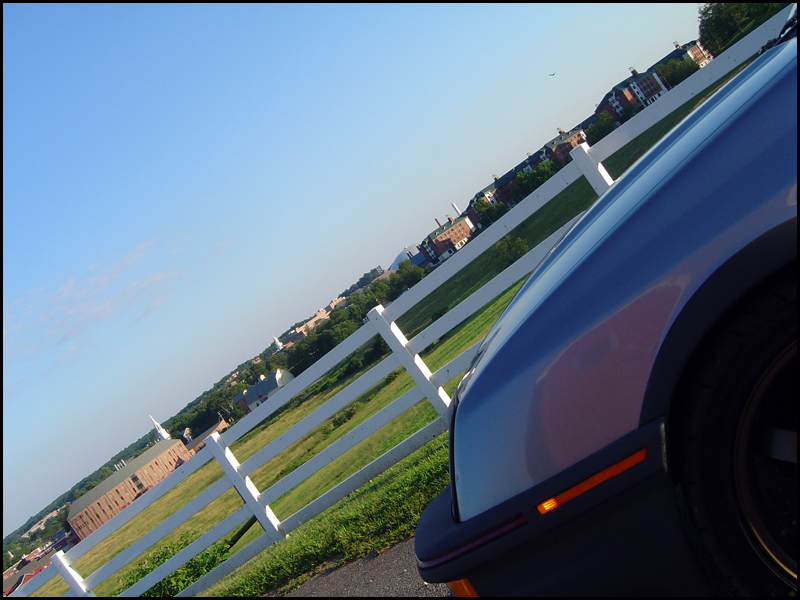
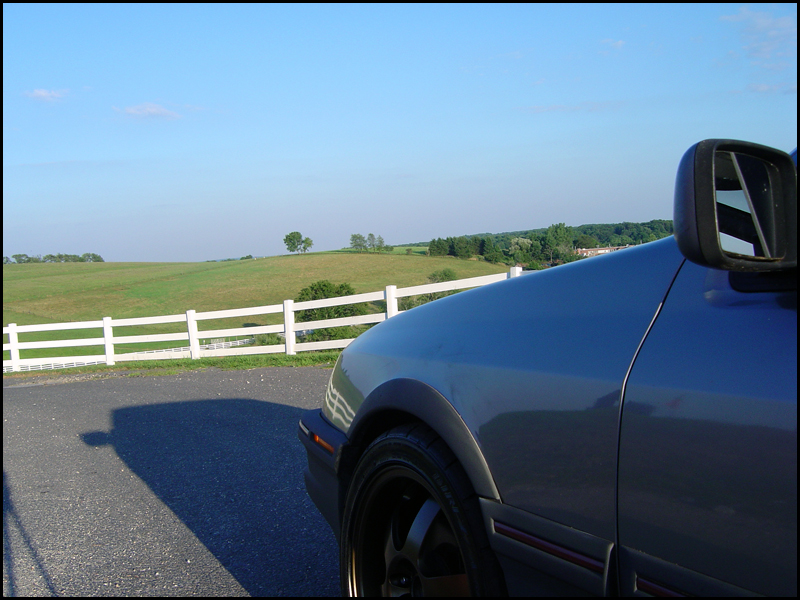
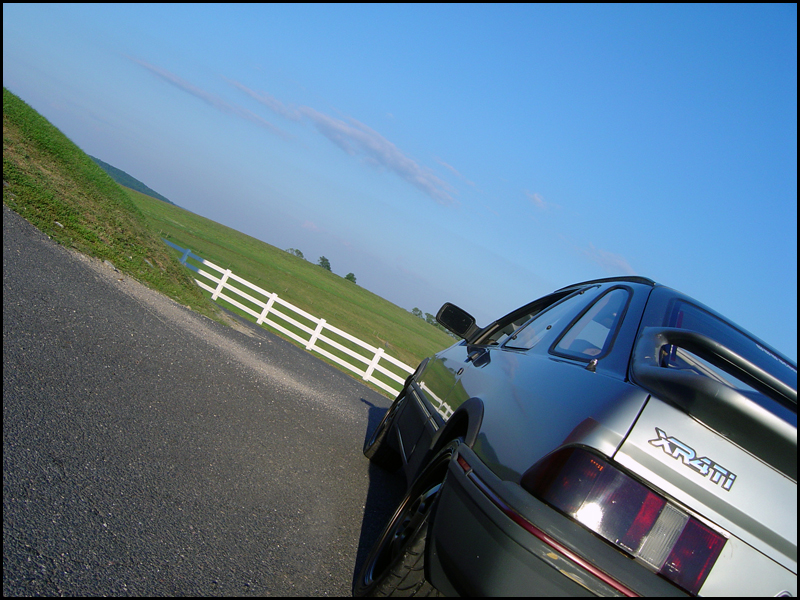
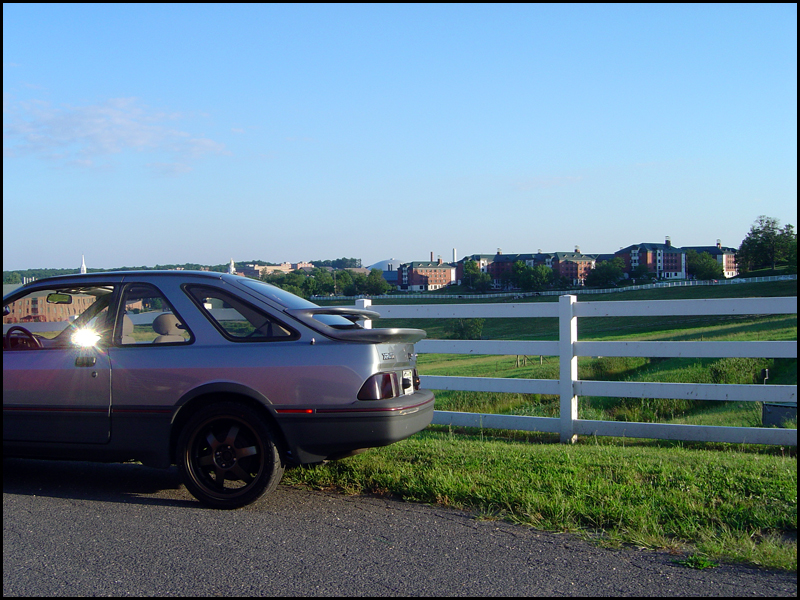
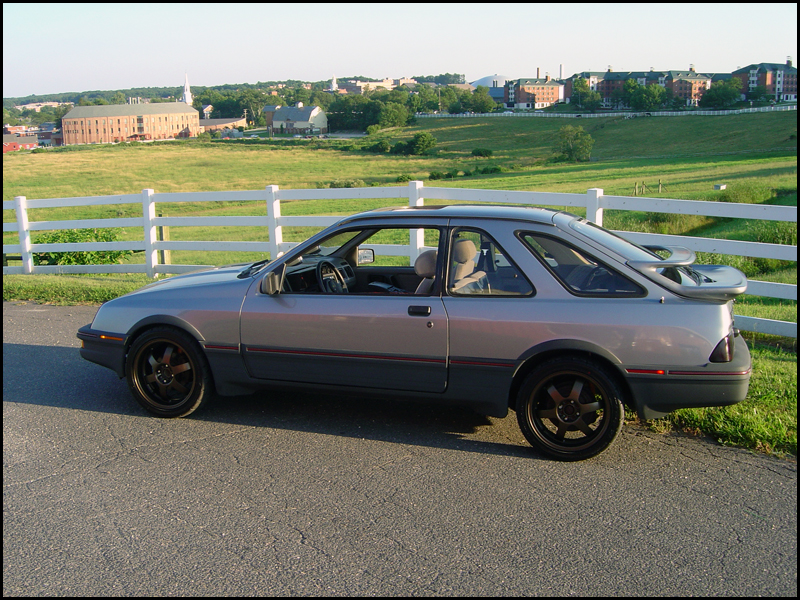
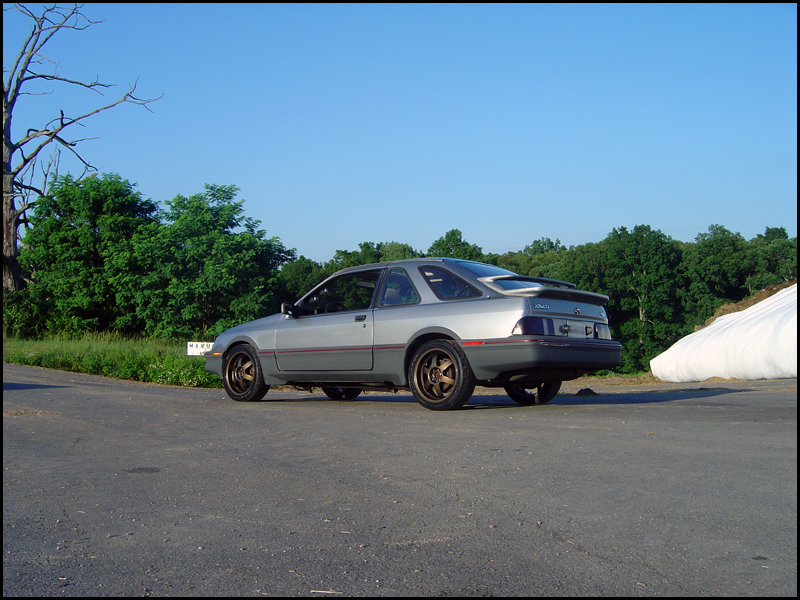
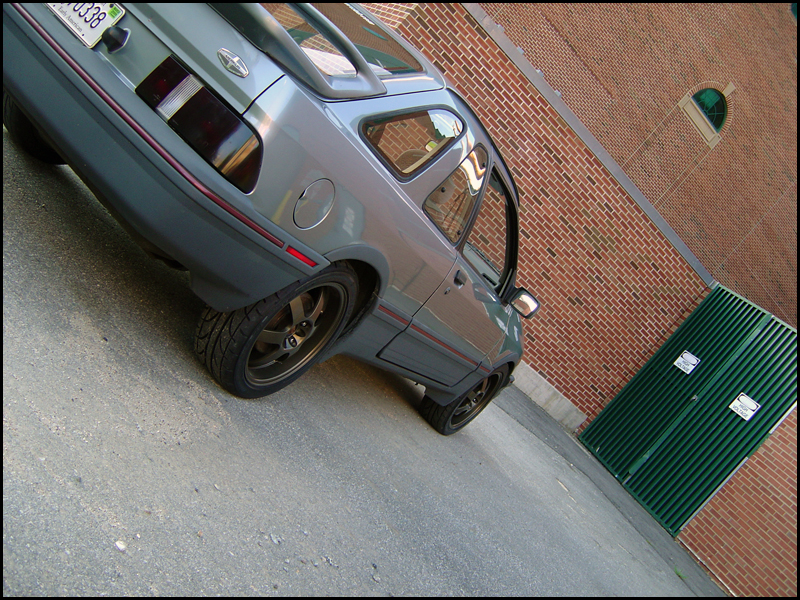
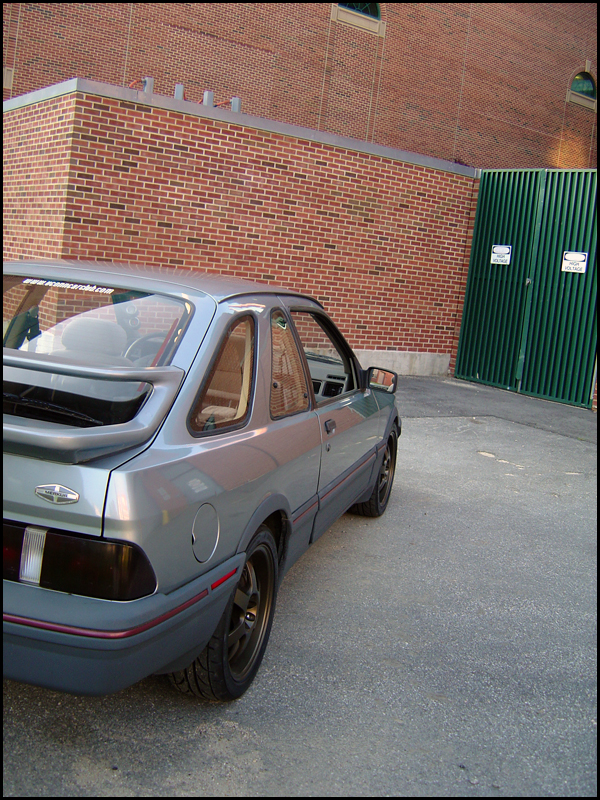
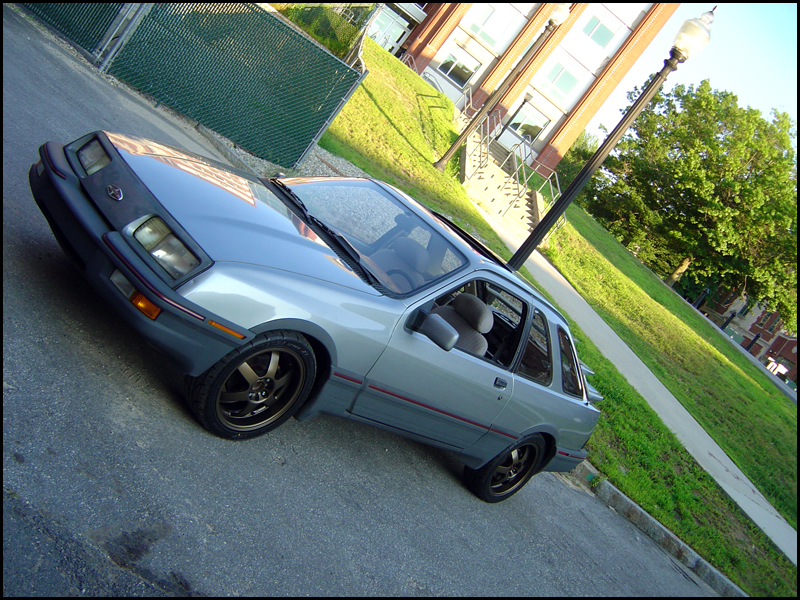
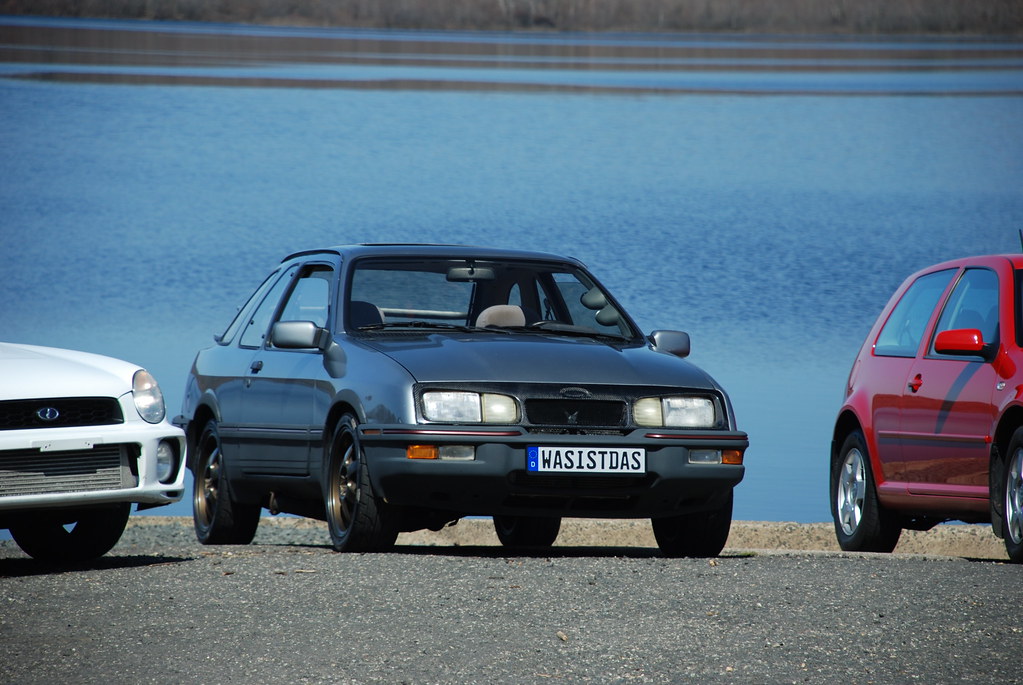
I've been wanting one of these for a while and finally picked one up this past weekend. Car is an 85 with a bit over 66k miles on her and she just passed emissions today so I can finally get some real plates on her. I'm not sure what to call her yet. My friend has dubbed her "Rain Cloud" since it's dark grey and it just made her day when she found out it was Nimbus Grey. I might call her "Lucky" since I picked her up on 7/7/07
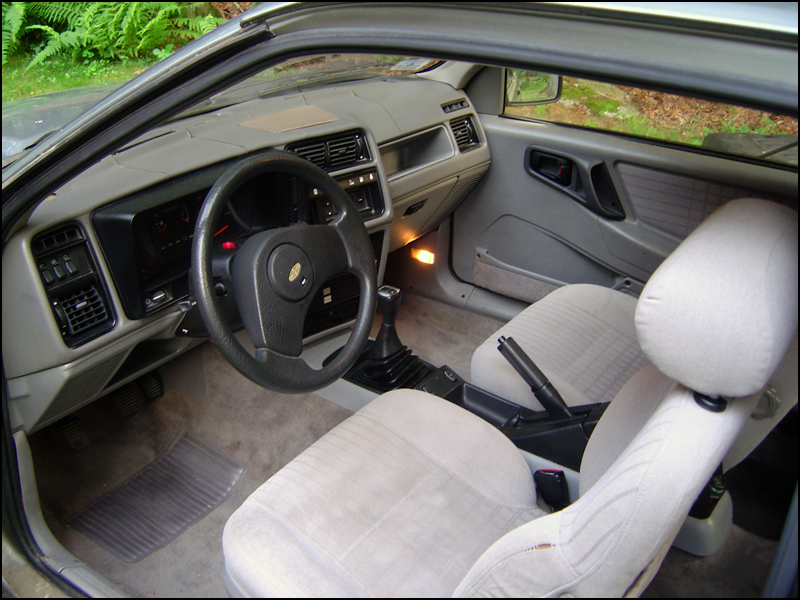
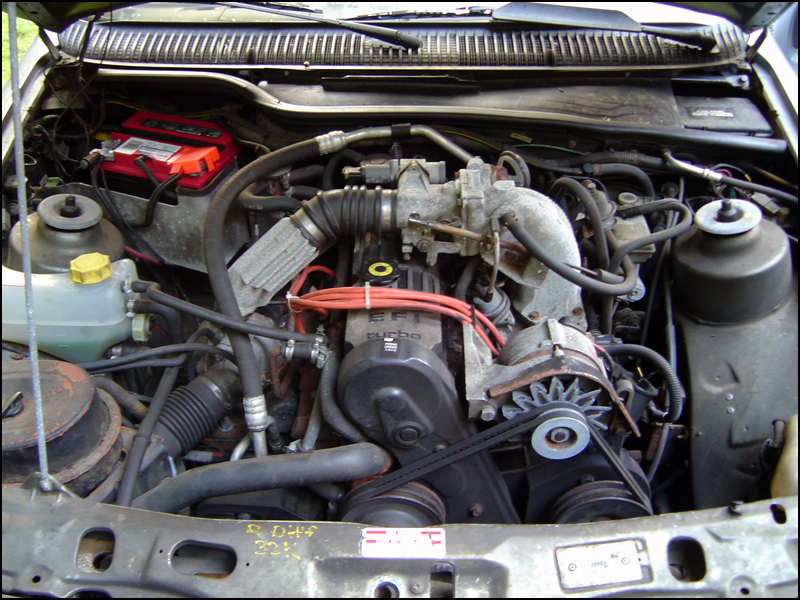
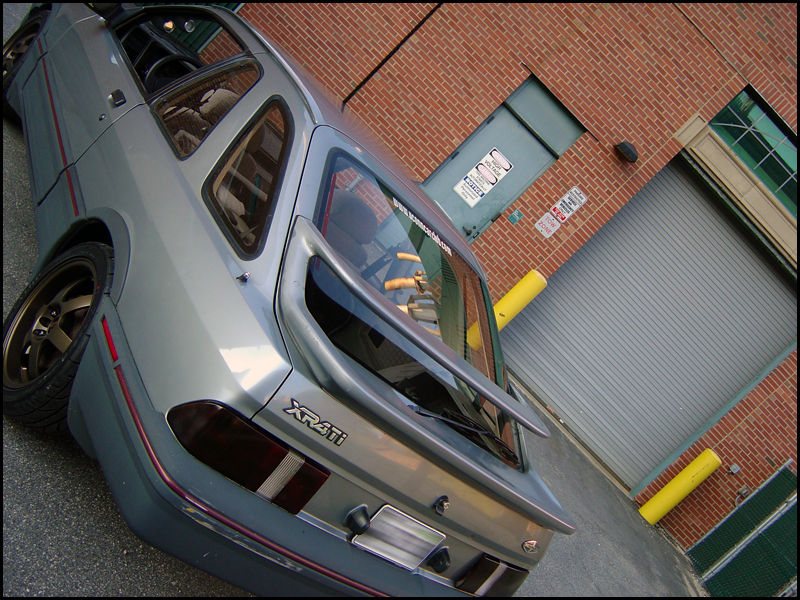
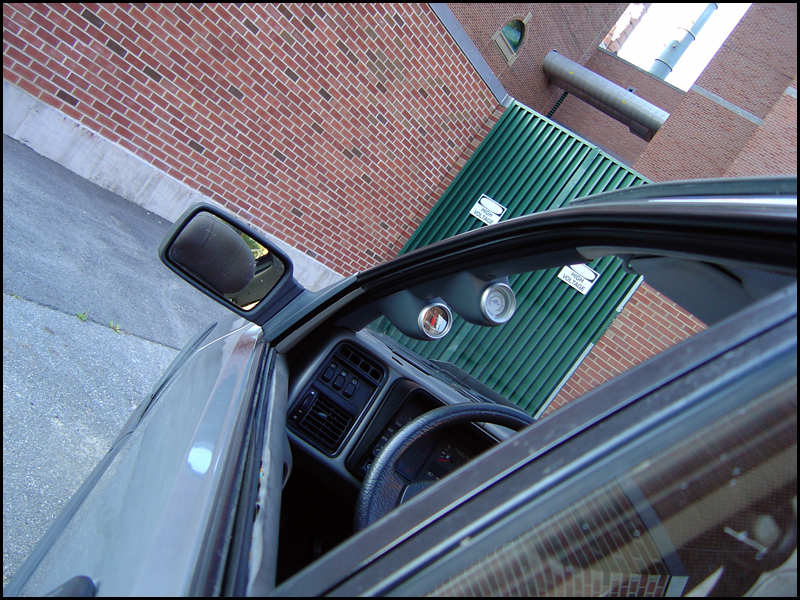
Anyways, here are the pictures. I haven't even touched the car with any sort of cleaning products so bear with me. I'll have some "after" pics up when it isn't 95* and 60% humidity.
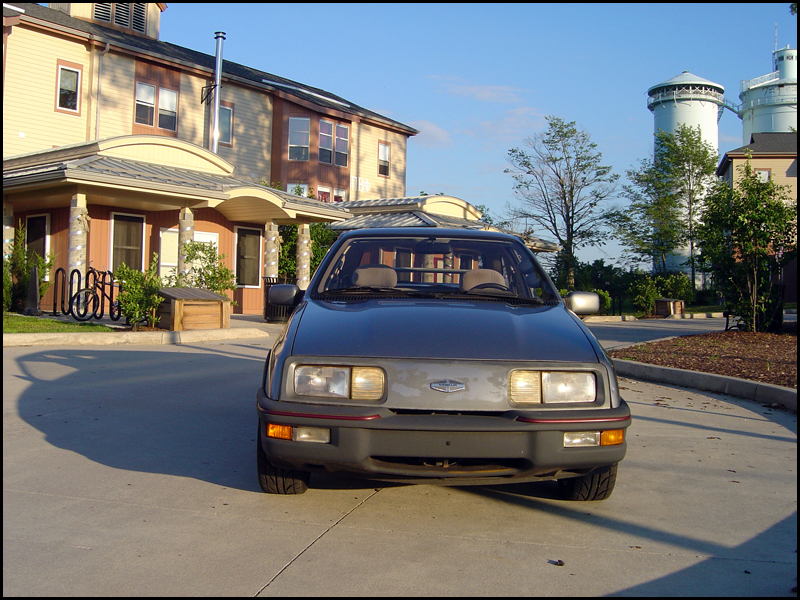
Grill is a bit beat, but nothing a little Cossie present wouldn't fix
Plans for the XR include water temp, oil pressure, and boost gauge, turbo timer, MBC, FMIC, BOV, exhaust, suspension work (bushings, shocks/struts, springs), etc. It's going to be a long project so I'm not in a hurry to do most of these except the water temp and oil pressure.
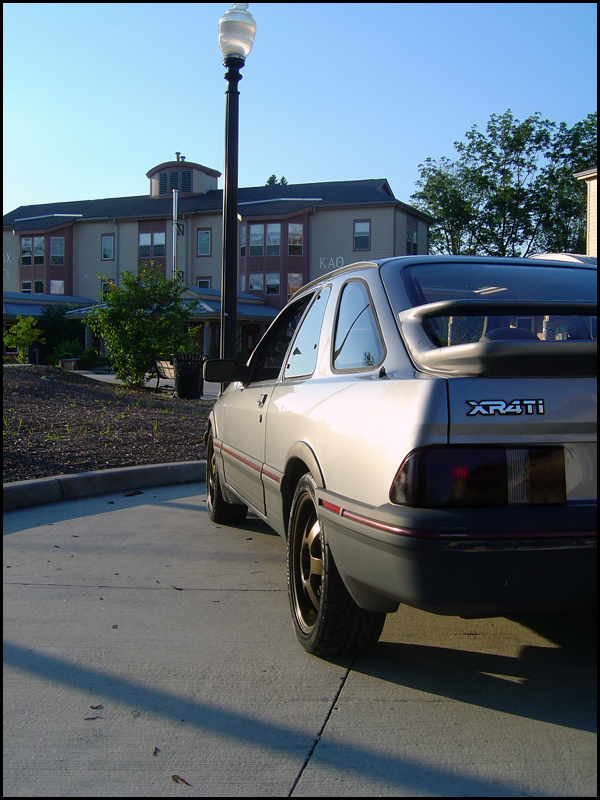
Emissions was fun today. Never seen 5 people crowd around a car, open the doors and just stare at it. Guys climbing in and out of it. 5 minutes later a guy comes in and asks where the hood release is. In CT you can watch the emissions test on a TV and the girl next to me asked if my hatch was open. I said "No, it's just has two wings on the back"
Haven't dynoed yet, but according to the DMV emissions test on the roller it made 12.6hp when tested at 2522 rpm
HC(ppm) 68 (limit 217)
CO(%) .31 (limit .70)
NOx(ppm) 463 (limit 1522)


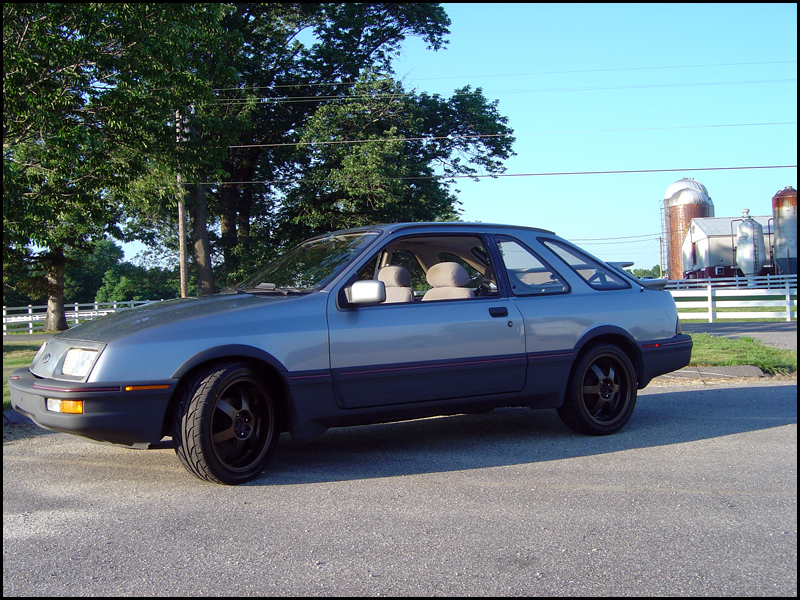
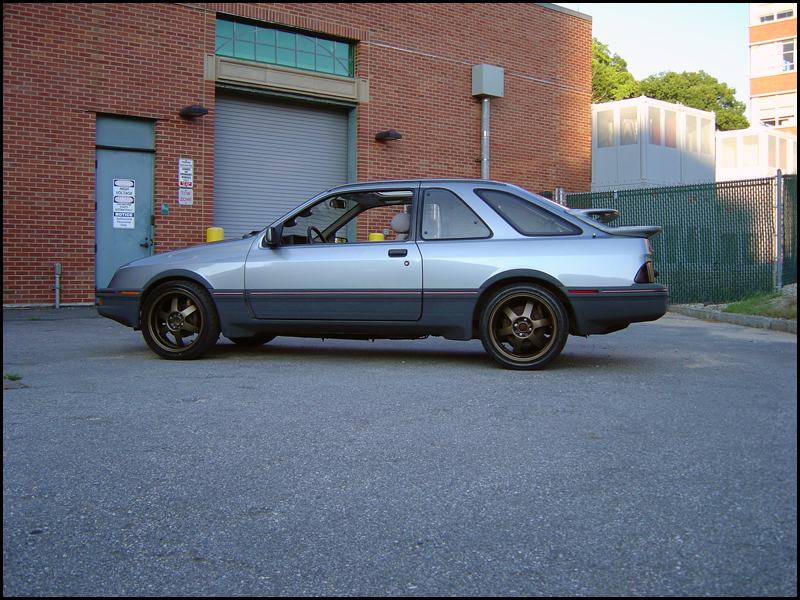
Washed. Clay bared. Waxed. 3 times. Meg's cleaner wax and two coats of NXT. She shines up nice for being 22 years old. An orbital buffer would have been nice, but I don't have one nor know how to use one.
Got her fully registered today too. Yeah "Early American" plates!


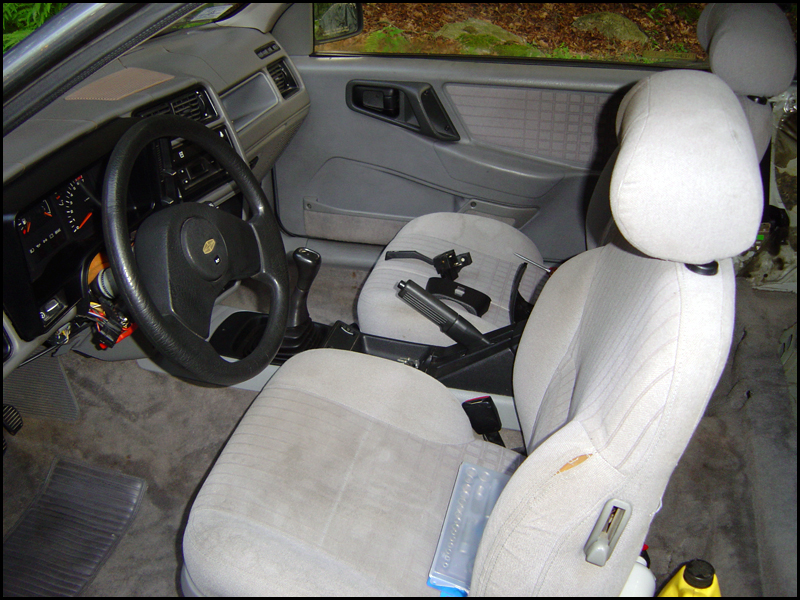
This is STILL holdingGot some stuff done today. Disconnected the wires to the antenna motor since that is shot. Now I can use the radio without lighting the motor on fire. Busted out some cassettes...The Cars. Greatest Hits. 1985.
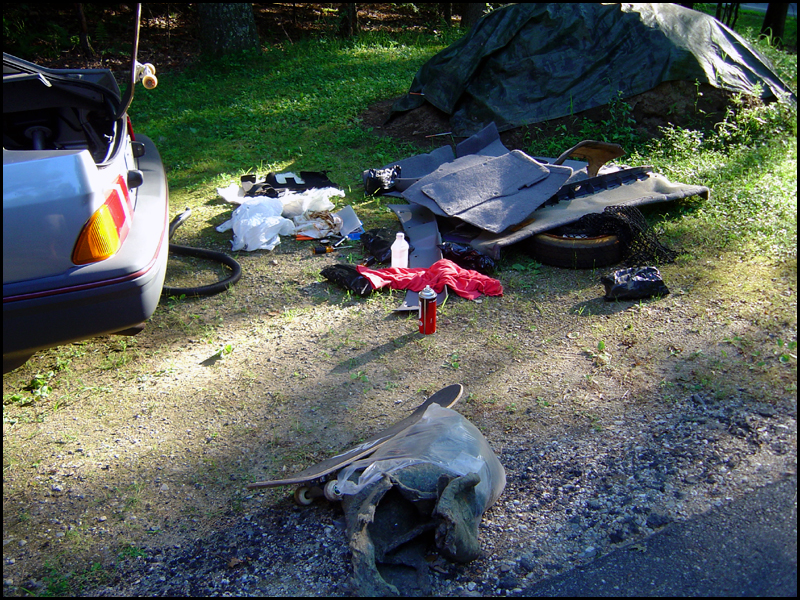
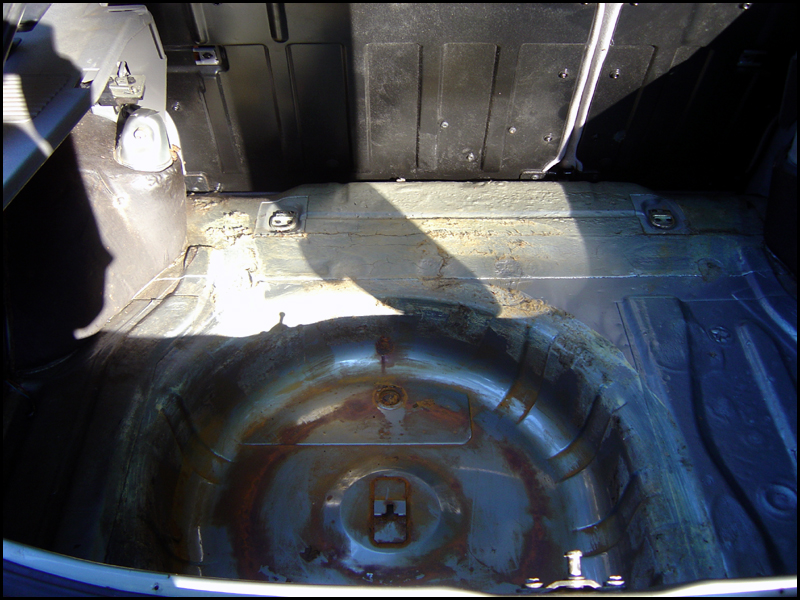
Disconnected the electronics to the hatch lock to prevent further damage to the locking mechanism. Also, got the passenger seatbelt installed. Hatch is a bit more naked now as well. I need to get some rust stop stuff or whatever it's called.
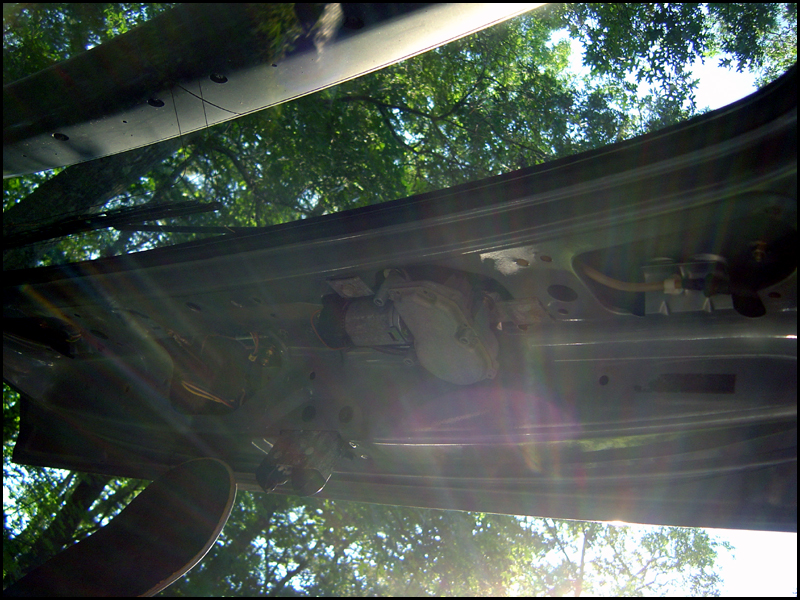
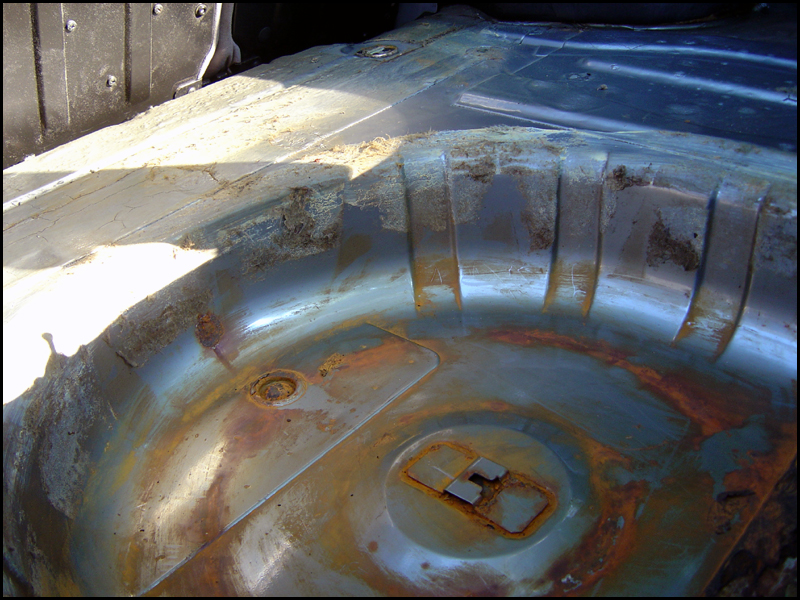
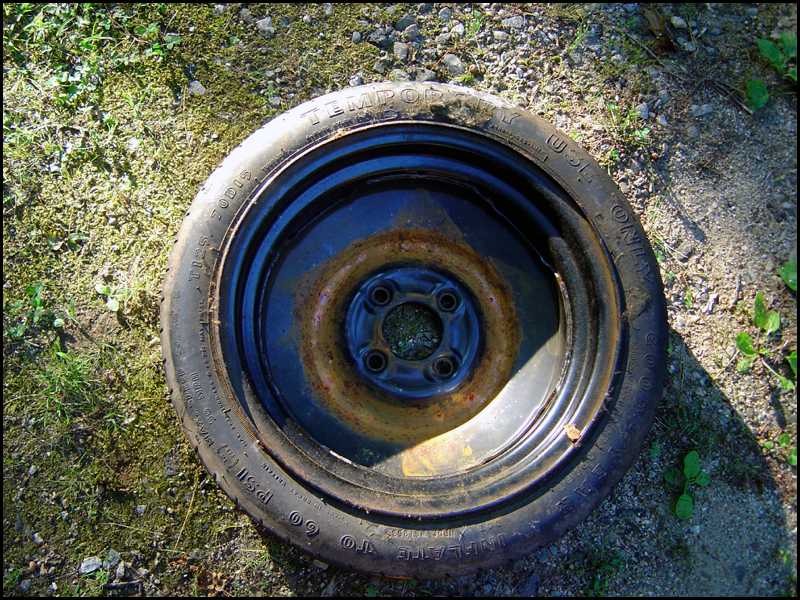
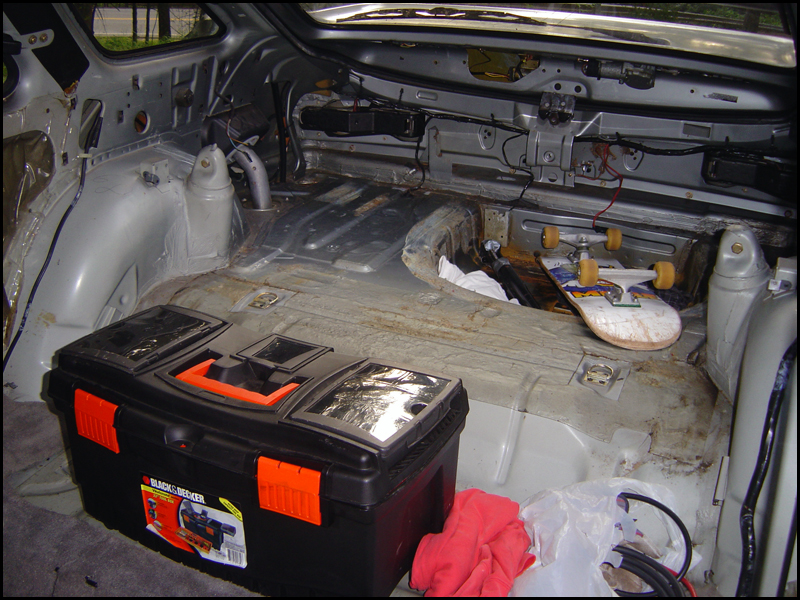
Yes, the hatch struts are blown. 99% of the rust seems to be from the spare, but I'm going to get rid of the rest of the sound deadening and then coat it.
Tinted tails, going to do front turns today and then sand the headlights clear. Also threw a new bead of silicone around the tails to stop them (hopefully) from leaking.
Still need to get pictures up, but I've been real busy lately. Car is gutted to the point where I would like it. No rear seats, sound deadening, carpets or trim panels from the rear of the front seats back. New vacuum lines run for the BCS since the previous ones were cracked and didn't have much life left in them.
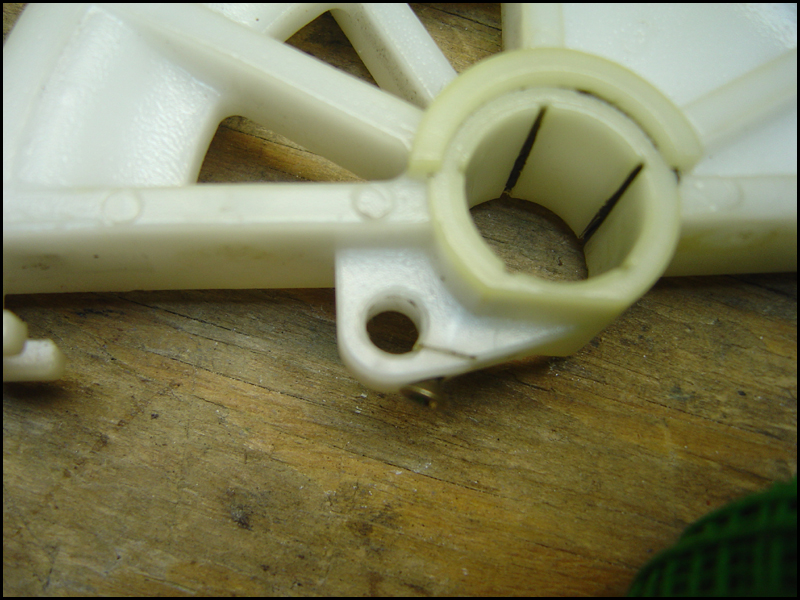
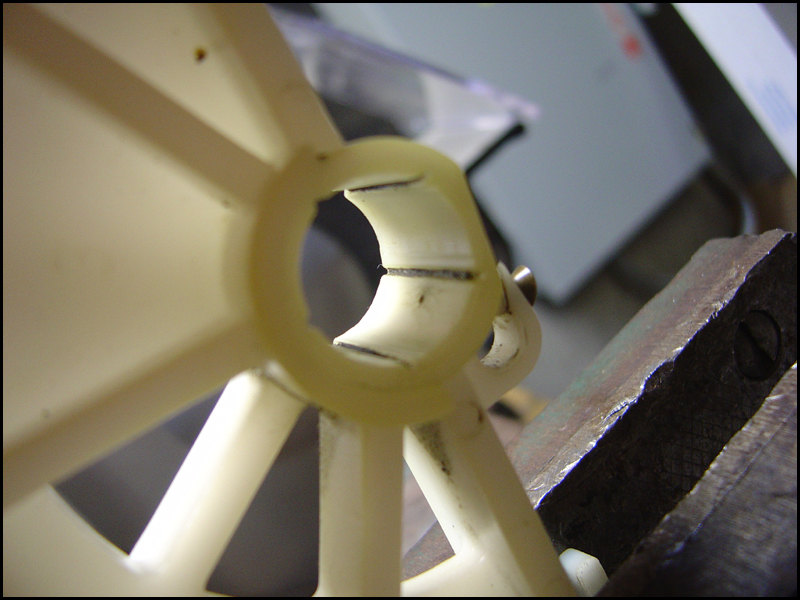
Brake and clutch pedal assembly is out as well so I can fix the broken clutch adjustment.

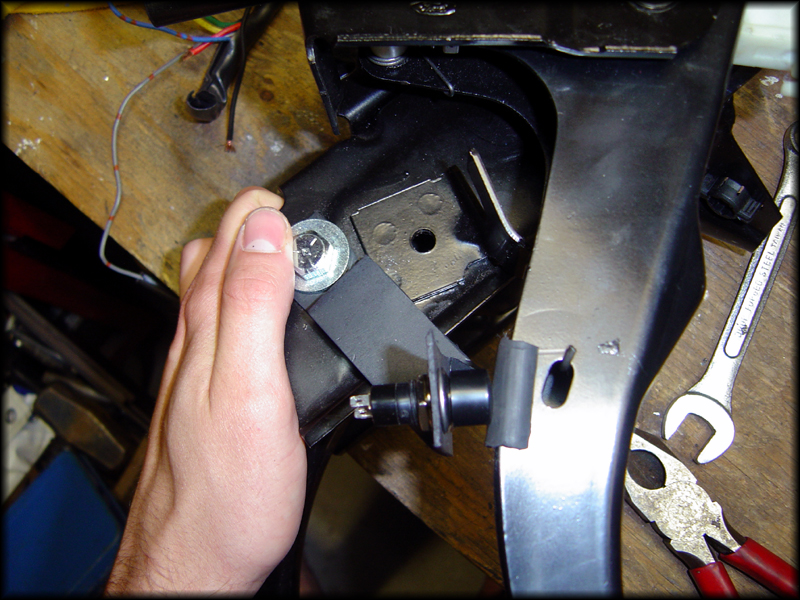
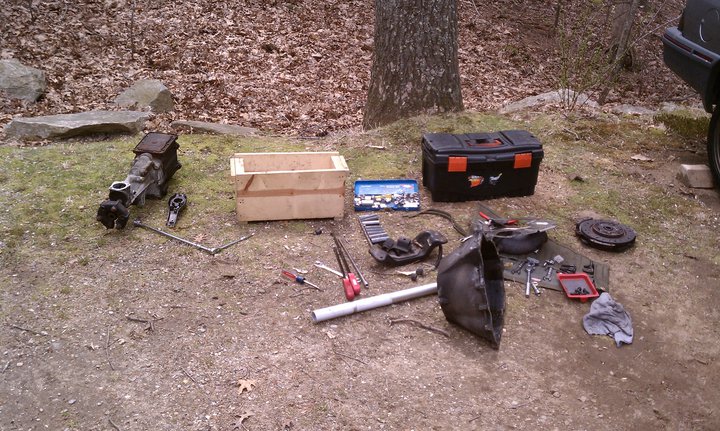
Here are the newest updates:
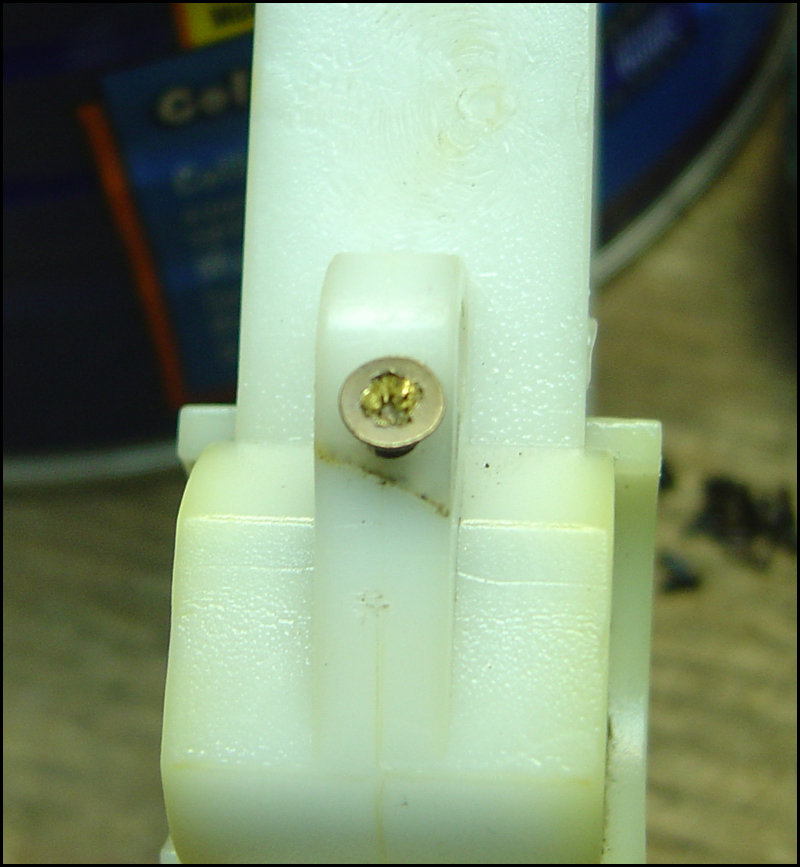
It's ugly, but I'll see if it works.
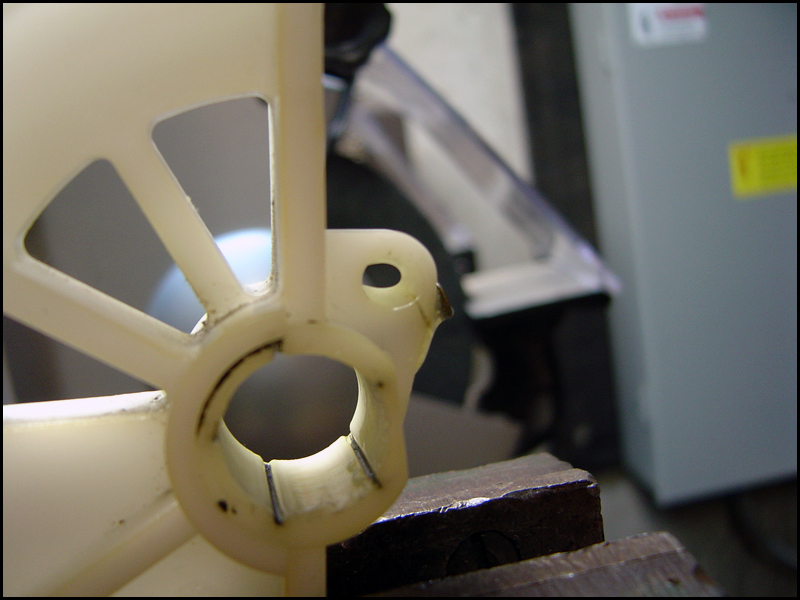
The tip of the screw went in a bit far, but just hit it real quick with a file so it won't interfere with the rod that slides though.
Materials:
Scrap Screw - $0
Drill bits - Umm who doesn't have drill bits?
Dad to help A LOT - Priceless
-And-
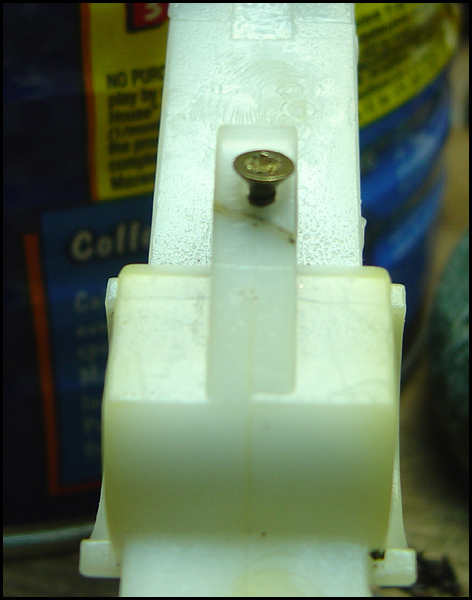
The "fixed" clutch adjuster:
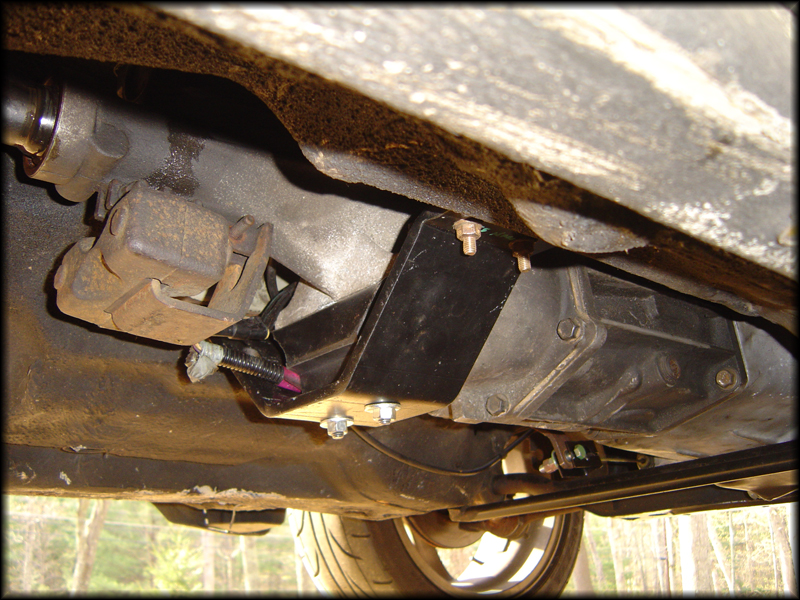
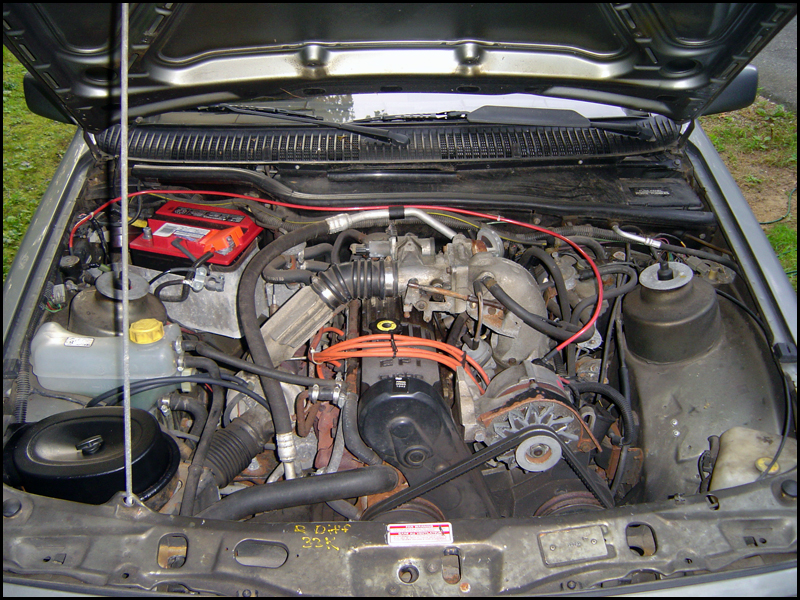
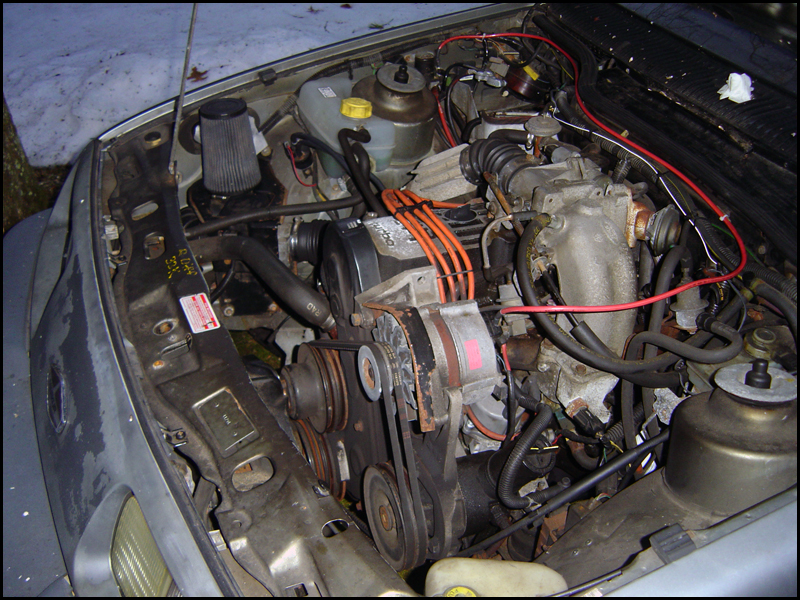
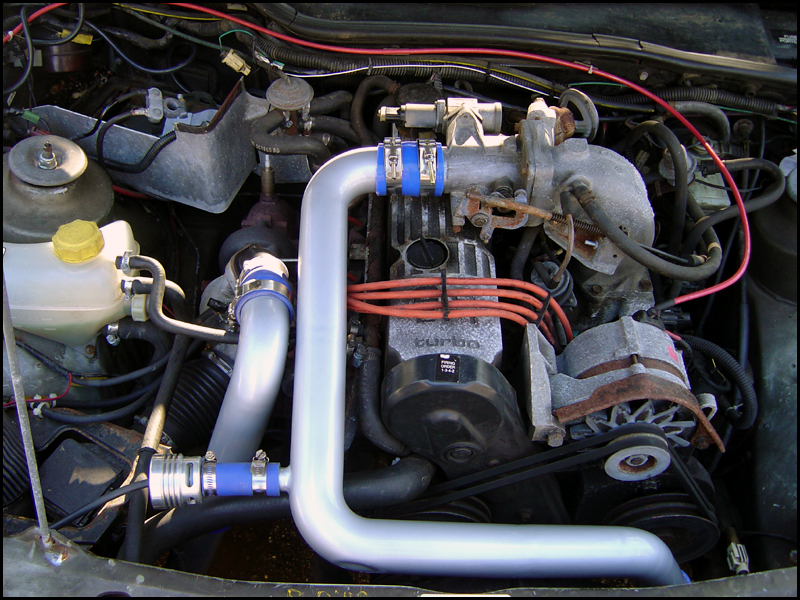
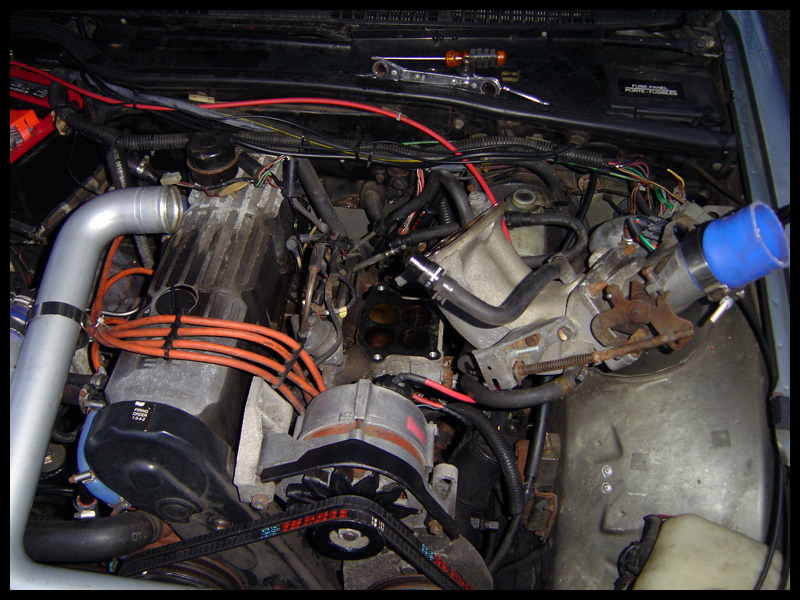
Ran new vacuum lines for the BCS and had Ray (Demonfire) run an aux line from the alt to starter solenoid since the stock one was pretty beat. He also redid the neg battery terminal since the crimp connection was too big for the gauge wire used. It's disconnected now since I'm working on a new signal switch. Also repainted the airbox cover since it was pretty rusted.
The hatch is where I want it to be. I may do the DIY shock tower brace this weekend from Merkur Encyclopedia.
This was a fun day. Fixed now thanks to Ray (demonfire) and Sam (Smoke3006)."Carnage"
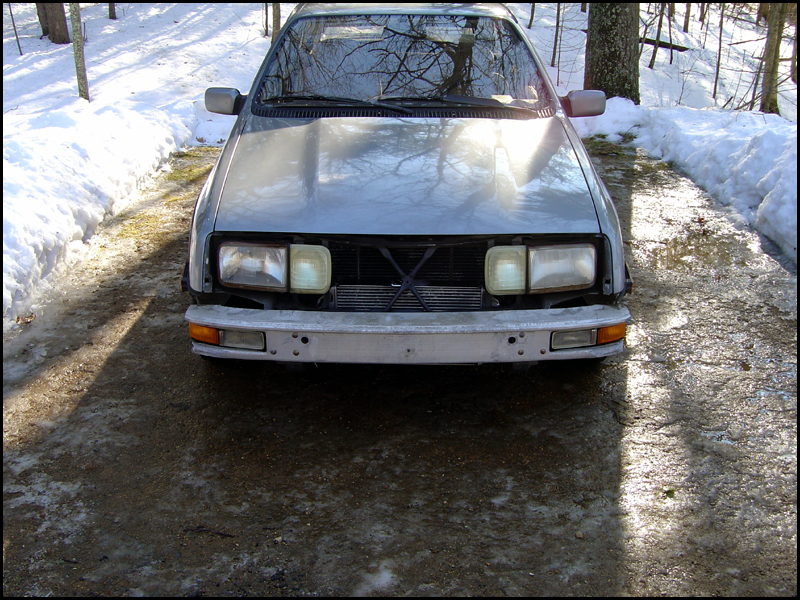
Here is Rain Cloud on a rainy day:
Almost ricer. This needs to go.
http://www.wickedfunctionracing.com/Joe ... xhaust.mp3
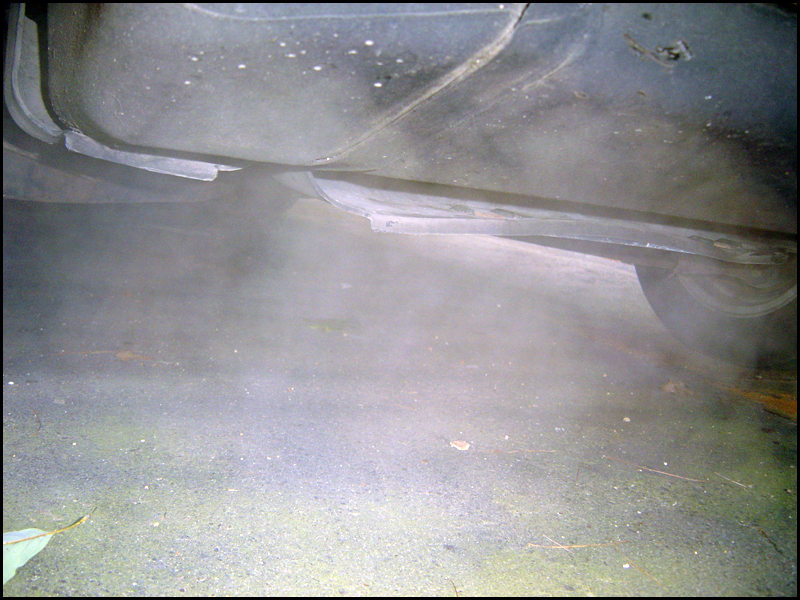
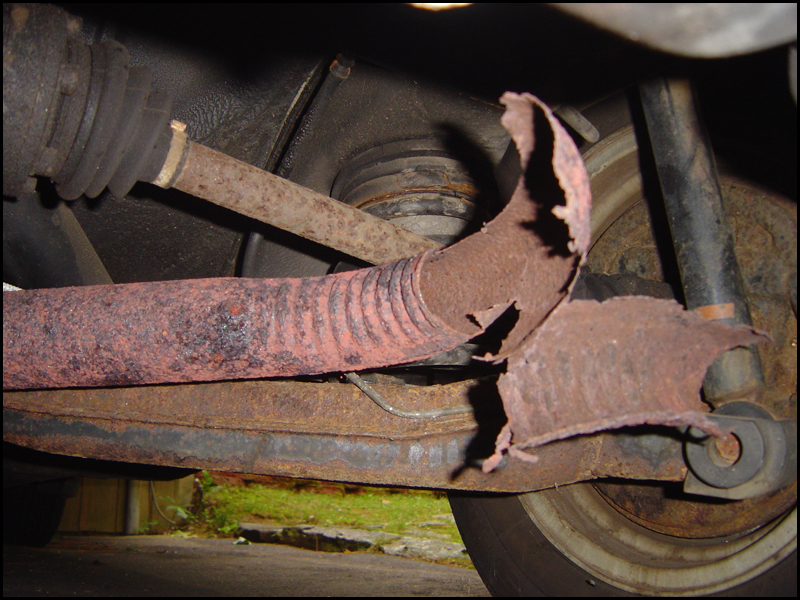
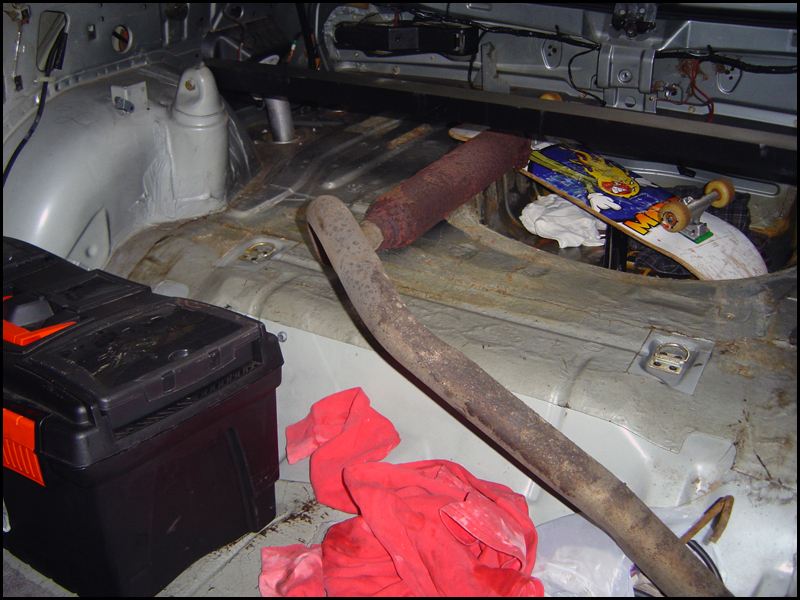
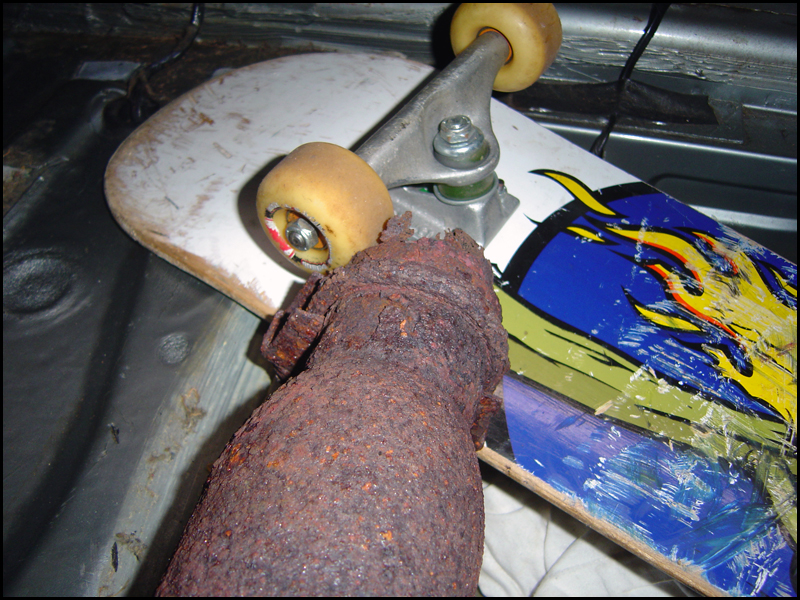
Had to get the car towed home today. The oil pan rusted through and started leaking a lot of oil and I didn't want to risk it getting any worse on the drive back. Spending $0 on a tow to me was worth more than chancing it home and risk loosing the motor or turbo.
Bam Updates:
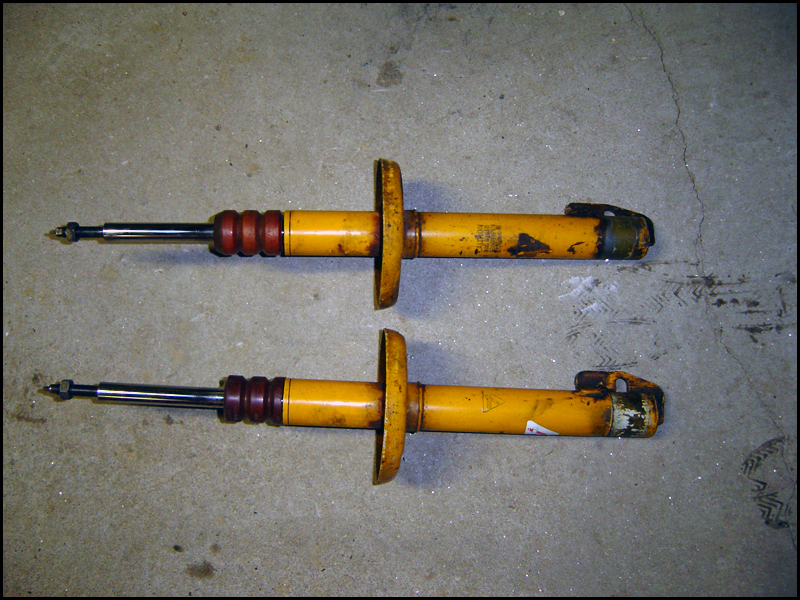
Koni Yellows:
MC2 Coils With 350lb/in Springs
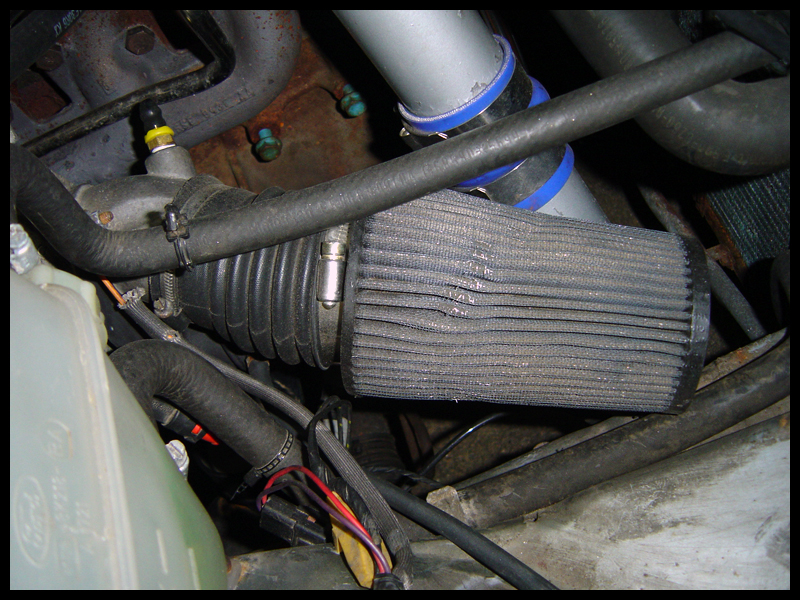
Cone Filter
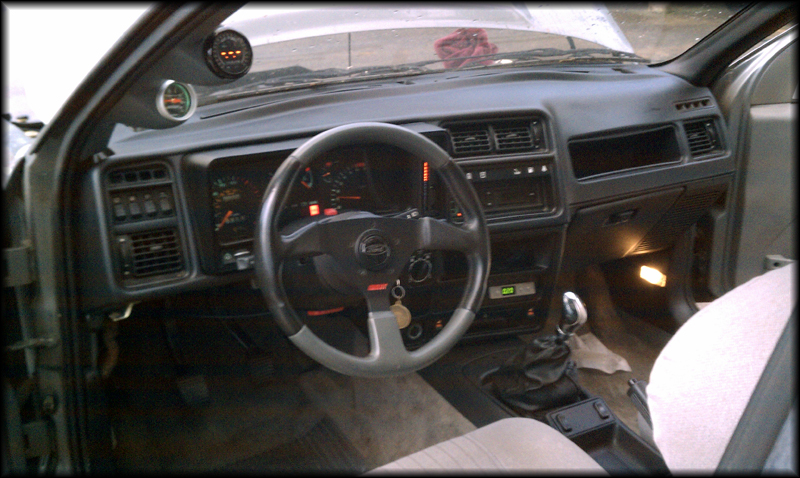
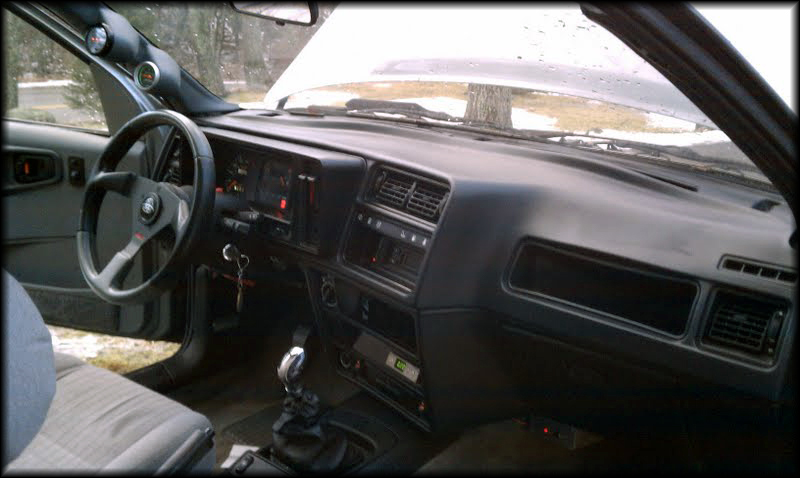
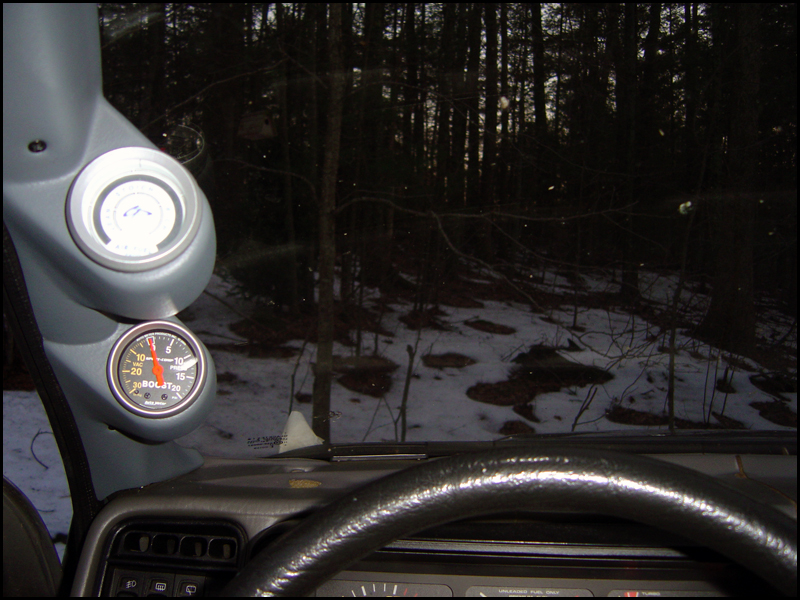
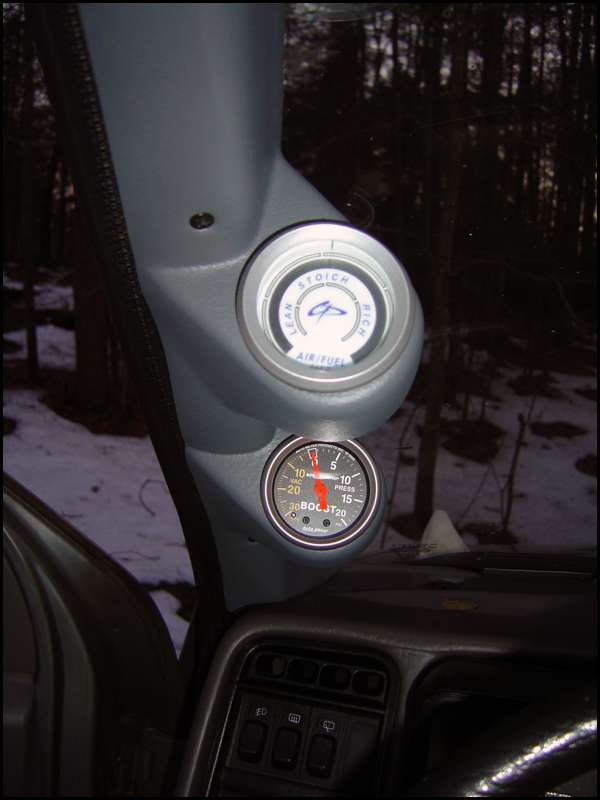
Gauge Pod. Narrowband (until I get a wideband) and Boost
I have an E6 that I need to port and will go on when I start exhaust work.

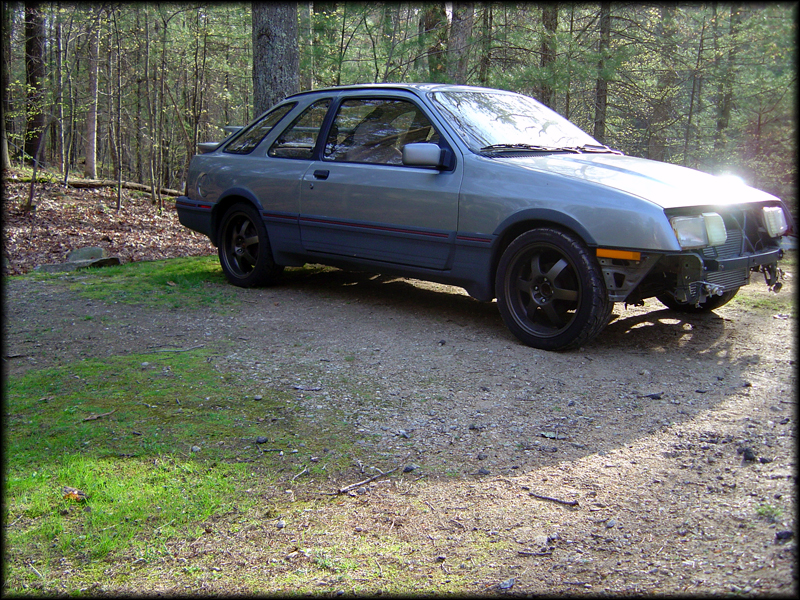
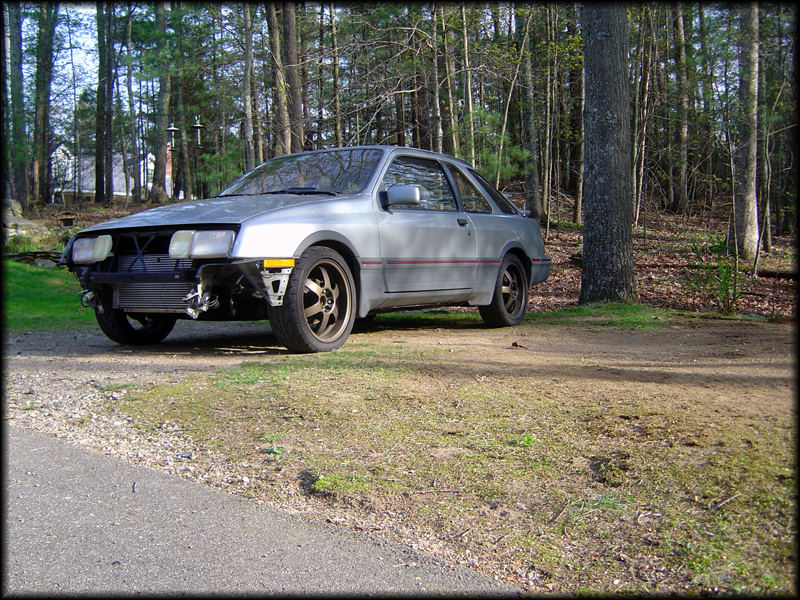
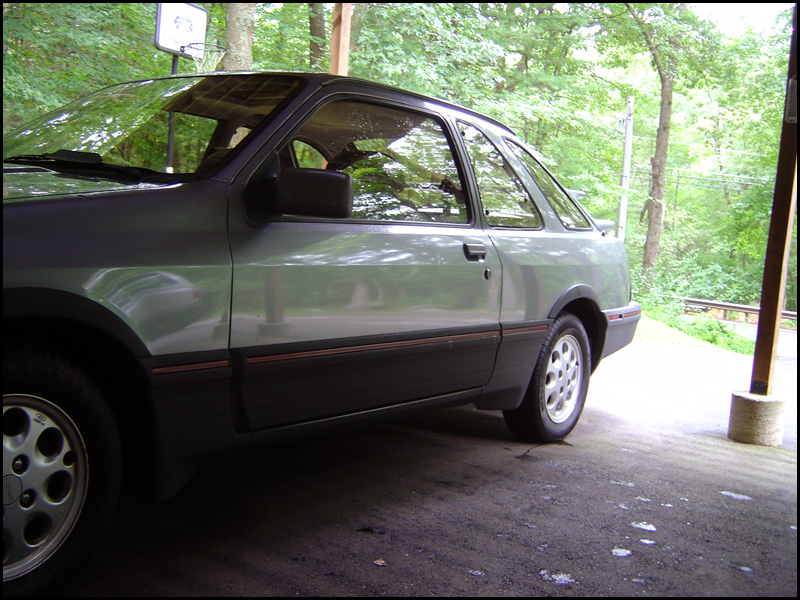
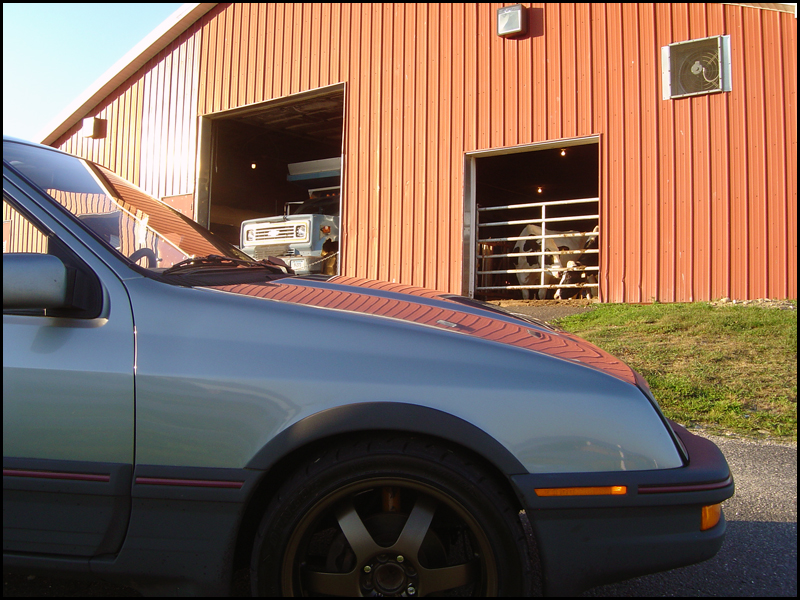
Here is how she sits now (near side)
I also have a big VAM and LA3 awaiting install.
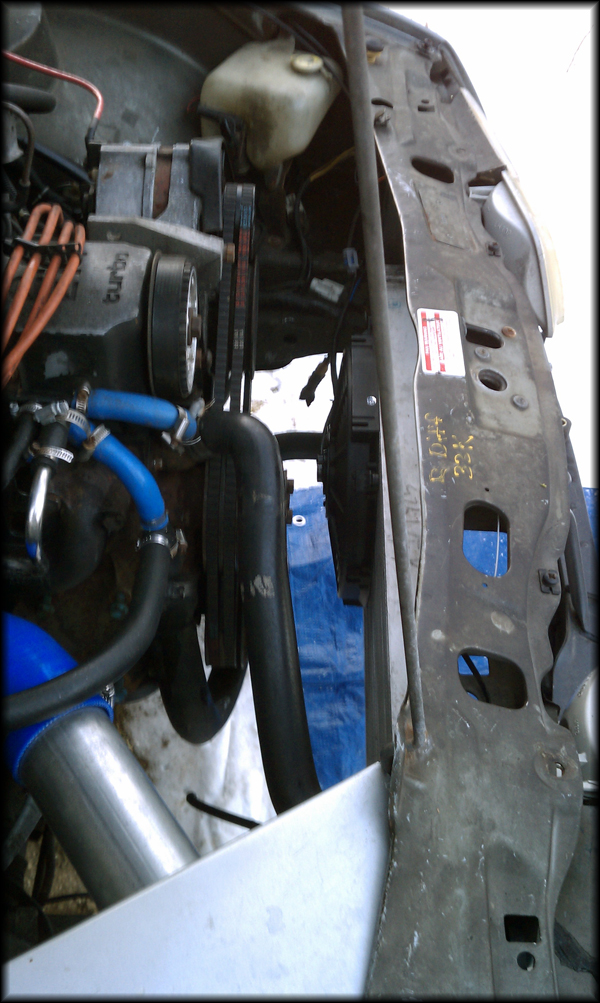
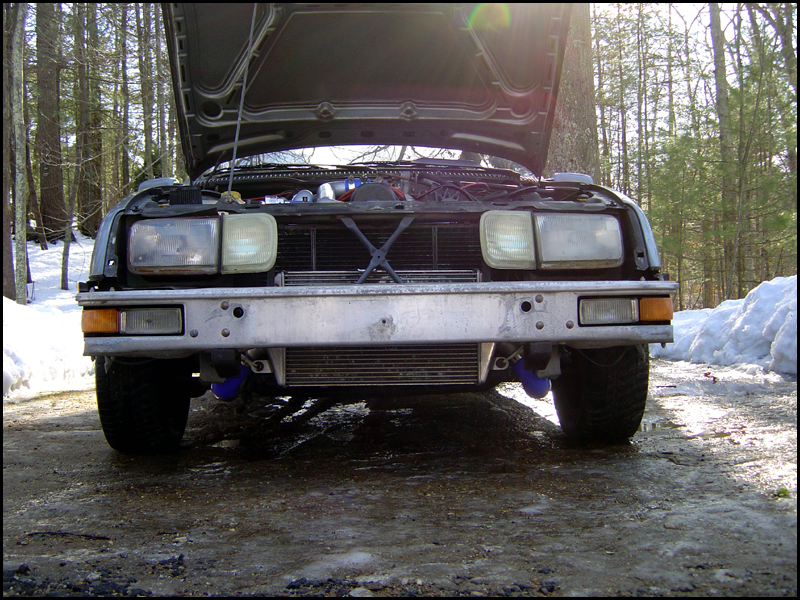
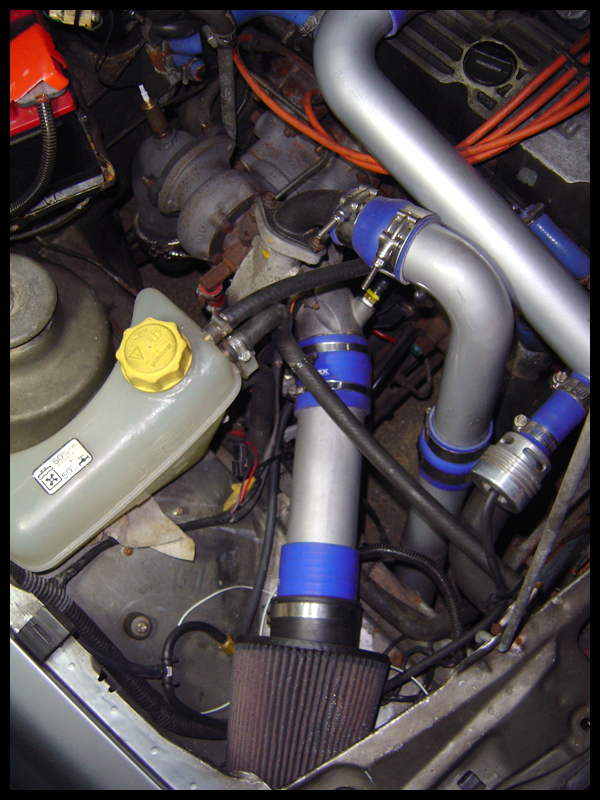
Got the pipes installed and the FMIC mocked up. It's the factory unit from an Evo VIII/IX. It's held in with zip ties for now just so I could get the pipes laid. I'll be working on a more permanent solution before the car is put back on the road.
Lovely working conditions, but it made it into the 50's today so no complaints.
I got some new wheels and tires finally. Wheels are BSA 333's, 17x7 +40mm and tires are Dunlop Direzza Z1 Star Specs in 215/45/17. No more one tire fires with these...I'm unable to spin them


Here's the update I posted as another thread:
I finally got this project to a drivable state. I need to sort the wastegate actuator still (too weak currently), but here are some pics from a long the way with what I had to do to get this working on a Merkur with a stock (E6) header.
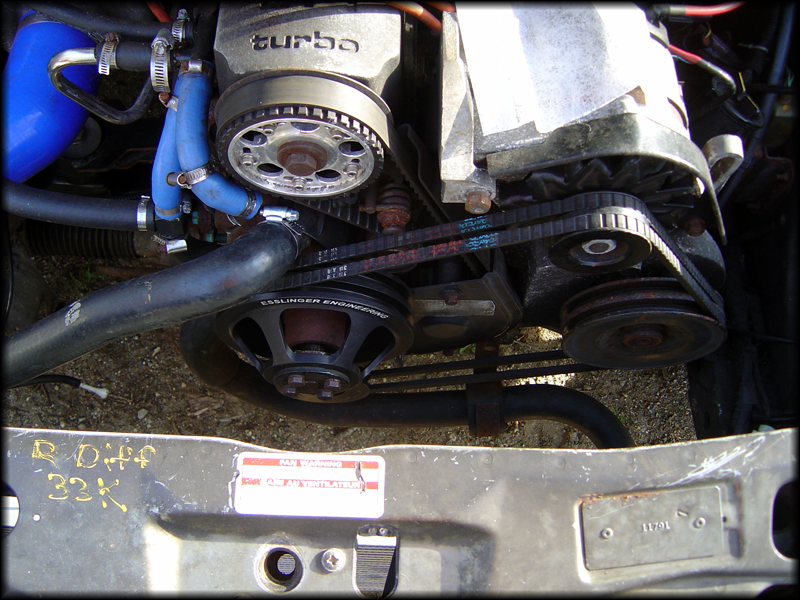
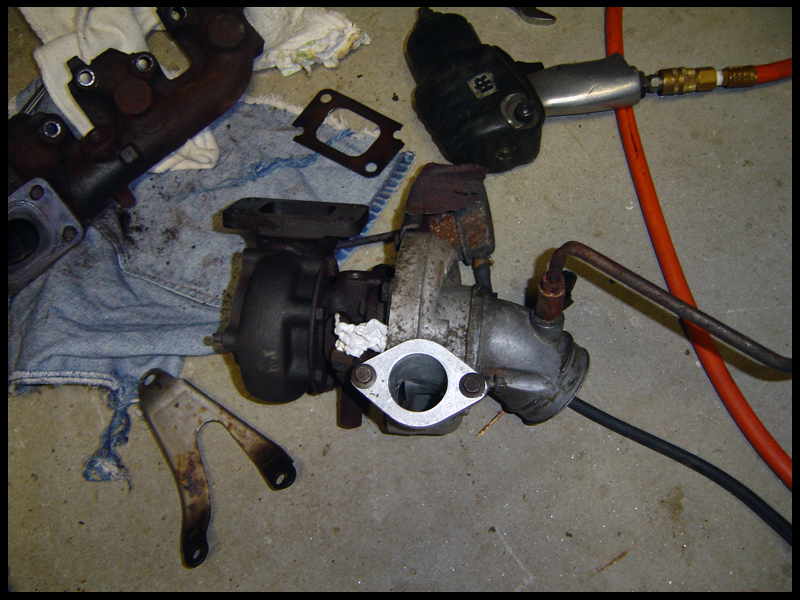
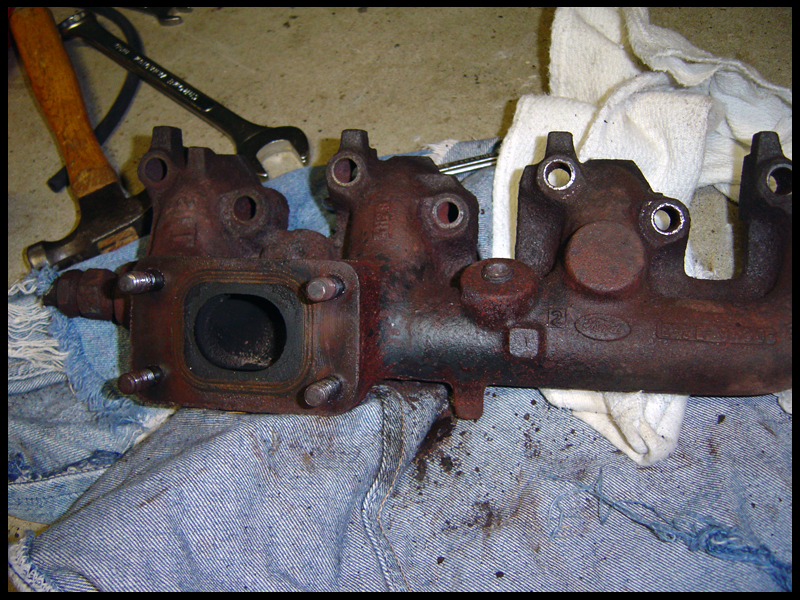
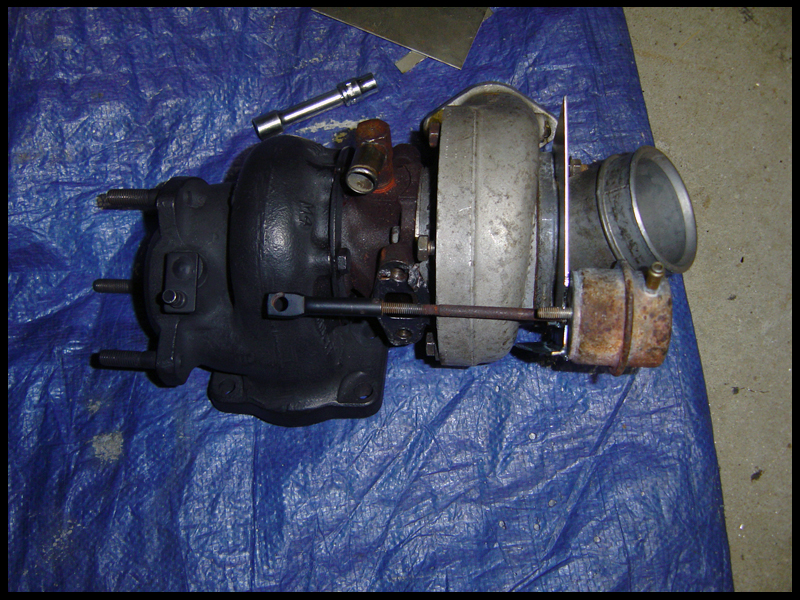
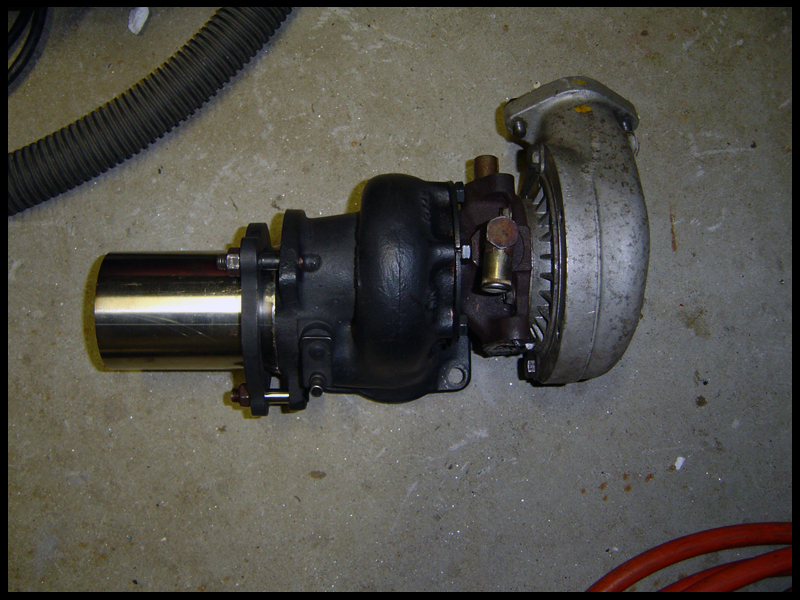
Here's the turbo freshly removed from the old E3:
And the wonderful old T3 hot side. Notice I broke ALL of the bolts
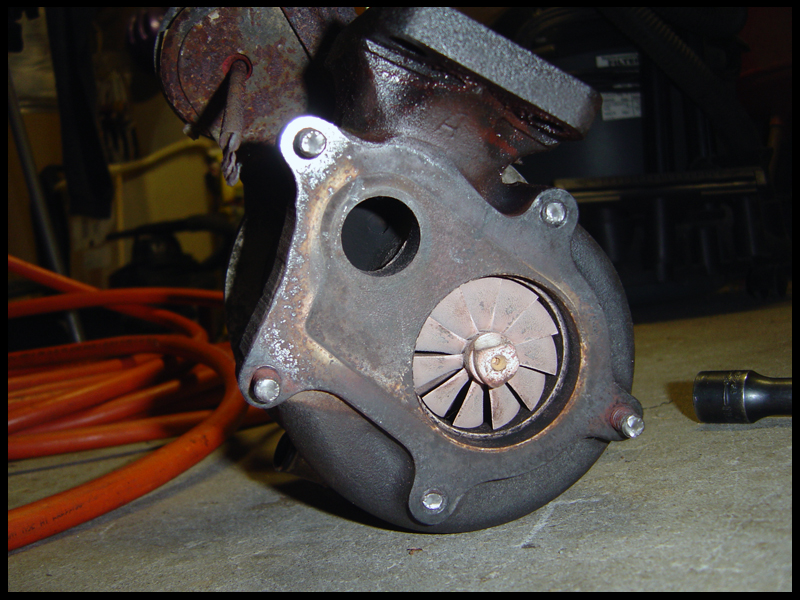
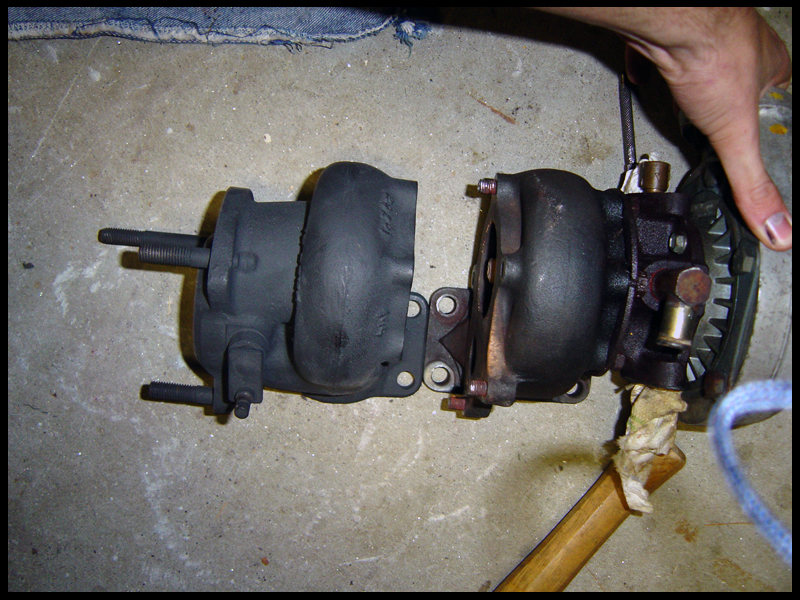
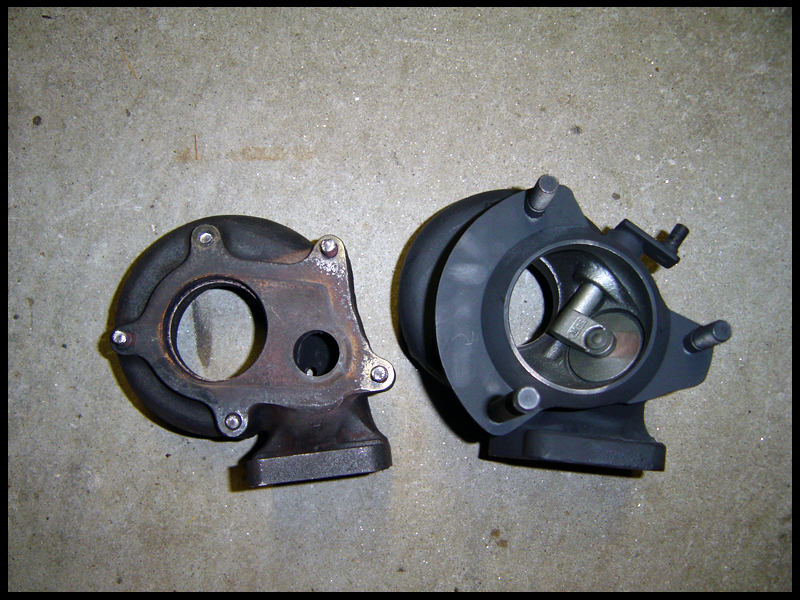
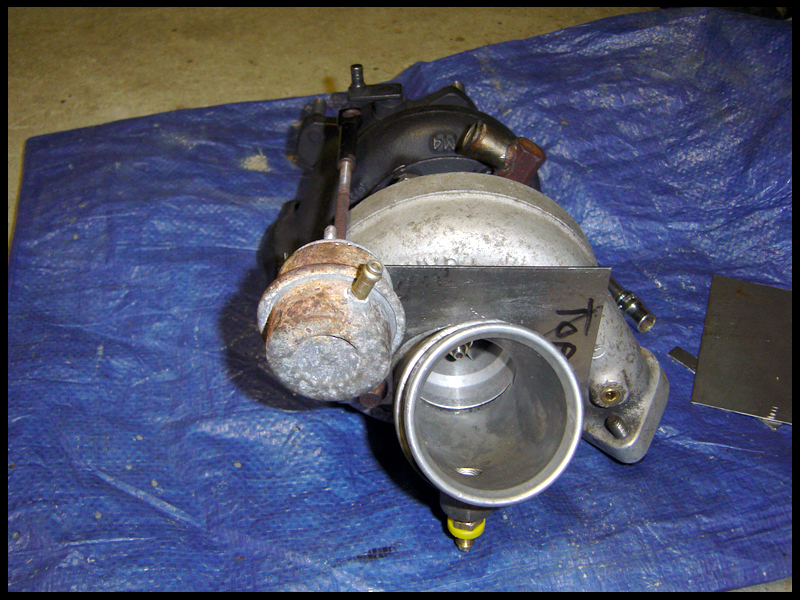
Comparison between the new and old:
MINT E3 with no cracks! Flows....kinda?
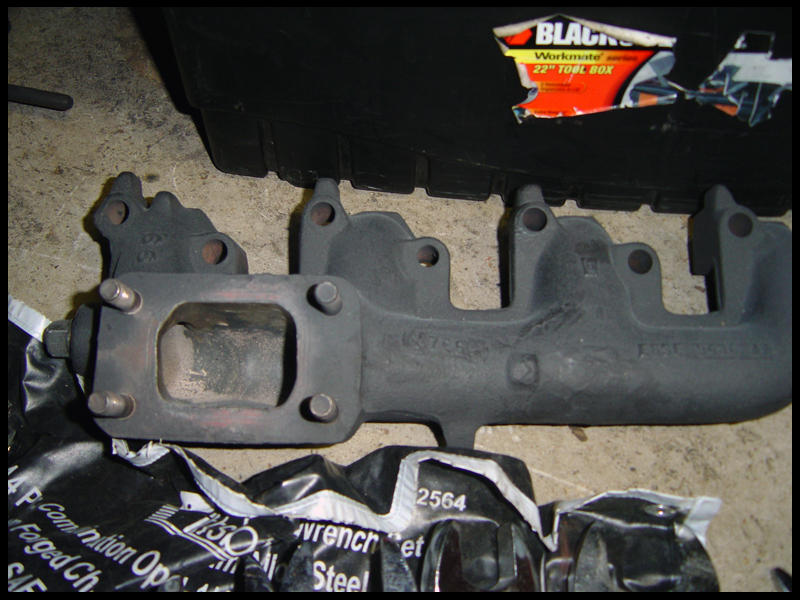
Freshly ported and painted E6:
The old WGA was on its last legs:
Old hot side off. All the hammering in the world would not get this thing off. I let is soak for a week in PB Blaster and tried using the center section bolts to help push the housing off. No luck. 5 minutes or so with a propane torch and it moved pretty easily with a dead blow. I slowly backed the bolts out so the housing just didn't fall off and damage the blades. Also, replace the six bolts. I snapped one off when installing the new housing.

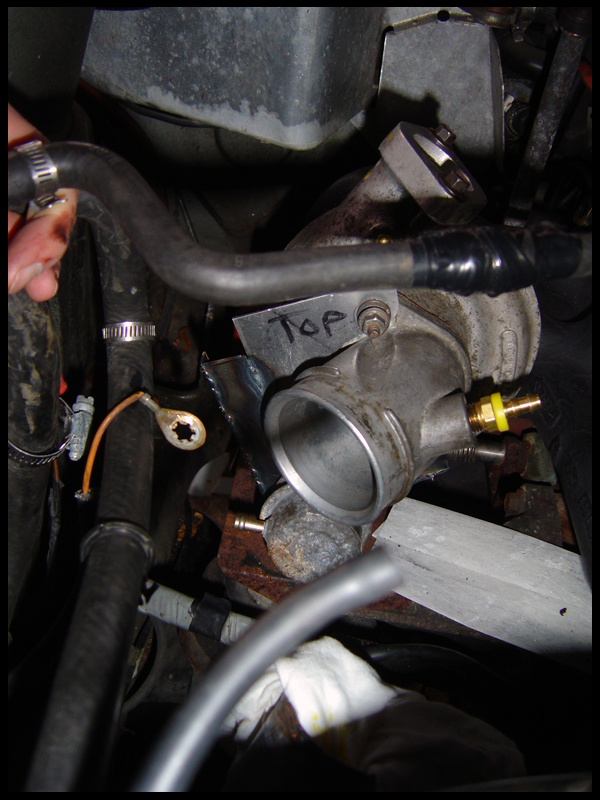
The biggest hurdle in the whole project is making a bracket to hold a new wastegate actuator. I chose to not use the Merkur one for three reasons. One, it's riveted to the bracket. Two, mine was so rusted, it crumbled. Three, it's non-adjustable.
I chose a Saab 9000 actuator. This actuator does work, but the spring is only rated for 5.5psi. Even with a generous amount of pre-load (just enough so it doesn't creep), I can only achieve 12-13psi with the Gillis valve maxed out. I need to find one that is adjustable with a 10psi spring like the factory actuator.
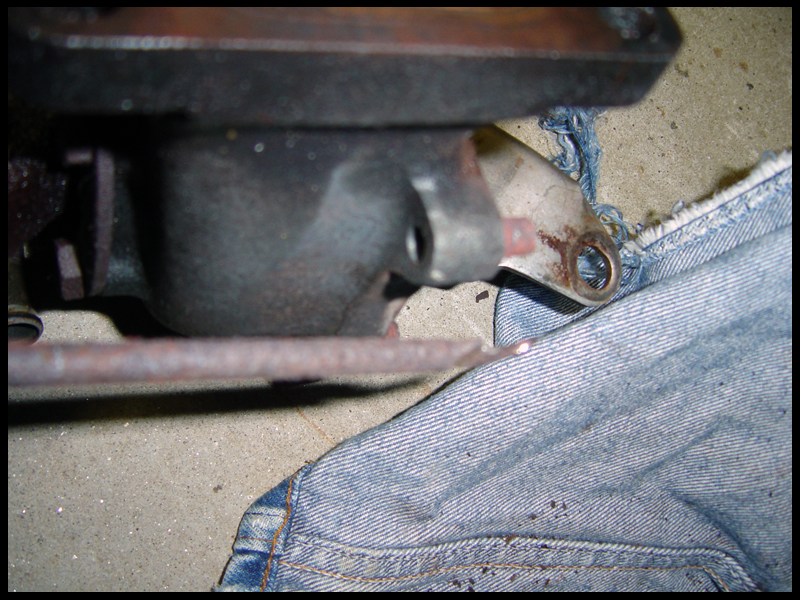
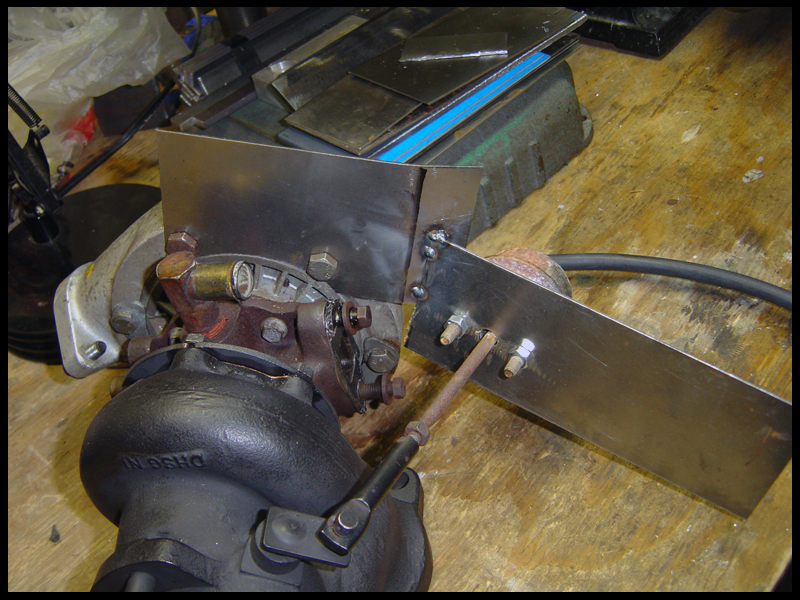
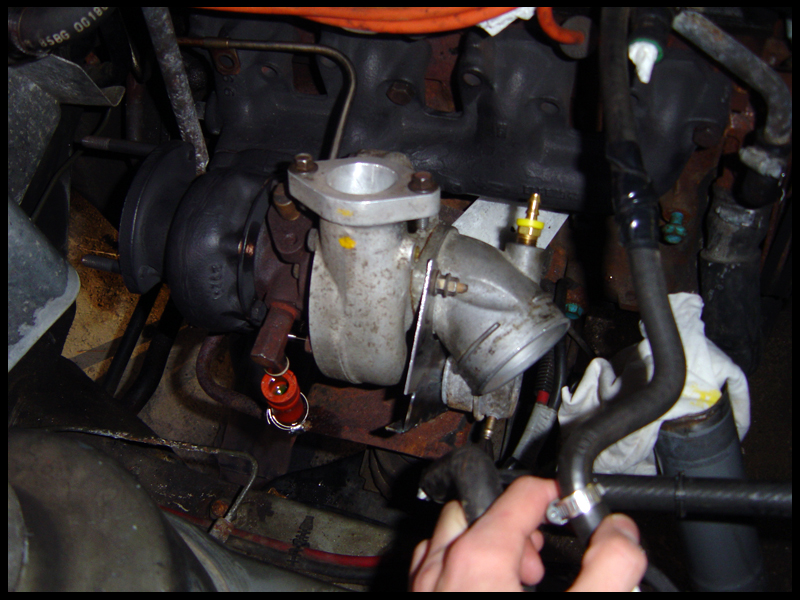
Here's my first failed attempt at a bracket. It worked well, but put the WGA right into the motor mount. A few pictures of what NOT to do:
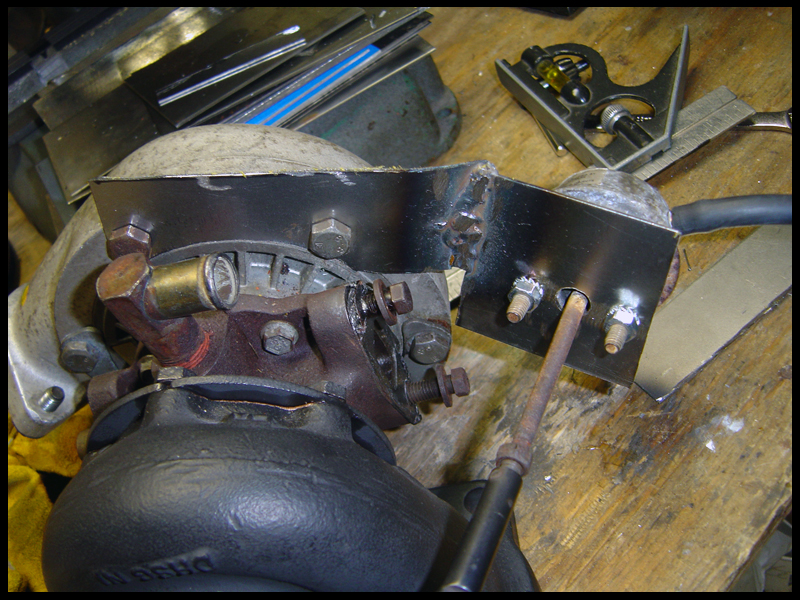
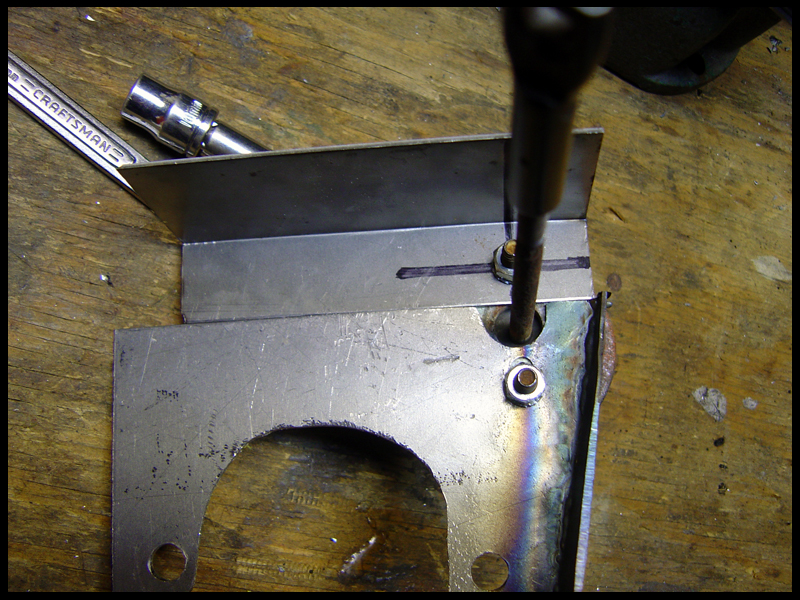
Instead of the main mounting point being off the backside of the compressor housing, I chose to start using the inlet bolts. I then used part of the failed bracket to reinforce. This required a coupling and some threaded rod to make the arm long enough.
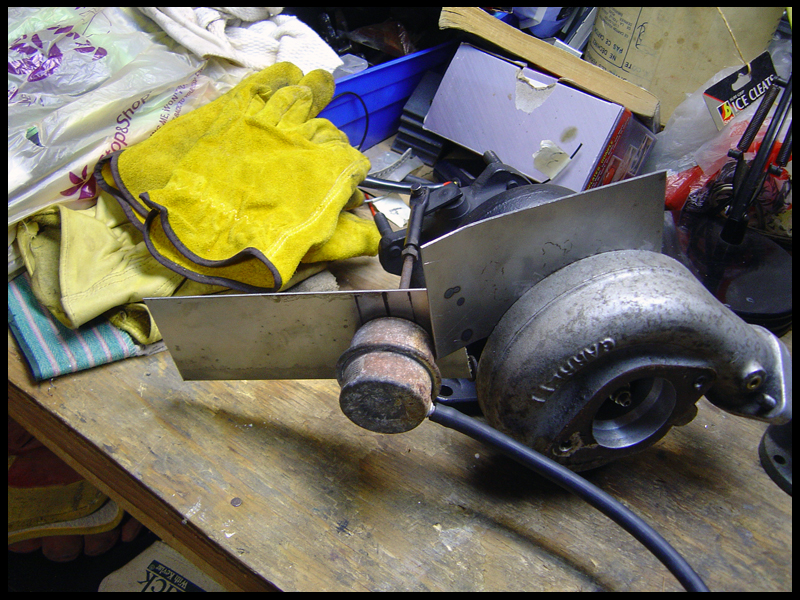
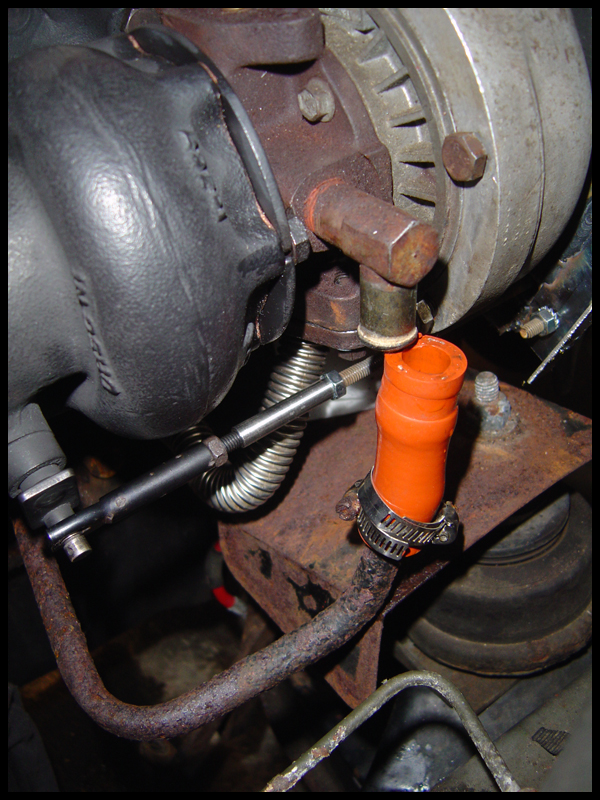
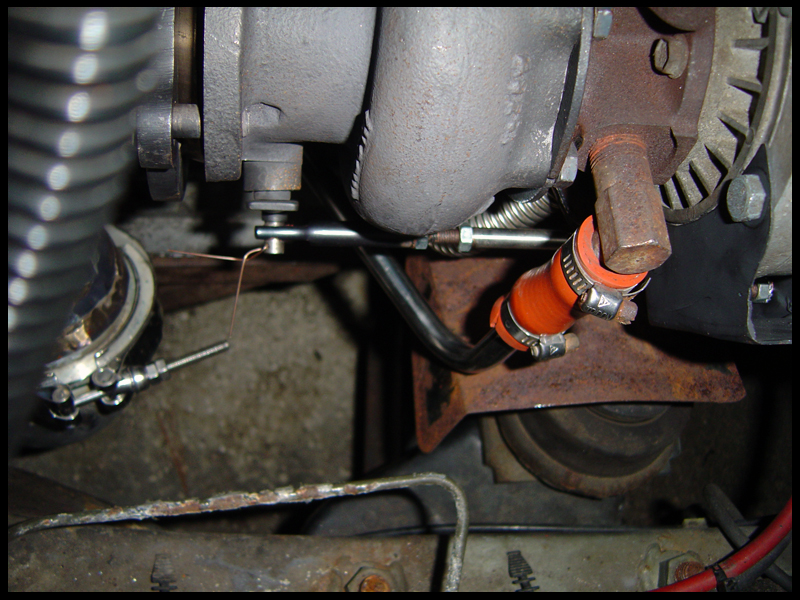
Clears the old coolant line which is now one of Ed's stainless lines:
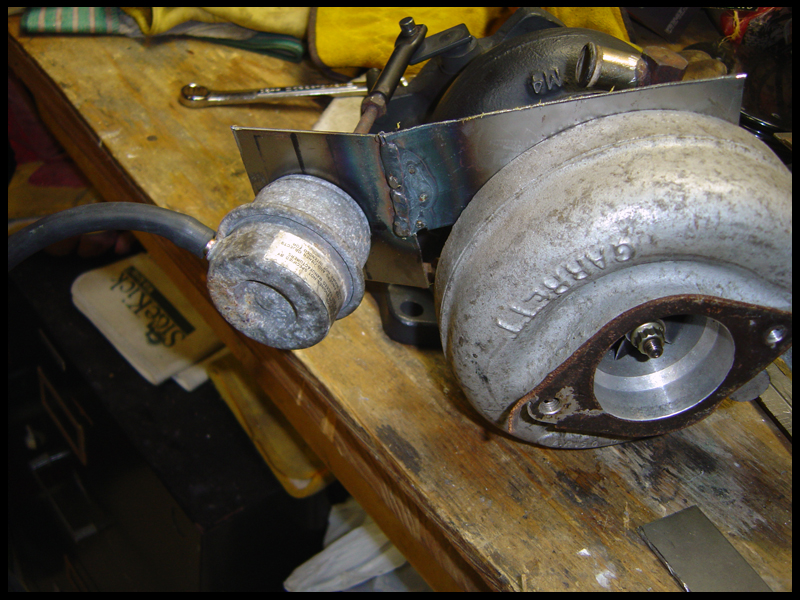
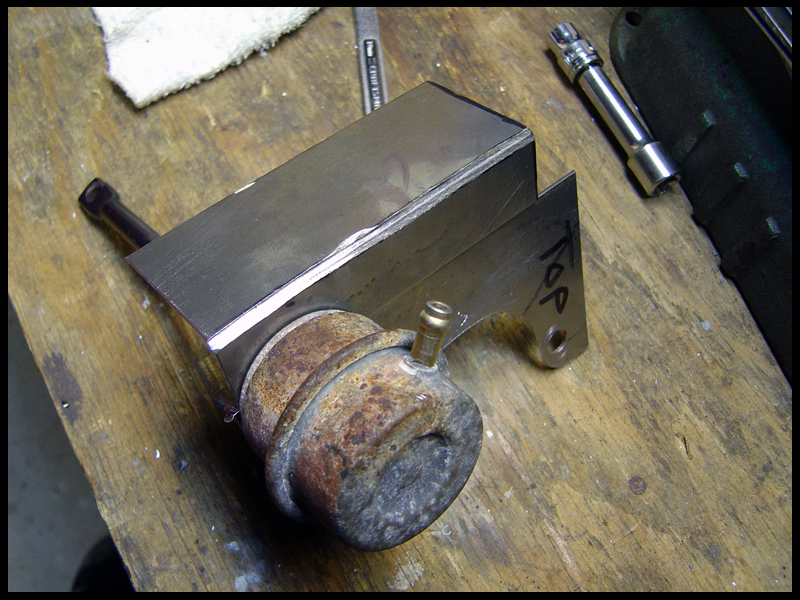
Some more work on it to tie in the backside of the compressor housing:
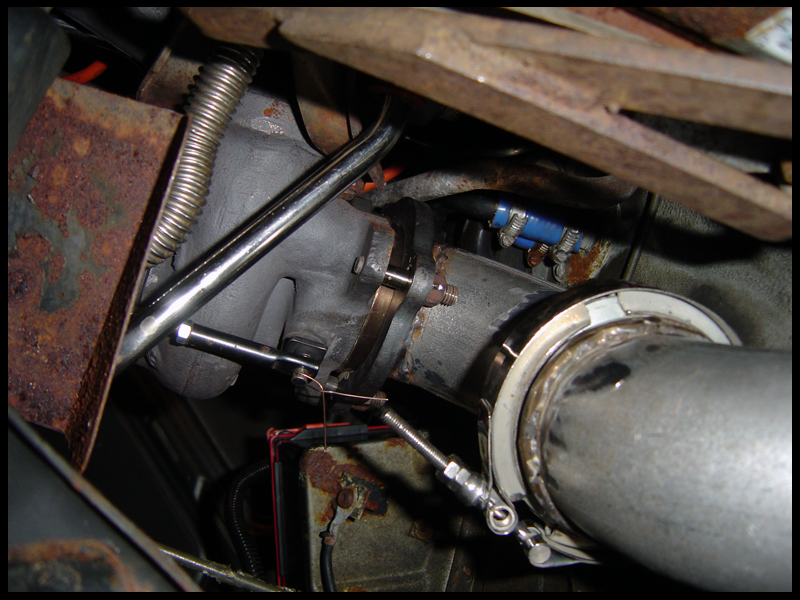
I don't have any shots directly of it, but here is the wastegate in it's final location. You can see the back part of the bracket on the right side.
Another hurdle is the downpipe. You can see from the comparison pictures above, the Cossie housing puts the downpipe closer to the firewall. With a center-mount, this wouldn't be an issue. With a stock location header, it's pretty tight and there is a brake line in front of the firewall to worry about.
To start, you need a 3" piece flared to around 3.25". Mine was flared to 3.5", but I needed to remove material from the end so it didn't bottom out.
Because of the limited space, I had to cut the end of the flare at a 22.5* angle and then attach a 3" 4-inch radius 90*.
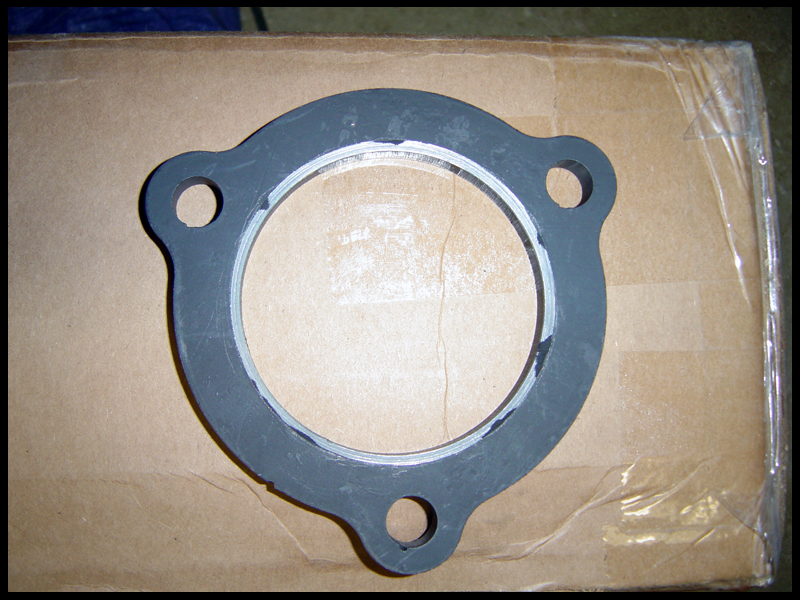
Here's what the flange looks like with the 45* chamfer. The one on there wasn't perfect so it went to the lathe. You can see the low spots where the paint still is.
Here's a picture of the elbow with the v-band attached. I cut through 95% of the pipe and then bent is towards straight three times to get the end of the 90* plumb.
Here's the clearance between the elbow and the brake line:
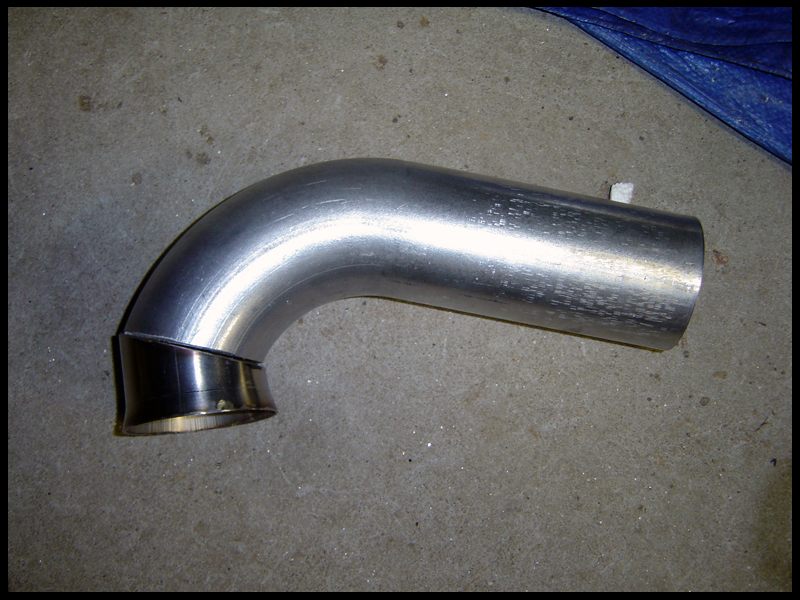
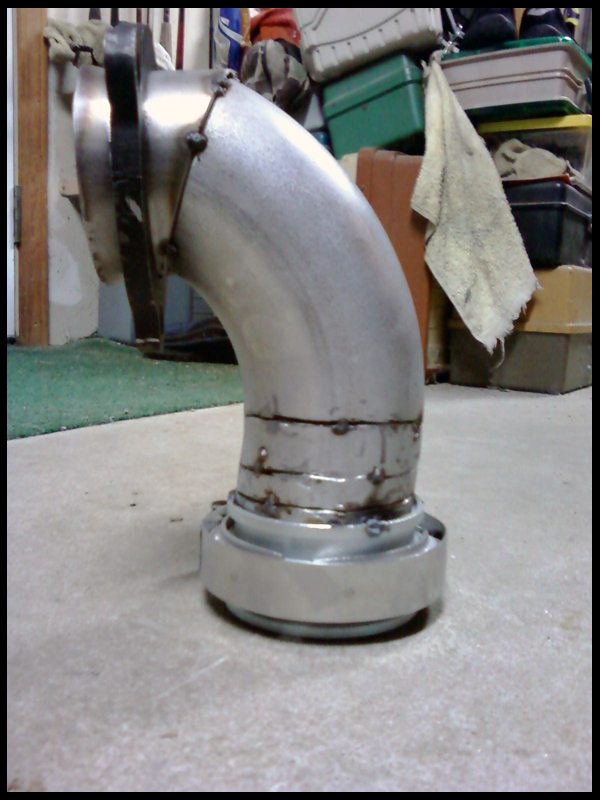
Here's the whole thing. Lots of fun kinks
The V-Band is clutch for easy install. I didn't have to remove the swaybar once this entire project.
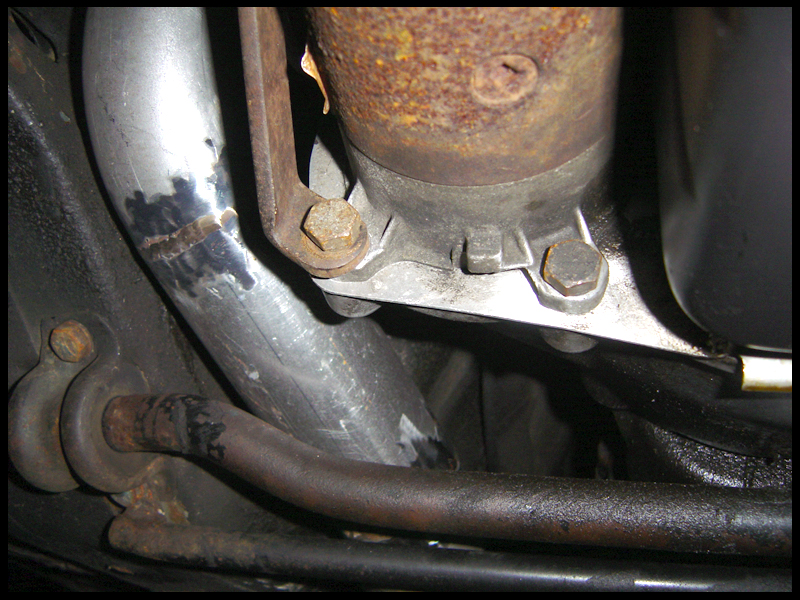
When putting the turbo onto the manifold using the factory brace, you cannot use locking flanged nuts on all four of them and one stud must be cut a bit. I had to use a regular nut on one side. There isn't even room for a lock washer unless you want to start grinding away on the housing.
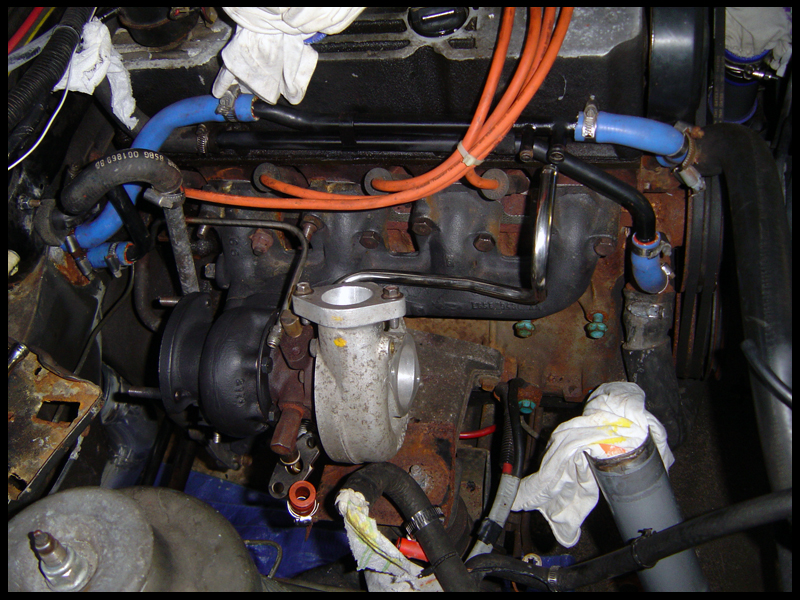
Here's a shot of the turbo back in the car with the new manifold, freshened coolant lines, no more HCV or EGR, Ranger manifold gasket and all fresh turbo gaskets with nuts from mc2! Notice, the studs are now all the same length. The long stud that comes on the .48 housings just doesn't play nicely with the space available. Be warned, the studs are hardened and it takes A LOT of muscle to add threads.
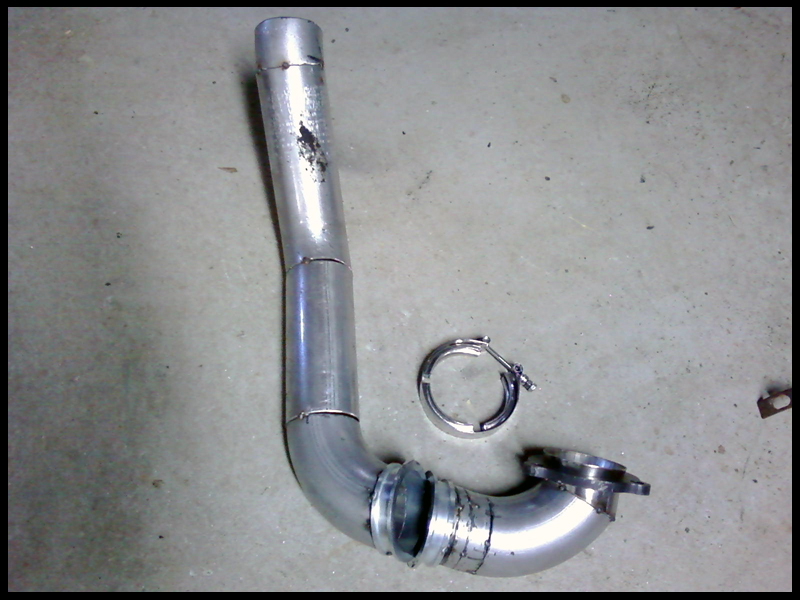
With everything put back in, here's the downpipe all tightened up. Forgive my less than perfect welds blended a bit with a flap wheel. It was my first time welding pipe alone and it was all done with stainless wire and C25. Not the ideal gas, but it worked well enough and should keep the welds from really rusting.
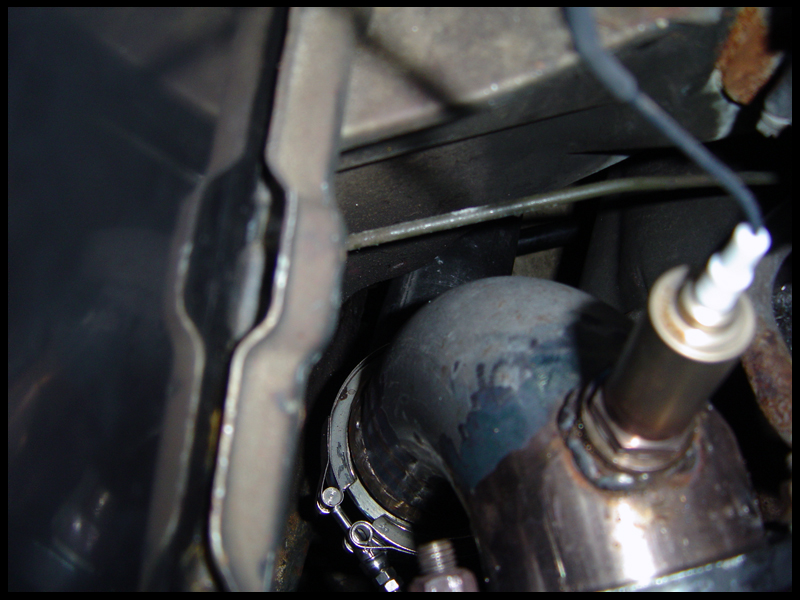
Here it is from under the car:
Clearance over the sway:
Under the car. Yes, the T9 leaks a bit
Only running 12-13psi now, but still, this is a completely new car. I went from a stock downpipe and elbow with an E3 to this. It's nearly impossible to not be into boost when driving now. I'm very impressed, but this was definitely A LOT more work than installing one of Mike's downpipes or making your own with the stock housing.
A center mount would make this easier, but you still need to get the wastegate actuator figured out. The Saab 9000 one works, but not well enough for me. Maybe with a fancy electronic boost controller it would, but it's much cheaper just to pick up a Garrett unit with a stiffer spring.
Here's what I used for the downpipe:
3" V-Band Flange
o2 Bung
Transition Cone
90* Bend
180* Bend
I bought a bunch of straight tubing, but I didn't need any of it. The legs on the bends were enough to get it where I needed.
If you want a housing:
http://merkursport.com/index.php?showtopic=17210


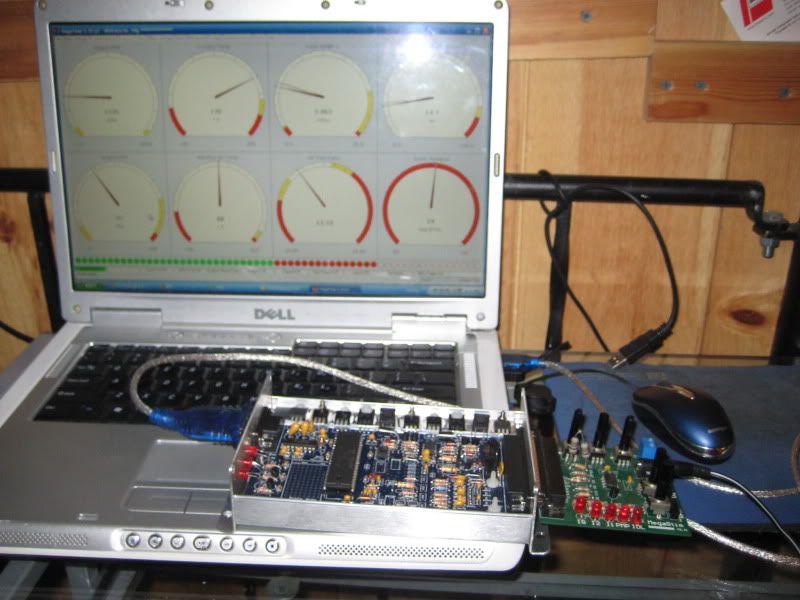
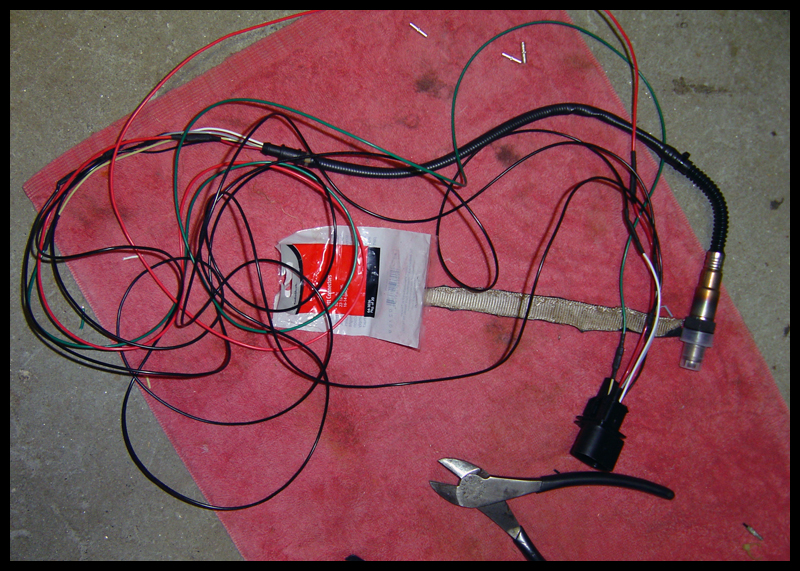
Wideband is in, 5v signal wire down in passenger footwell. Need to buy vacuum line and a T tomorrow as well as wire in the signal wire for the IAT. Ground is already hooked up and verified at .2 ohms. The lug I used before I un-{%@$# it was reading .5 ohms.
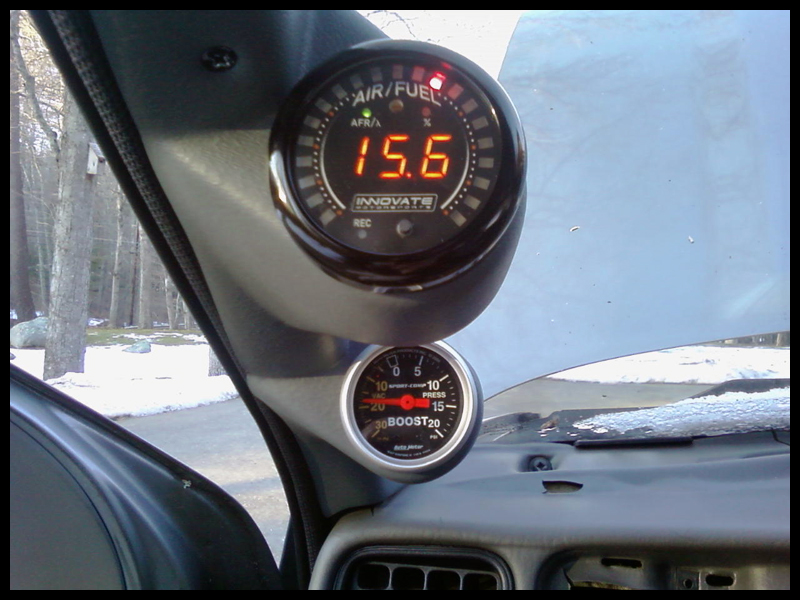
The Innovate kit is kick-ass btw. Can datalog right from the LC-1 with their LogWorks software. Can also change the analog output voltage curves. The gauge is also programmable (colors and other display features) and can record peaks.
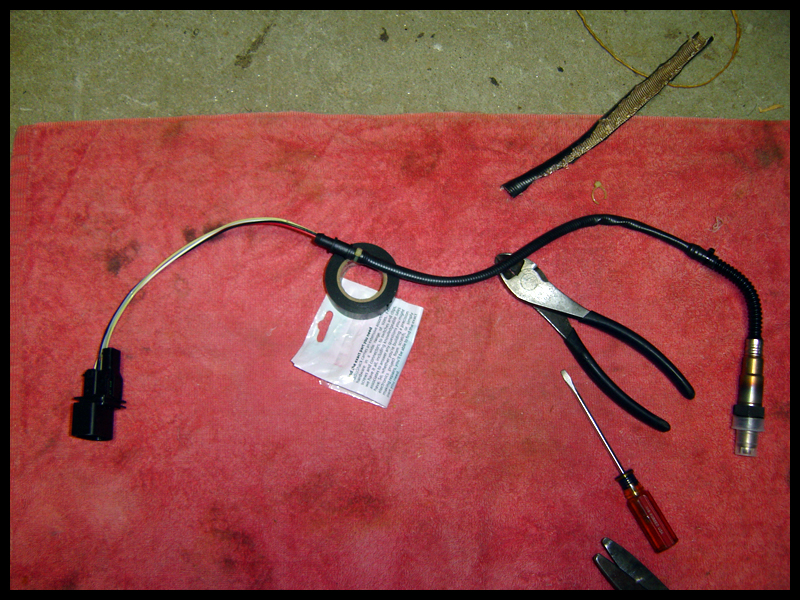
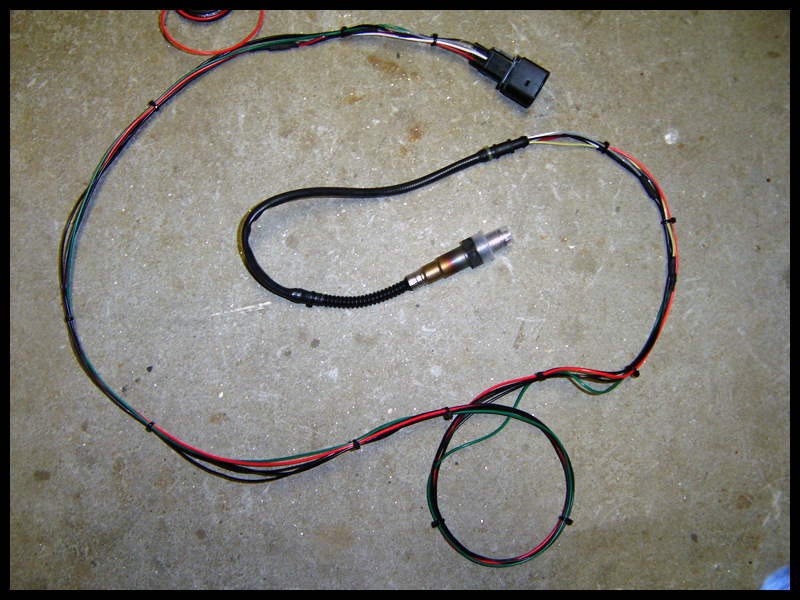
To wire everything the way I wanted (I'm OCD with wiring), I had to extend the o2 harness 5 feet.
Heatshielding removed:
In-Progress:
Done:
I'm pissed I didn't have any split loom or PET sleeving. This will do for now. When I end up replacing the sensor at some point and re-doing this, it will be done nicer. This isn't a show car.
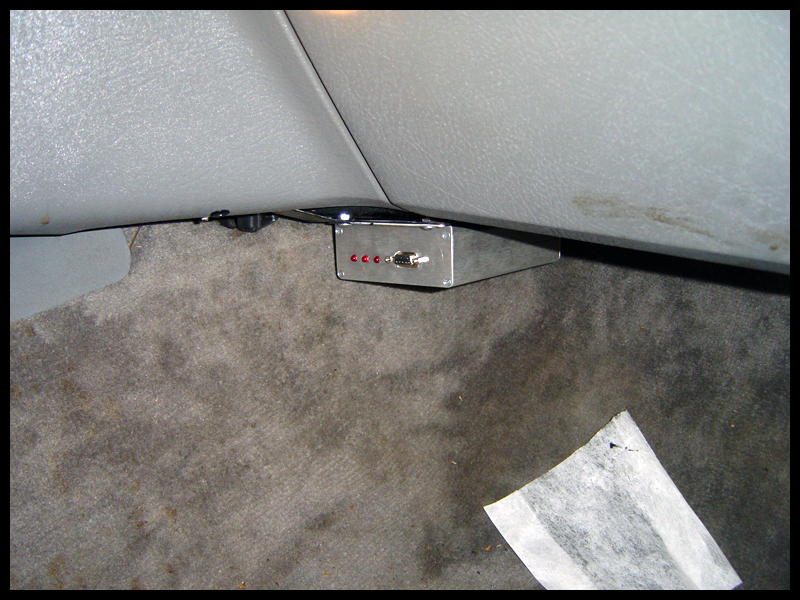
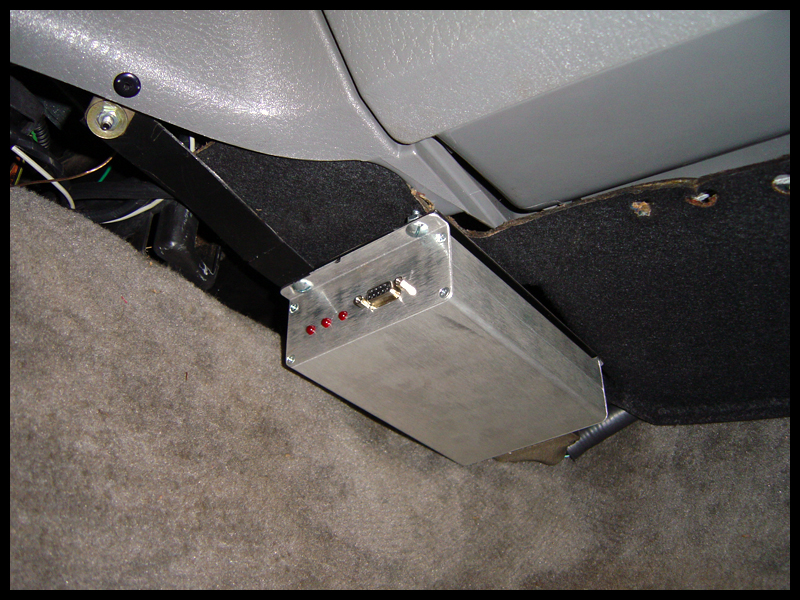
In car:
This is a problem. I need a girlfriend again.
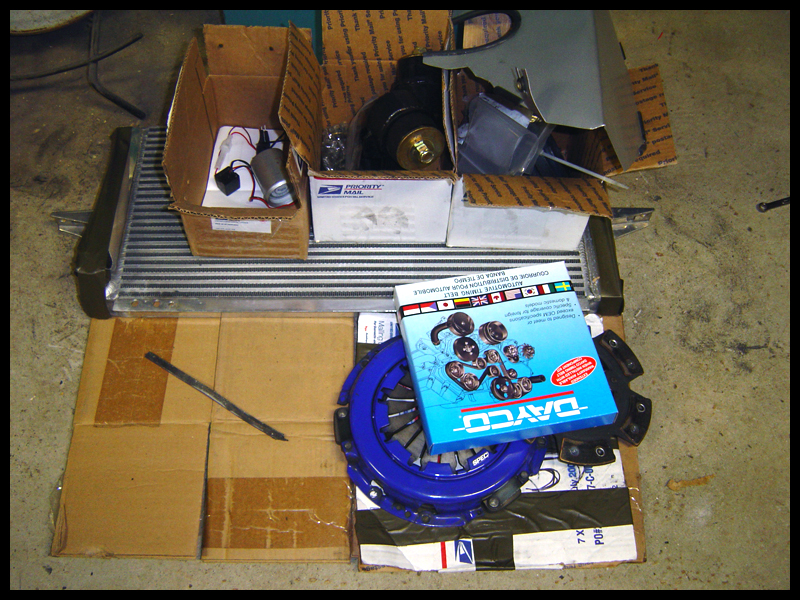
Mike Oyler's aluminum radiator:
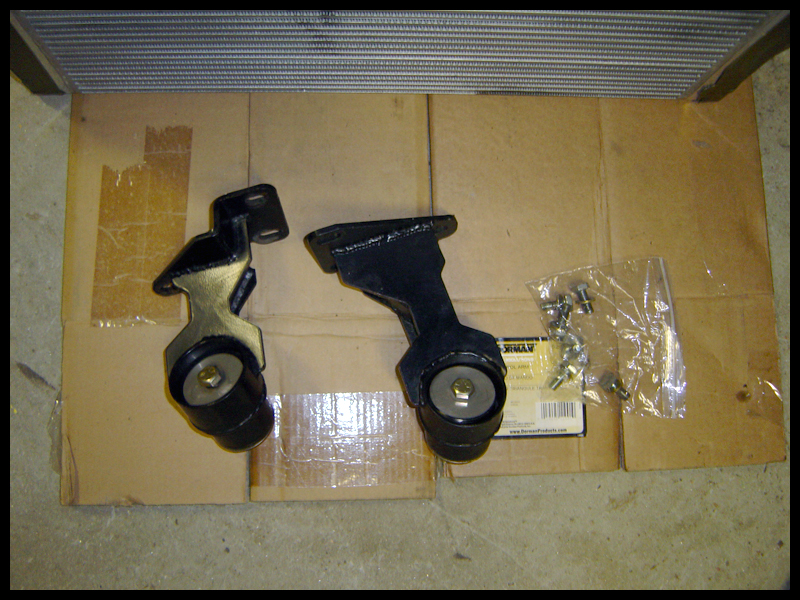
Chuck Warren's poly motor mounts:
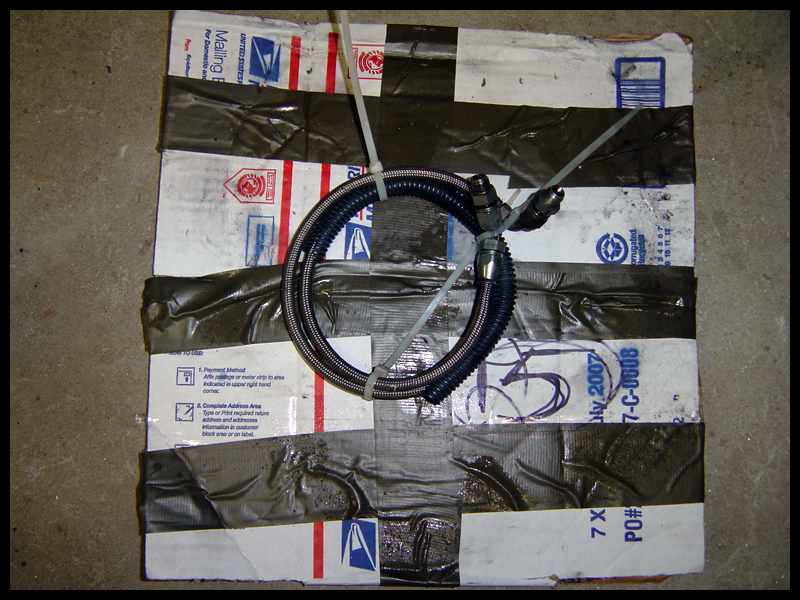
Stinger braided stainless turbo oil feed:
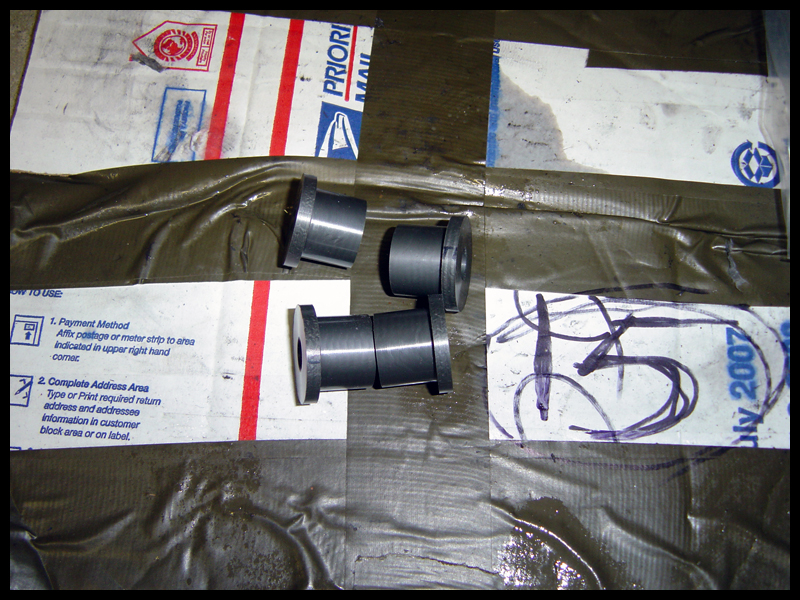
mc2racing nylon steering rack bushings:
Poly rear springs seats:
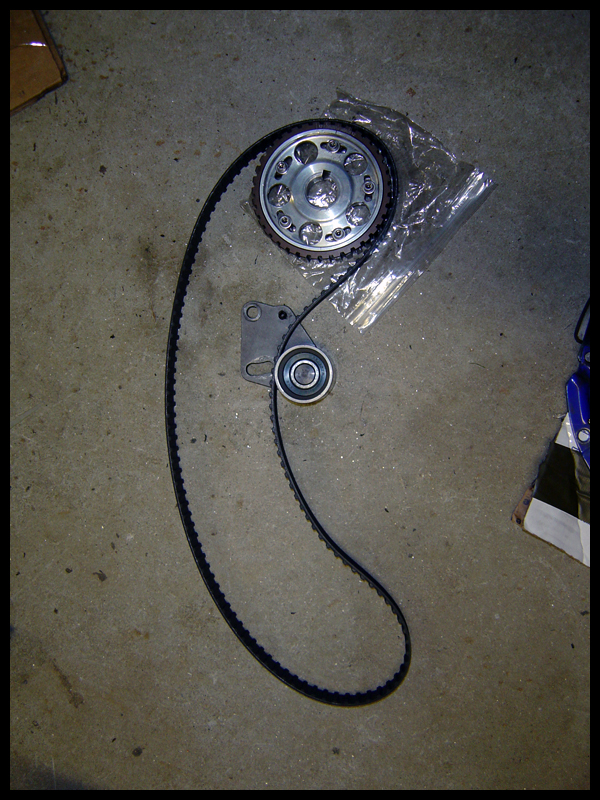
New timing belt, tensioner and Racer Walsh cam gear:
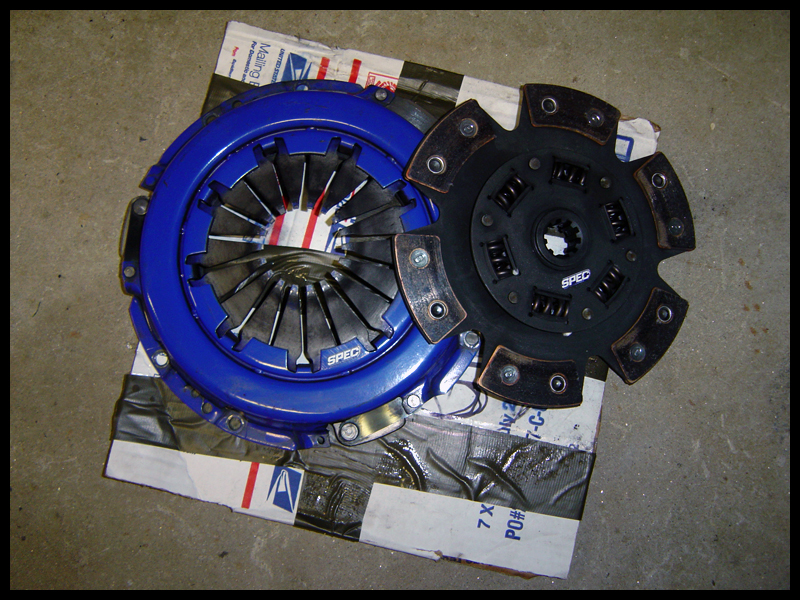
Spec 'stage 3' clutch. Rated for ~425ft lbs of torque at the crank:


Put my intake back the way it was before sans VAM.
Temporary:
New one without the heatshield:
Done:
From this weekend:

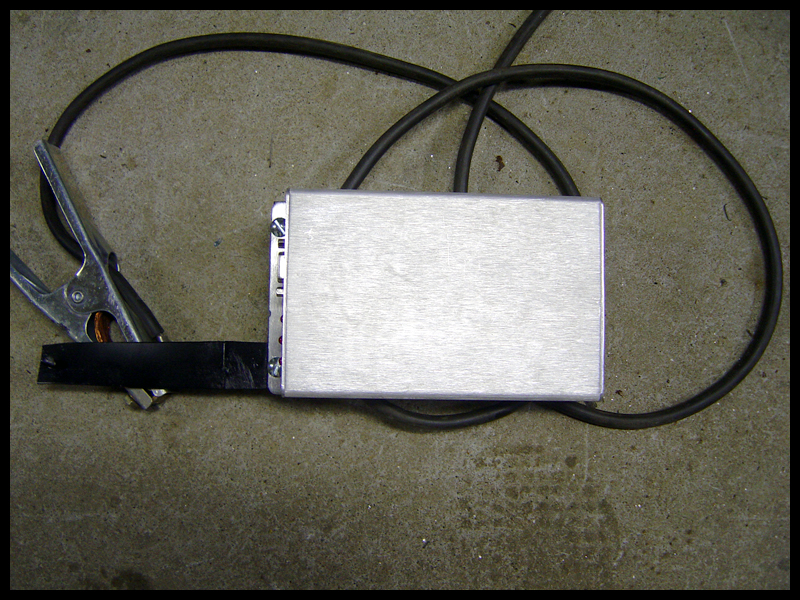
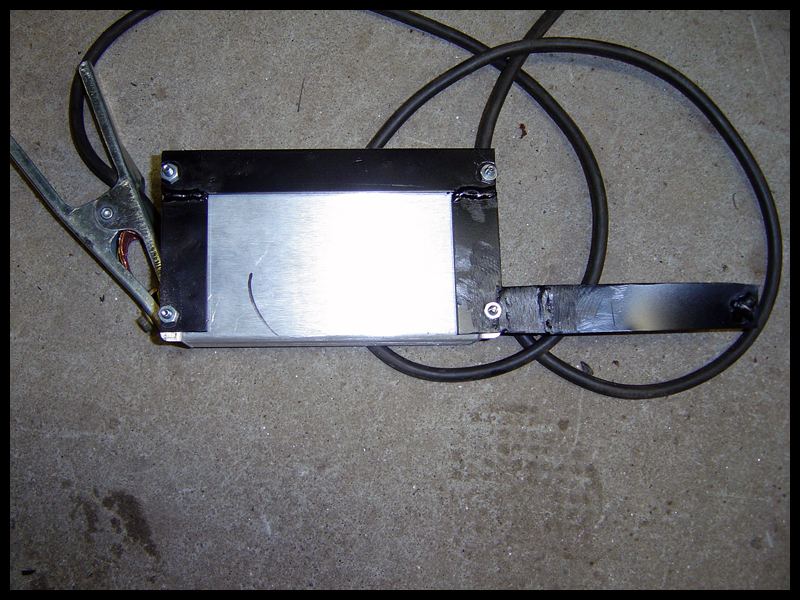
Made a bracket for the MS today. Simple and overkill.
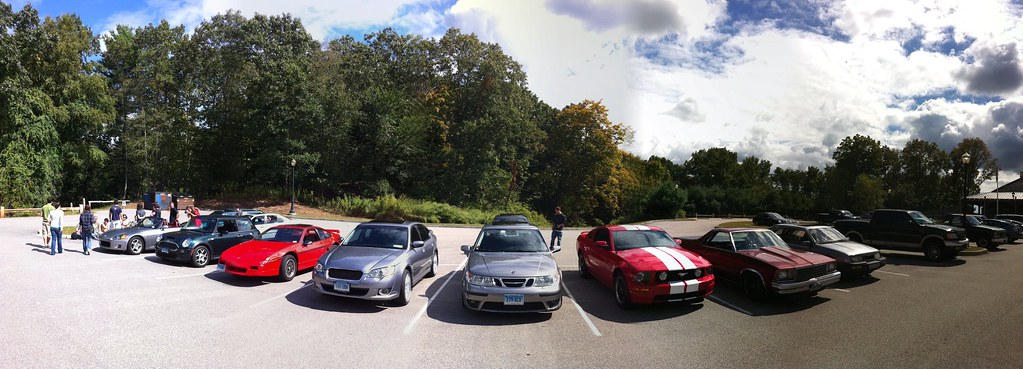
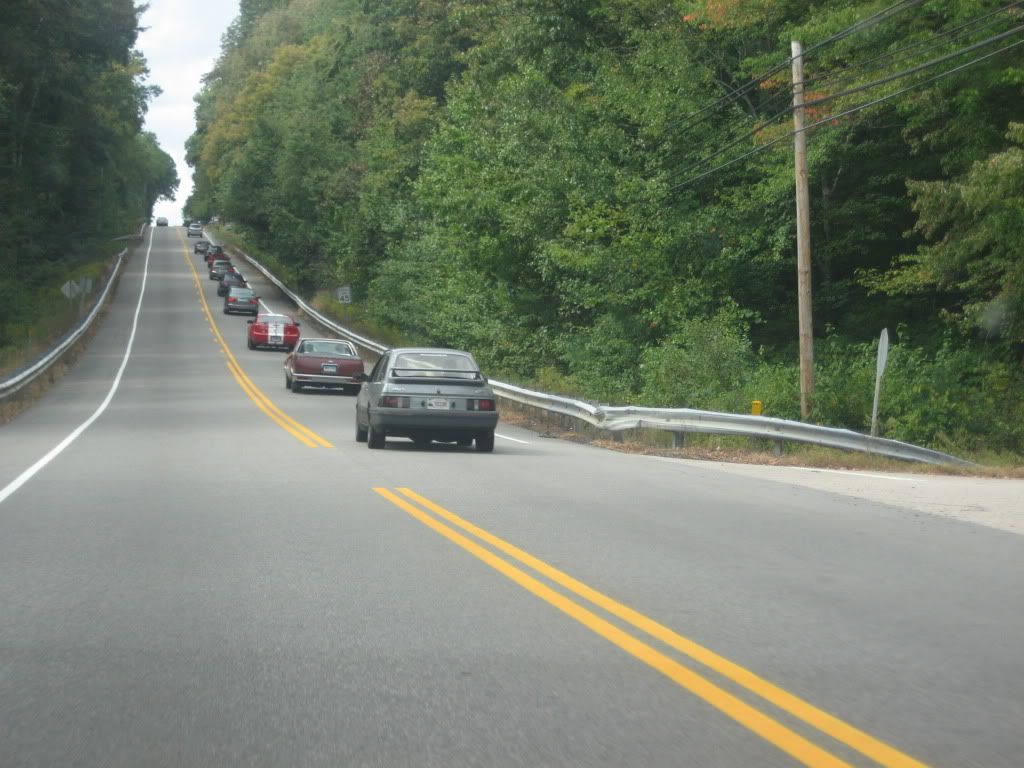
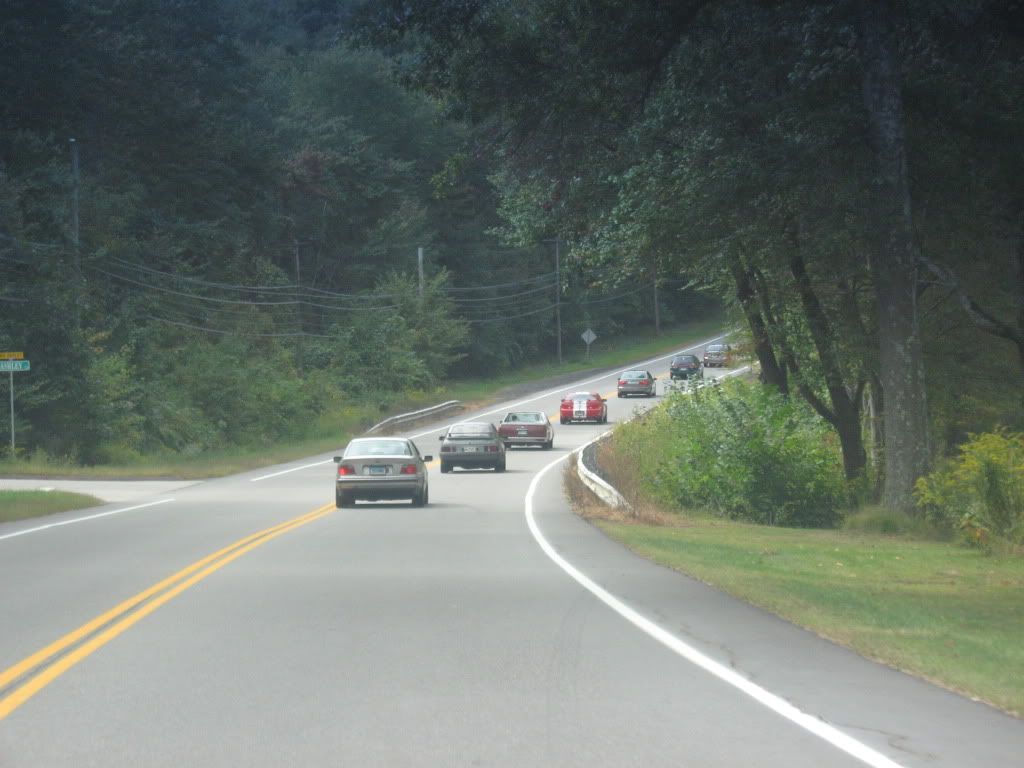
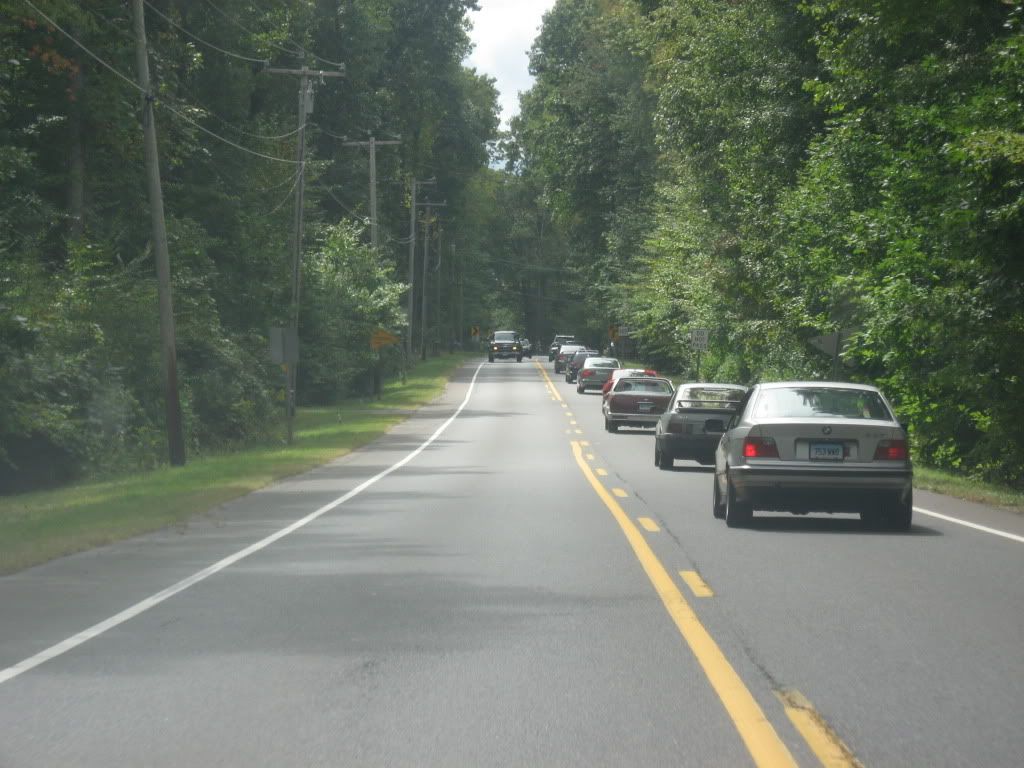
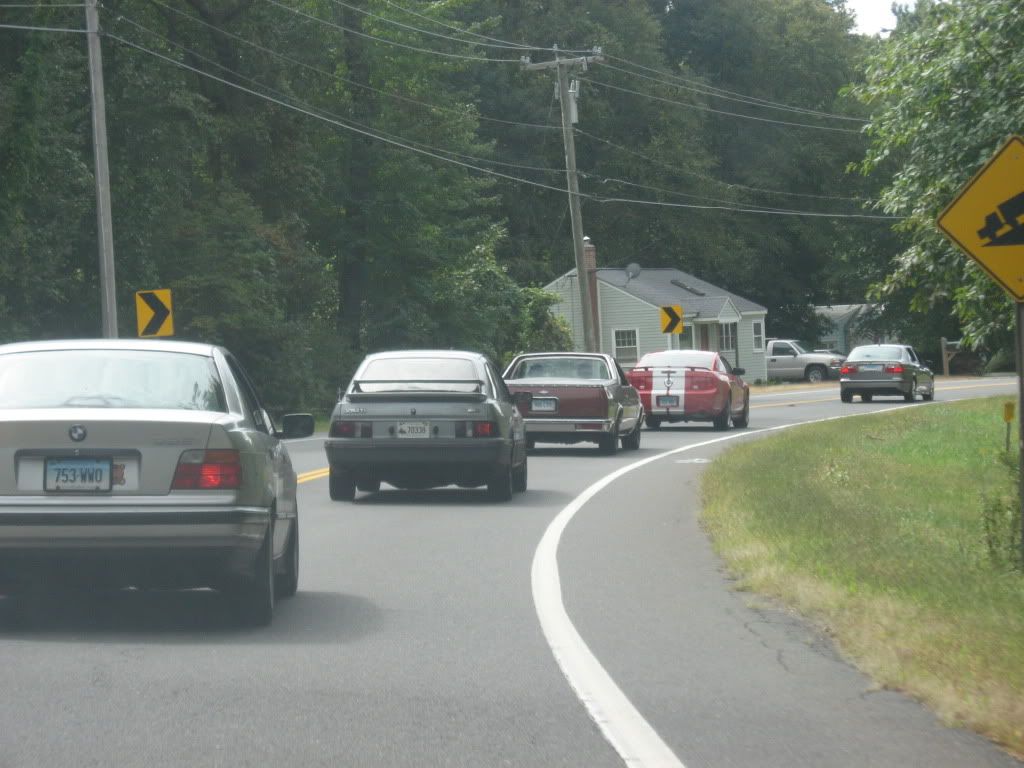
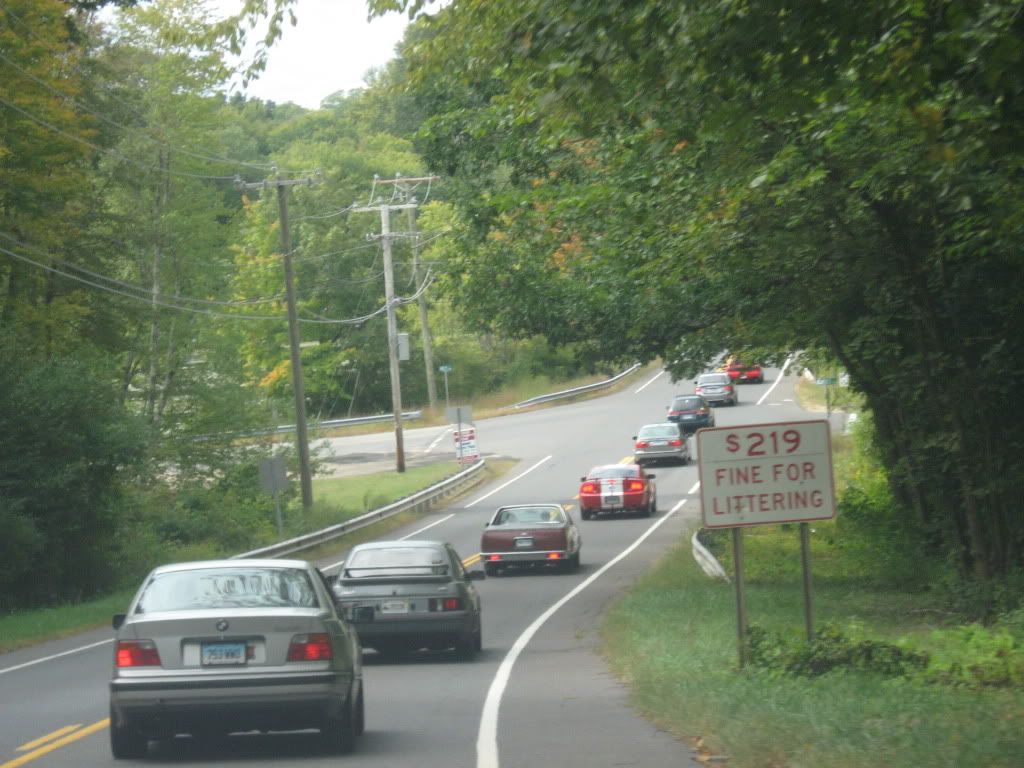
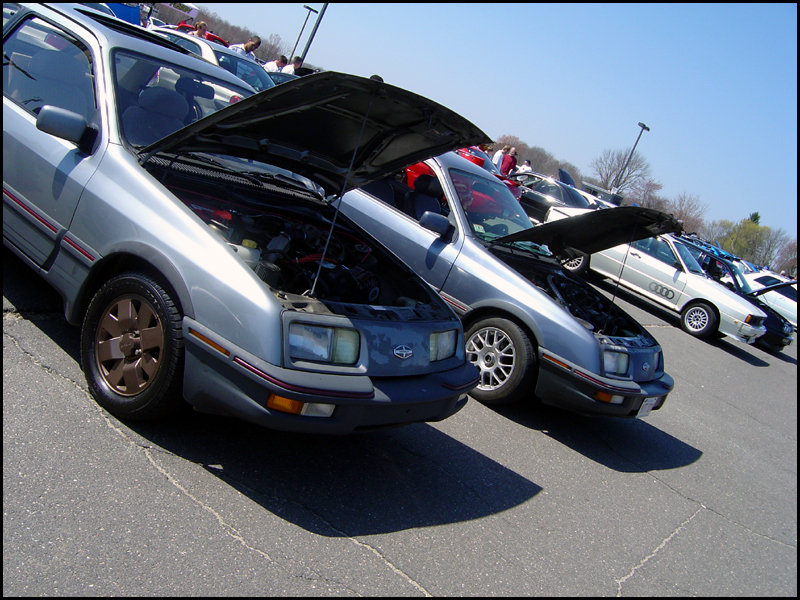
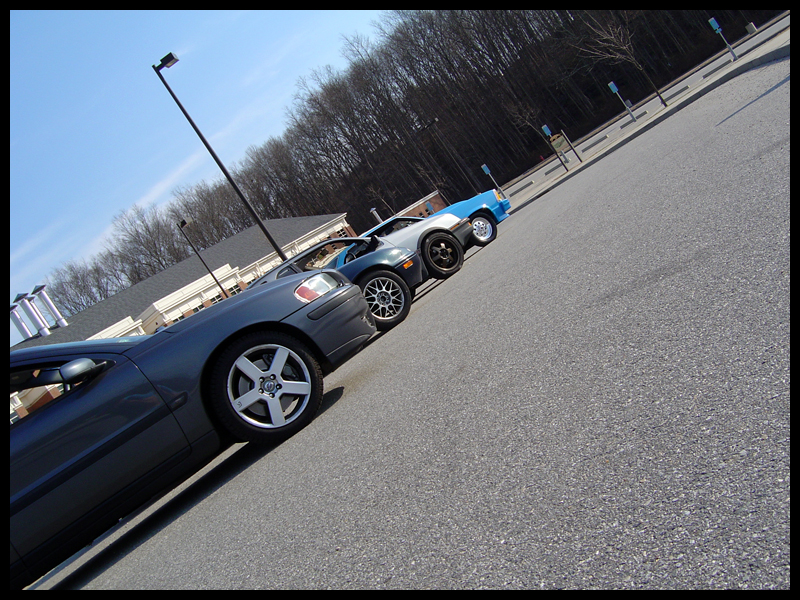
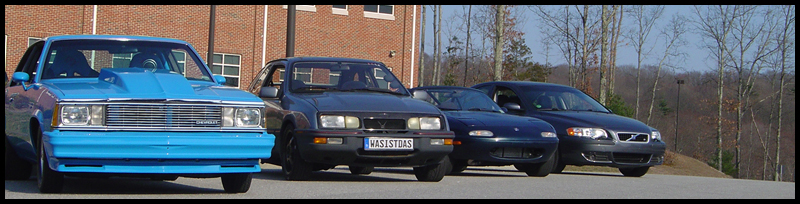
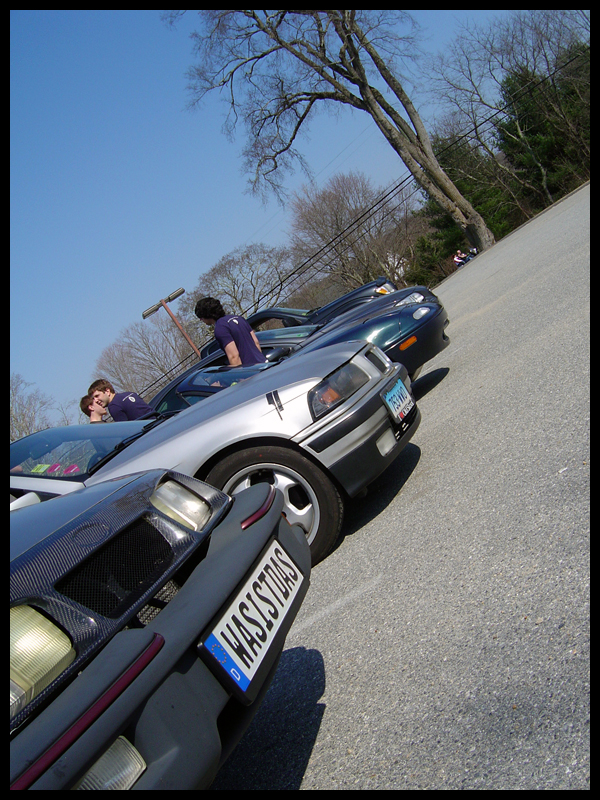
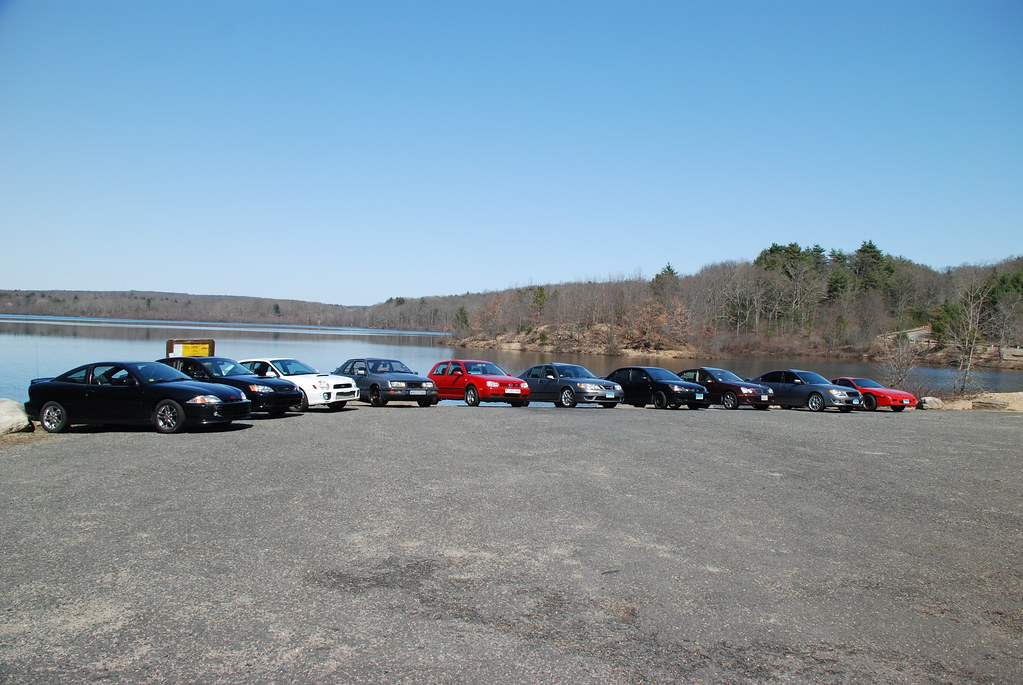
Some pics from an impromptu cruise. Three boosted cars and a silly V8 haha:

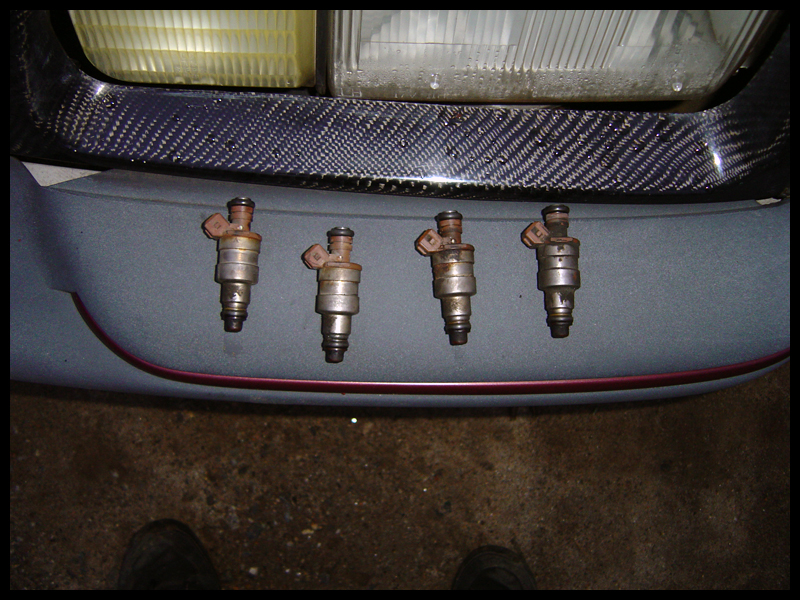
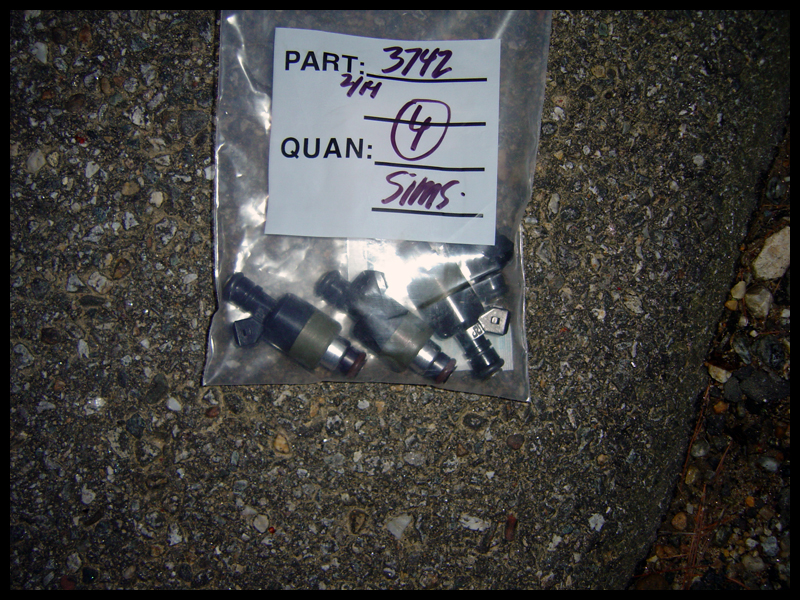
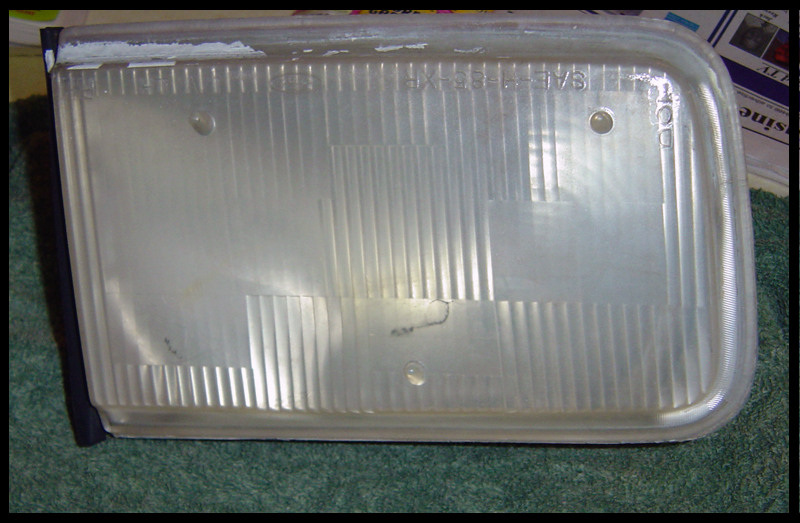
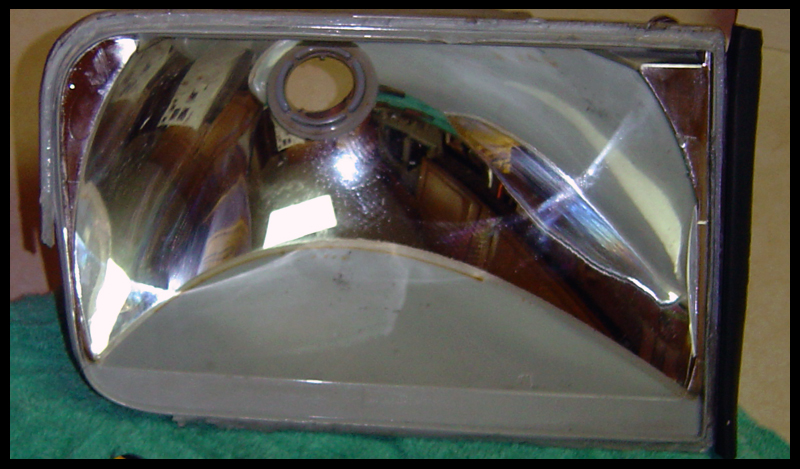
More pics from this weekend. 65lb injectors are here as well as a junk headlight to make a scoop for autox.


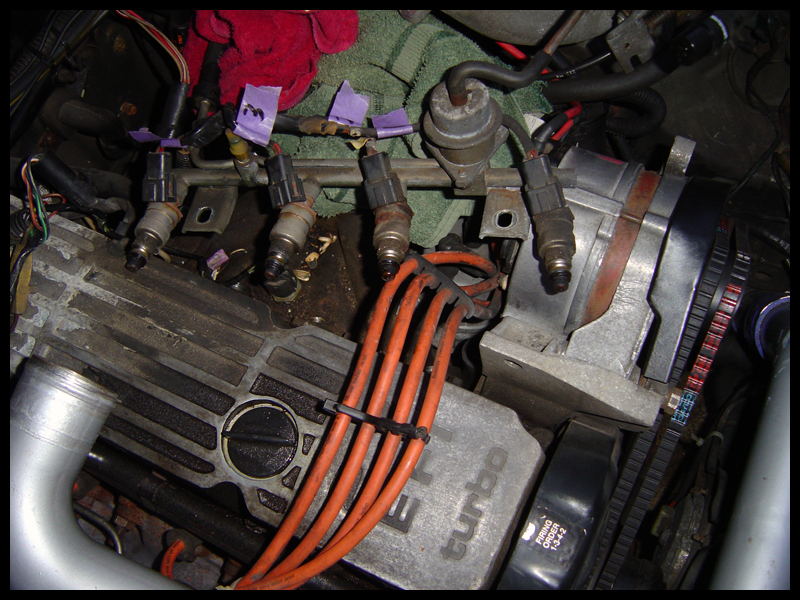
New injectors are in. Quick job, but glad I checked the part numbers first. Stock are 35lb (367.5cc). He told me these were 65lb (682.5cc). Turns out they are 75lb (787.5cc). No kill like overkill right? Looks like I have no excuse to go with a Holset or 35r or something stupid big. Add the Walbro 255 and I'm good to go!
Anyway, pics:
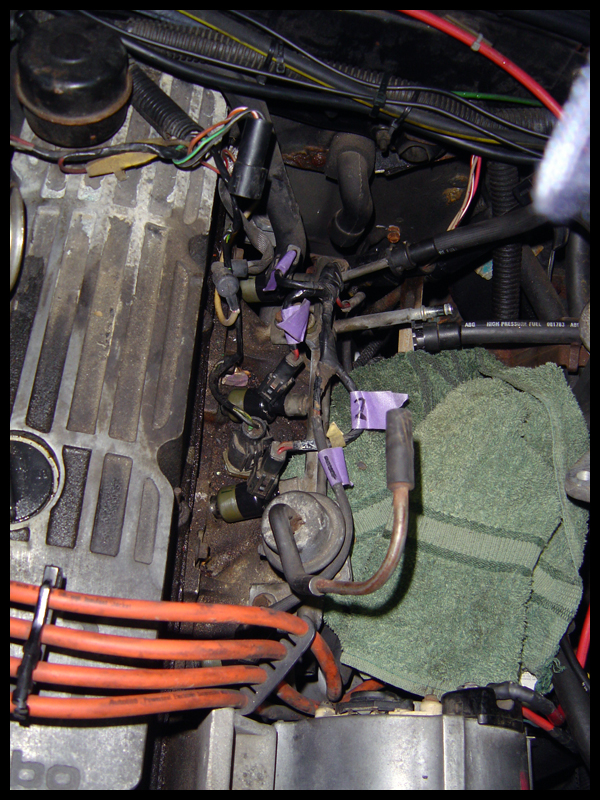
Upper intake unbolted and turned out of the way:
Old injectors still in:
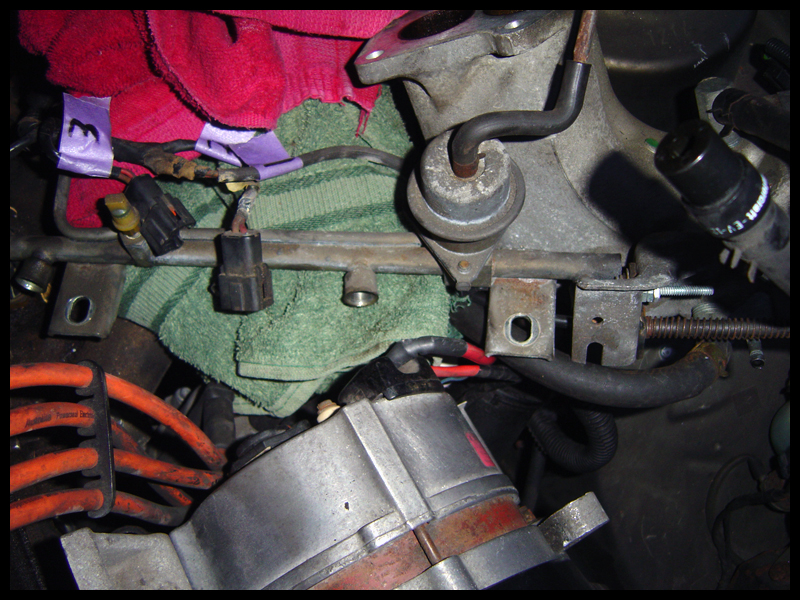
Fuel feed disconnected and rail pulled from the lower intake:
Rail ready for new injectors:
Gross!
Ready for these brand new ones. Little bit of oil on the o-ring and they slid right in
Done!
Car runs great. Need to tune some fueling around idle and light cruise, but no leaks and it holds idle a lot smoother. I didn't expect anything to be smoother going from pintle to disc injectors, but I guess my stock ones were pretty dirty.

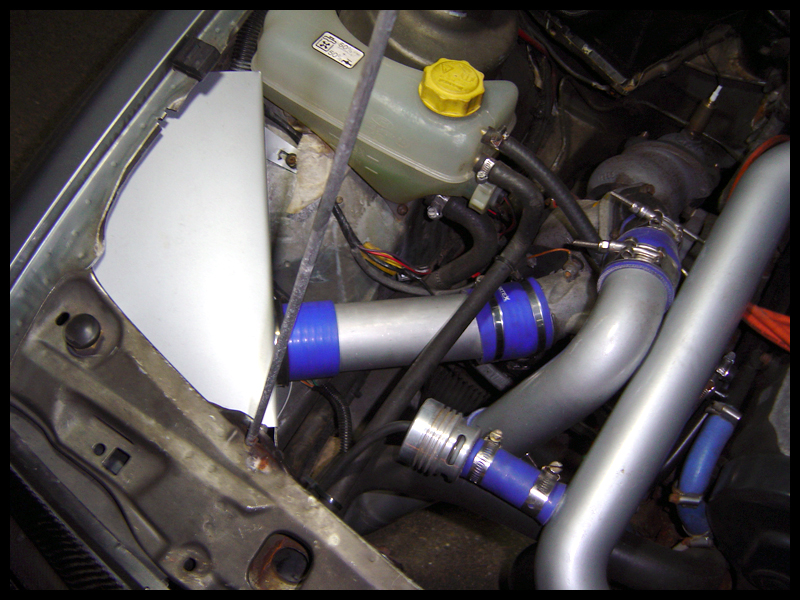
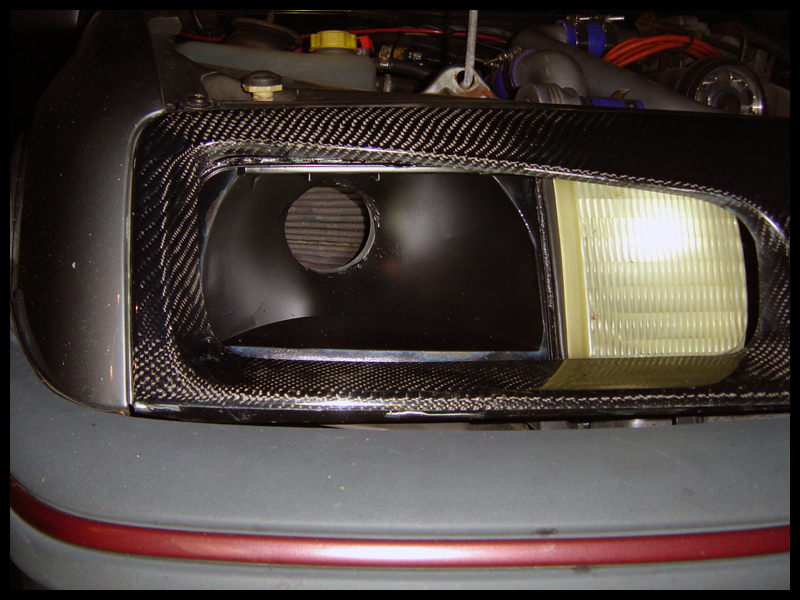
I copied a Ray's scoop.
The headlight I picked up from Jeff:
Lens taken off.
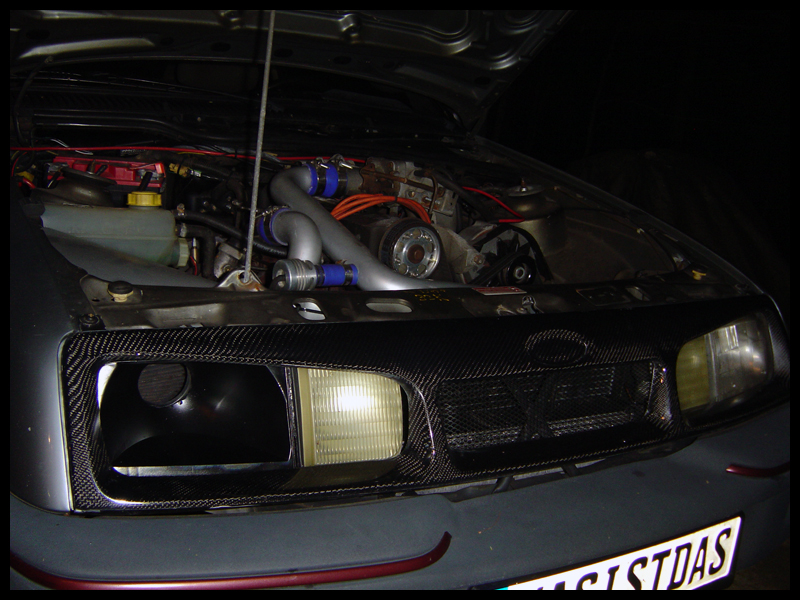
Done:
That's where she sits as of today. Car is running awesome on Dave's MegaSquirt and the tune is pretty dialed in. I'm always changing small things, but I really enjoy messing with the software. I'm excited to see how it does around the cones compared to last year.