My Build Thread: Project "Rain Cloud"

Documenting your big project with photos/videos? Have photos/videos to share of anything Merkur related? Place your links to photos and videos here. Please - Merkurs and Merkur-related pictures only. Cosworths welcome!!
Carlisle and event related pictures are to be placed in the relevant section under 'Events'.
Merkur Club web site
hEaT
Level 7
Level 7
Posts: 3880
Joined: Mon May 07, 2007 10:12 pm
Location: USA

Re: My Build Thread: Project "Rain Cloud"

Post by hEaT »

catapultkid wrote:Looks good dude! Hopefully it gets used some this year.
Thanks! Hoping so as well.


RE: The bushings. Appears to be all squared away. Everything is fine, just a result of less compression.
hEaT
Level 7
Level 7
Posts: 3880
Joined: Mon May 07, 2007 10:12 pm
Location: USA

Re: My Build Thread: Project "Rain Cloud"

Post by hEaT »

Put a few miles on the car today. After fixing a few coolant and vacuum leaks, it drove nicely. The stiffer springs make the car ride much more comfortable. The 350/875 combo was just too soft/hard to work well. The 500s complement the 875s nicely and car feels very solid. I'll have the springs and entire front Powerflex poly kit up for sale soon.

Got the ARP studs from mc2 installed in the rear too, and it can be done on a the OEM drum setup without having to remove the hub. Test fit the Rota SDRs with the A6s and I'm looking at 1" spacers all around to clear suspension bits (locking collar in the front, STA in the rear). That should still give me 13 threads or more of engagement on the lugs so I'm good there. Hoping a friend can run a set of hubcentric spacers for me since anything I can find online is an adapter and runs $150+ for a pair.

I need taller rear springs too. I'm running two isolaters on each side to get the car to sit okay in the rear. These look like 8" tall. When I do the rear disc brakes (since I'll have to break the lines there anyway) I'll grab a set of 9.5" springs from mc2.
85xr
Level 2
Level 2
Posts: 158
Joined: Sat Oct 04, 2008 7:18 am
Location: dayton oh

Re: My Build Thread: Project "Rain Cloud"

Post by 85xr »

Hoping a friend can run a set of hubcentric spacers for me since anything I can find online is an adapter and runs $150+ for a pair.

check out JJC race and rally. best price online I could find. they had 16mm and 20mm.
greg
hEaT
Level 7
Level 7
Posts: 3880
Joined: Mon May 07, 2007 10:12 pm
Location: USA

Re: My Build Thread: Project "Rain Cloud"

Post by hEaT »

85xr wrote:
Hoping a friend can run a set of hubcentric spacers for me since anything I can find online is an adapter and runs $150+ for a pair.

check out JJC race and rally. best price online I could find. they had 16mm and 20mm.
Thanks, will do. Need something at least 25mm though.
Mark H
Newbie
Newbie
Posts: 15
Joined: Fri Mar 16, 2012 3:03 pm

Re: My Build Thread: Project "Rain Cloud"

Post by Mark H »

Hey joe,

Has the EFR been worth it? Would you do it again?
hEaT
Level 7
Level 7
Posts: 3880
Joined: Mon May 07, 2007 10:12 pm
Location: USA

Re: My Build Thread: Project "Rain Cloud"

Post by hEaT »

Mark H wrote:Hey joe,

Has the EFR been worth it? Would you do it again?
Hi Mark,

Unfortunately I haven't put much seat time in the car this year and it still needs some tuning. I have been impressed with the turbo so far, but I don't know if the fab work involved vs installing a dual ball bearing turbo that fits in the stock location (for cheaper!) is worth it. If you'd like to reach out to Chris Grayson, he's running the same turbo on his autocross car and could give much better feedback than I. It's a fantastic turbo, if you don't mind doing the work to get it to fit.
boost_is_fun
Level 1
Level 1
Posts: 64
Joined: Fri Jan 16, 2015 5:44 am
Location: Provo, UT (In School) - Elizabeth CO (Home)

Re: My Build Thread: Project "Rain Cloud"

Post by boost_is_fun »

hEaT wrote:SOOOO thankful the master let go at Ray's and not driving. Car had ZERO brakes...to the point where brakes to the floor wouldn't stop the car from rolling the rear in 1st at idle.
Sorry for replying to a super old post, but I felt the need to share a brake experience I had in my '89 XR last year driving to a job shadow with a mechanic ironically enough.

I saw the light turn red driving about 35, pushed the brakes lightly and the pedal went straight to the floor and did absolutely nothing. I quickly put the the car in 1st (terrible for the tranny I know, but better than rear ending the car in front of me) and then started pulling the e-brake. I stopped about 1.5 feet from the car in front of me.

This was the start of 2 months without brakes, as first I replaced one leaky wheel cylinder, then the other, and finally the master cylinder, after waiting 4 weeks for a ebay rebuilt on to show up, before finally buying a rapido reman.

This is one of the many reasons why I will drive manuals as long as I can, and it created my hatred of drum brakes (cut my finger and had old brake fluid drip in the cut when a spring pulled loose fixing the wheel cylinder). A rear disc brake setup is one of the first mods I will make when I have a little cash on hand.

I don't know why I felt the need to share this, maybe just a reminder to everyone to be careful, I don't know. Sorry again for replying to such an old post.
Connor
'89 XR 254000 miles. Stock (until spring, then poor college student mods begin)
'99 Audi B5 A4 2.8 v6 (Technically my dad's, but he doesn't drive it)
Since I'm a Noob, i'll put an apology for dumb questions down here. I'm 19 and completely self-taught
merk23literturbo
Level 7
Level 7
Posts: 1528
Joined: Sat Feb 08, 2003 10:11 am
Location: Phila, PA.

Re: My Build Thread: Project "Rain Cloud"

Post by merk23literturbo »

as first I replaced one leaky wheel cylinder, then the other,
Just FYI, always replace wheel cylinders in pairs.
German engineer: We custom fit every part in the Porsche engine.
Japanese engineer: You mean that you make every part wrong to begin with?
boost_is_fun
Level 1
Level 1
Posts: 64
Joined: Fri Jan 16, 2015 5:44 am
Location: Provo, UT (In School) - Elizabeth CO (Home)

Re: My Build Thread: Project "Rain Cloud"

Post by boost_is_fun »

merk23literturbo wrote:Just FYI, always replace wheel cylinders in pairs.
Yeah, lesson learned on that one.
Connor
'89 XR 254000 miles. Stock (until spring, then poor college student mods begin)
'99 Audi B5 A4 2.8 v6 (Technically my dad's, but he doesn't drive it)
Since I'm a Noob, i'll put an apology for dumb questions down here. I'm 19 and completely self-taught
hEaT
Level 7
Level 7
Posts: 3880
Joined: Mon May 07, 2007 10:12 pm
Location: USA

Re: My Build Thread: Project "Rain Cloud"

Post by hEaT »

boost_is_fun wrote:
hEaT wrote:SOOOO thankful the master let go at Ray's and not driving. Car had ZERO brakes...to the point where brakes to the floor wouldn't stop the car from rolling the rear in 1st at idle.
Sorry for replying to a super old post, but I felt the need to share a brake experience I had in my '89 XR last year driving to a job shadow with a mechanic ironically enough.

I saw the light turn red driving about 35, pushed the brakes lightly and the pedal went straight to the floor and did absolutely nothing. I quickly put the the car in 1st (terrible for the tranny I know, but better than rear ending the car in front of me) and then started pulling the e-brake. I stopped about 1.5 feet from the car in front of me.

This was the start of 2 months without brakes, as first I replaced one leaky wheel cylinder, then the other, and finally the master cylinder, after waiting 4 weeks for a ebay rebuilt on to show up, before finally buying a rapido reman.

This is one of the many reasons why I will drive manuals as long as I can, and it created my hatred of drum brakes (cut my finger and had old brake fluid drip in the cut when a spring pulled loose fixing the wheel cylinder). A rear disc brake setup is one of the first mods I will make when I have a little cash on hand.

I don't know why I felt the need to share this, maybe just a reminder to everyone to be careful, I don't know. Sorry again for replying to such an old post.
Wow, scary! I definitely got lucky when mine went.


Fired up the car for the first time in a VERY long time this weekend. Did an oil change as well. Oil came out looking like chocolate milk. Hoping the coolant/oil sandwich plate rusted through (I did run straight water for some time as coolant) or the headgasket is blown. Took the car for a quick spin on fresh oil and it runs fine, no noises and doesn't overheat. I'll drain the oil out again in a couple weeks and see how it looks. That oil did sit about a year or so and maybe had 20min of idle run time only on it.

Have a good sized leak that dumps water on the passenger floor too when it rains or I wash the car. Probably the battery tray since the sunroof drains are clear through the rockers and rear quarter (headliner still out so was easy to test with the compressor).
hEaT
Level 7
Level 7
Posts: 3880
Joined: Mon May 07, 2007 10:12 pm
Location: USA

Re: My Build Thread: Project "Rain Cloud"

Post by hEaT »

:(

Image

Image
Last edited by hEaT on Thu Jun 28, 2018 7:59 pm, edited 1 time in total.
hEaT
Level 7
Level 7
Posts: 3880
Joined: Mon May 07, 2007 10:12 pm
Location: USA

Re: My Build Thread: Project "Rain Cloud"

Post by hEaT »

Must have been from sitting. Put 20min of run time up to temp on the car, changed the oil, no sign of coolant/fuel/anything not oil. Removed the oil heater sandwich plate as well and simplified the cooling system. Lots of rust down in the cooler which I think is why my coolant always turned a bit brown. Coolant was mostly green and everything sitting in the cooler was dark orange.

Chasing a cabin water leak onto both driver and passenger floorboards. Battery tray looks solid with minimal rust. Pulled the blower motor out and water poured out of that and the gasket looked a bit suspect...taped up the holes and will see if water persists in the cabin. If so, I can only guess it's some hidden rust under the battery tray. Not a spec of rust anywhere else along the cowl or missing grommets.

If the floor stays dry I'll start working on getting the interior back in the car. Swapping the car over from the grey to raven/black.

Planning to put some miles on the car and head over to Ray's. The one place I feel remotely comfortable driving since if I blow it up there, his stash of parts rivals mine :cheers

Car spools like a mofo. Love it.

Image
hEaT
Level 7
Level 7
Posts: 3880
Joined: Mon May 07, 2007 10:12 pm
Location: USA

Re: My Build Thread: Project "Rain Cloud"

Post by hEaT »

Ordered new pads for the front (HPS from mc2), new TCAs (balljoints are SHOT). I need rotors as well, but I need to verify if I have 300mm SVTF rotors or 278 CSVT rotors. I can't remember. Found another vacuum leak where a rodent ate through the vacuum reservoir. Tossed that in the trash and will remove the lines.

Image

Gave the car a good running and happy to say it is faster than the FoST according to my ass dyno. Success.

Today also marks 8 years having the car.
hEaT
Level 7
Level 7
Posts: 3880
Joined: Mon May 07, 2007 10:12 pm
Location: USA

Re: My Build Thread: Project "Rain Cloud"

Post by hEaT »

Ok, so updates going back to mid-July. Been a fun few months working on the car :) Most is in order, but some tried to order the work rather than the timing. A lot of these projects were happening concurrently.

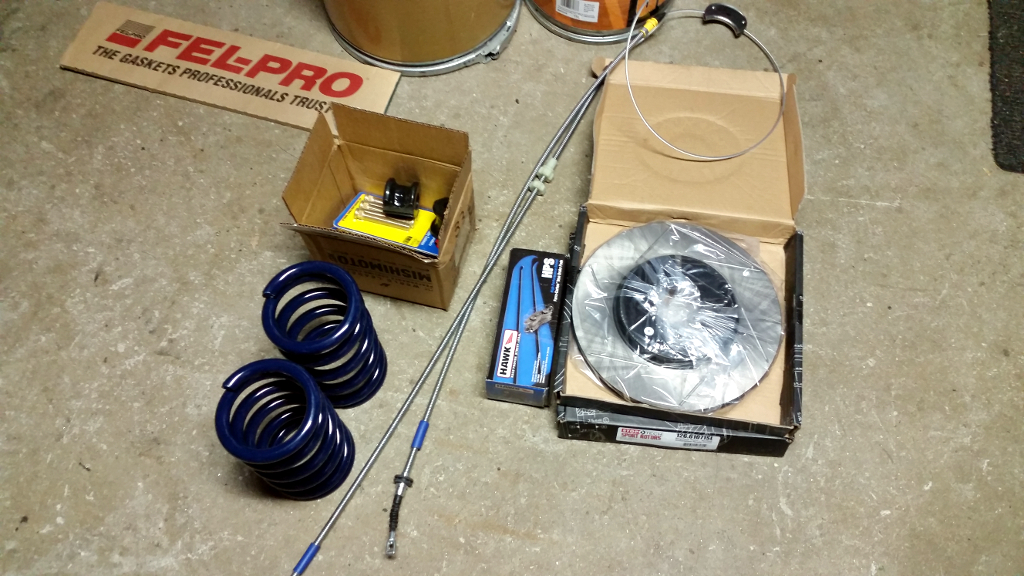
Started off with the rear brakes. I've had a rear disc conversion sitting in a box for many years now. Dug this out, traced the part numbers, and found it was all Turbo Couple/94 Cobra parts. Easy enough to find, but just takes some time. I used the parts I had to mock everything up and a proof of concept, and then replaced with brand new parts. I had a set of calipers with it that were in okay shape, but everything was blue. EVERYTHING. Other set were cores I pulled off a Sable wagon at Harry's U-Pull-It. Those were turned into to Advance for a fresh set.

Image

Time get to pulling the old rear parts. Up for grabs BTW. Worked great when on the car.

Image

Bunch o parts:

Image


Pretty simple bolt-on job with the adapters and Mike's lines.

Image

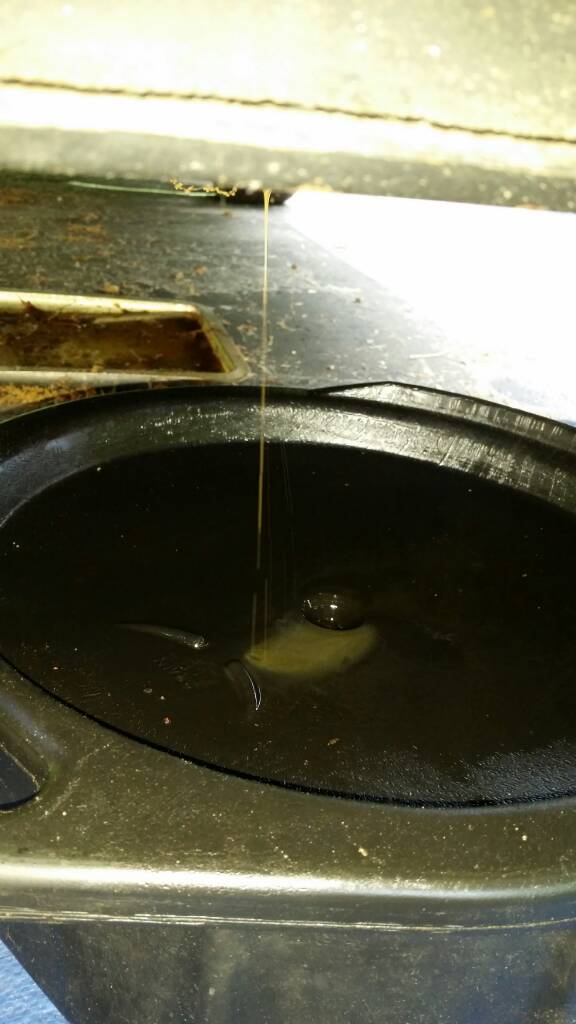
Along with the rear discs, the smaller master and booster setup had to go. I picked up a matched set from Ted, a local XR owner a few years ago (now swapping in a 2.0 N/A Duratec into his blue car). Learned my lesson when I blew apart my original master when bleeding the brakes from all the sludge at the end of the bore. This one was pulled apart, cleaned with a fine 3M polishing pad, and put back together. Really simple. Unit was bench bled and then tossed into the car. Lucky me had to remove the intake manifold to R&R the booster. Added time and added trip to get a new gasket.

Image

Image

Image

Install time:

Image

Image

Gutted the prop valve at the same time and bled the system. Fast forward a few weeks and the valve started leaking. Looks like I was a bit over zealous and gutted "too much" of the valve. The piston has to stay and ONLY remove the ball. The piston seals a small weep hole at the bottom which somehow survived bleeding the system. Oh well, replaced with a M12x1 brake union.

http://iso-100.com/blog/removing-the-re ... your-xr4ti

Image

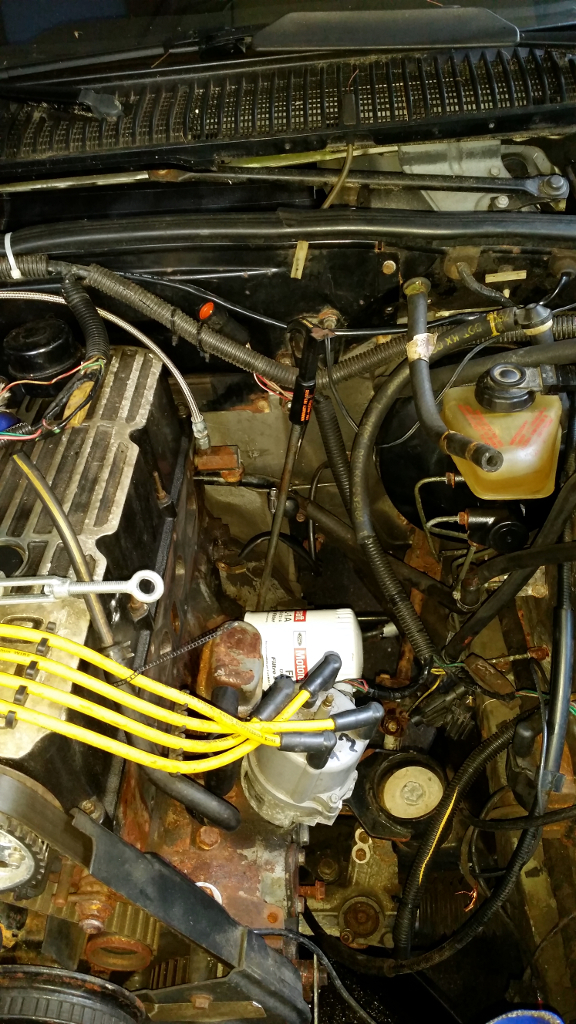
Next up was cleaning up some vacuum lines while I had the IM out. I'll eventually move the wiring too.

Image

Image

Before bleeding, new calipers came in. Pieces of absolute crap. One slide pin didn't even move in the bracket so that needed to be opened up a lot. Both also leaked fluid around the copper washers on the banjo. They weren't machined correctly so I had to hit them with a file. Once the chipped lip around the hole was fixed, they sealed up.
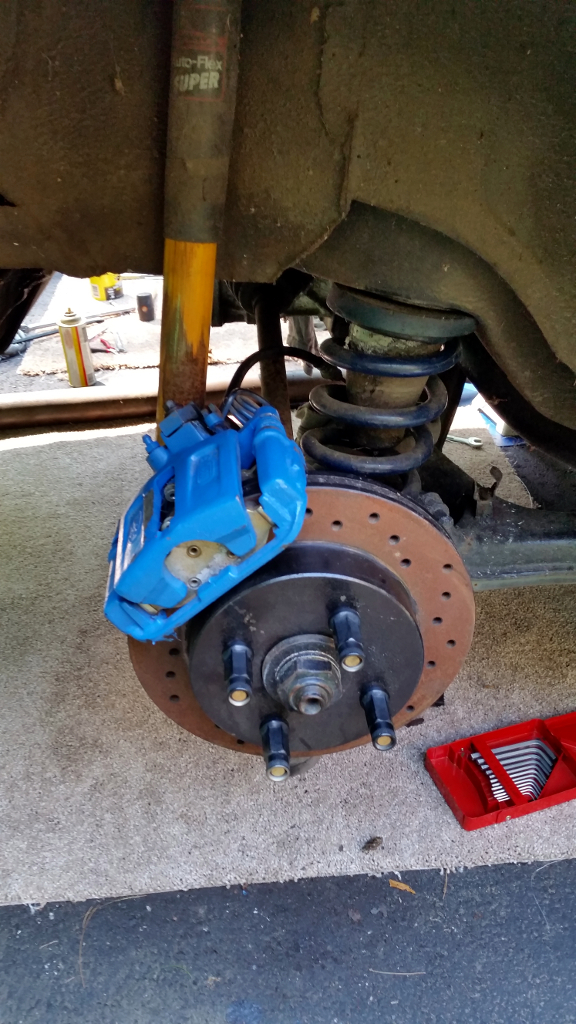

Image

Painted Up

Image

Replaced the drilled rotors too with Centric blanks and the no-name pads with Hawk HPS

Image

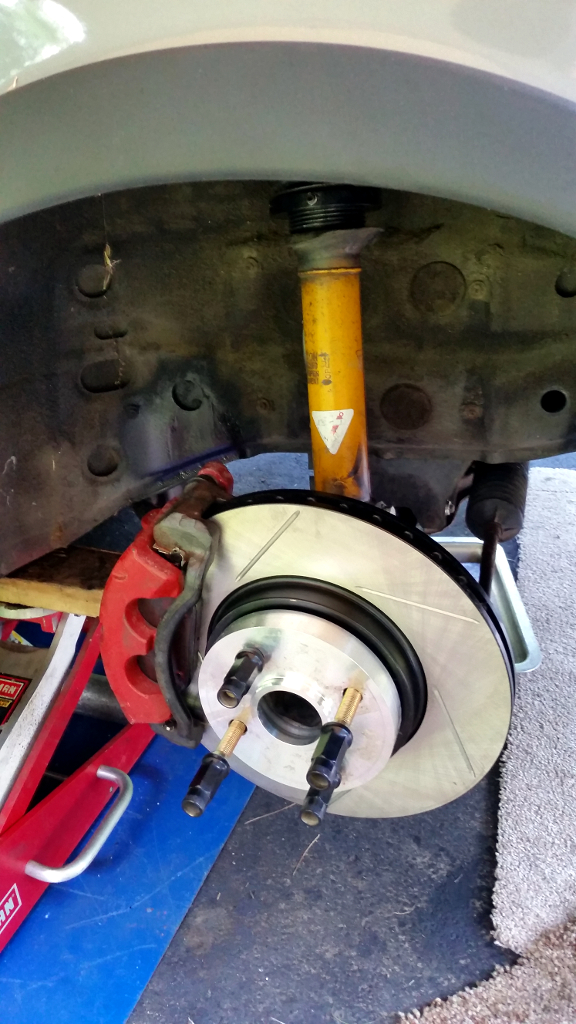
Fronts got a refresh too: HPS pads and StopTech rotors:
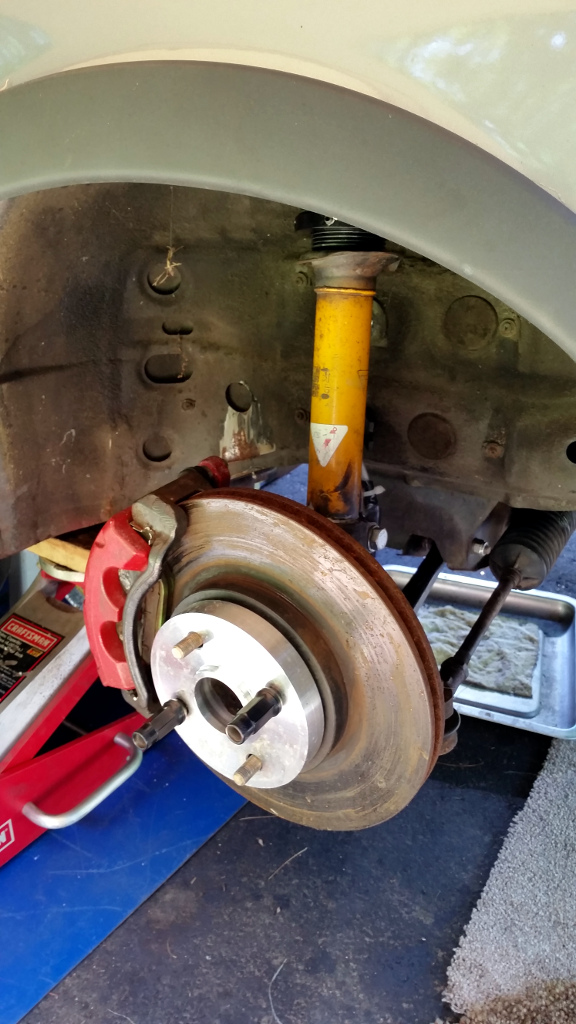
Image

Old:

Image

New:

Image

Now can finally bleed the brakes:

Image


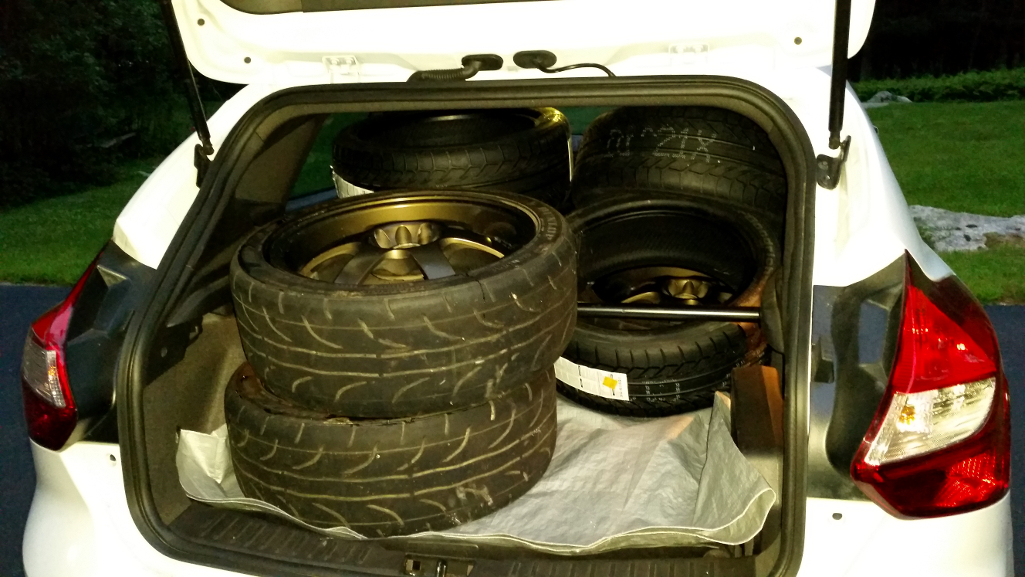
Spacers came in as well from a buddy of mine. 1" hubcentric spacers to work with these wheels (BSA 333s), Kosei K1s, and Rota SDRs. The latter two will be wearing Hoosier A6s.

Image

Image

On in the front:

Image

On all around:

Image

Image

Clearance on the SDRs (17x7.5 ET45 with 245/40/17 A6s):

Image

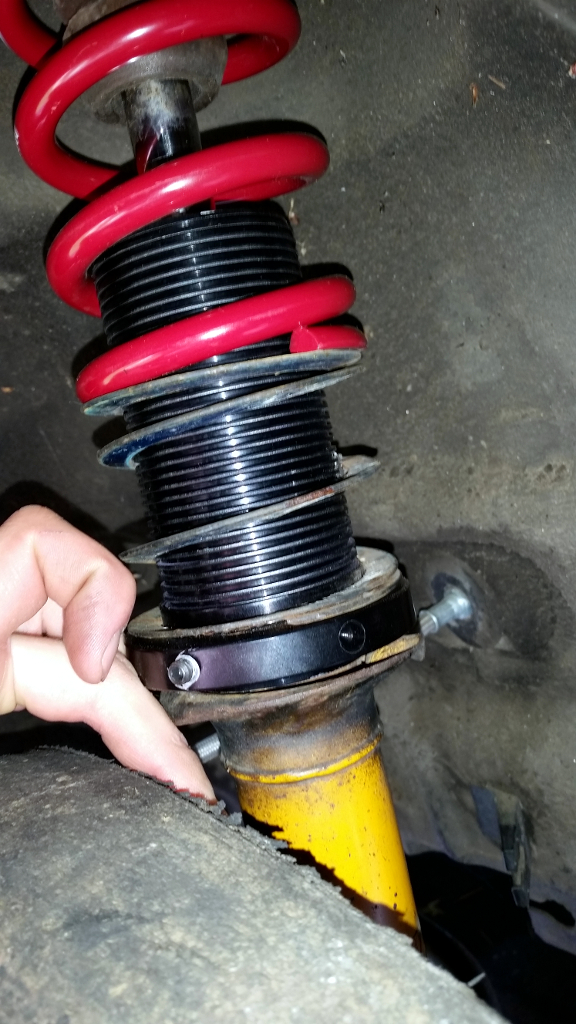
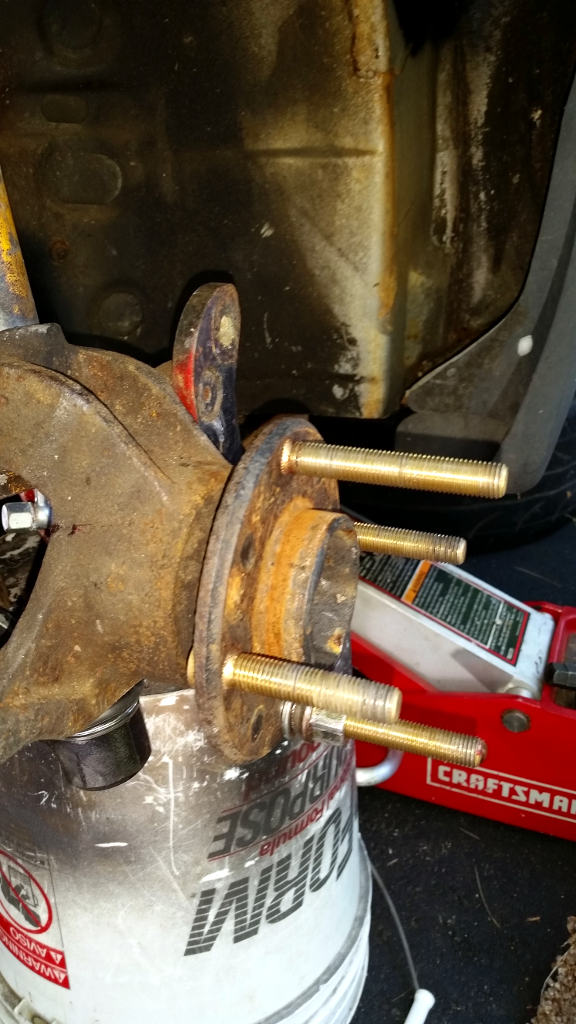
With the current 2.5" ARP studs I only had 6.5 threads of engagement and I didn't feel comfortable. With the help of mc2, picked up a set of 3.25" ARP studs. MORE than enough length.


Image

Image

Carrying the theme of replacing parts that are fine for parts that are a bit better, uncut rear springs replaced with fresh ones from mc2. Still 850lb, but removed my double isolator setup in favor of no isolator. Fronts were also replaced with Eibach 500lb springs (also same rate) but 2" shorter and new collars and sleeves. Mine had taken a beating. Rears weren't too bad with the calipers vs drums. Remove the axle at the hub and remove the lower shock bolt.

Image

Image

Image

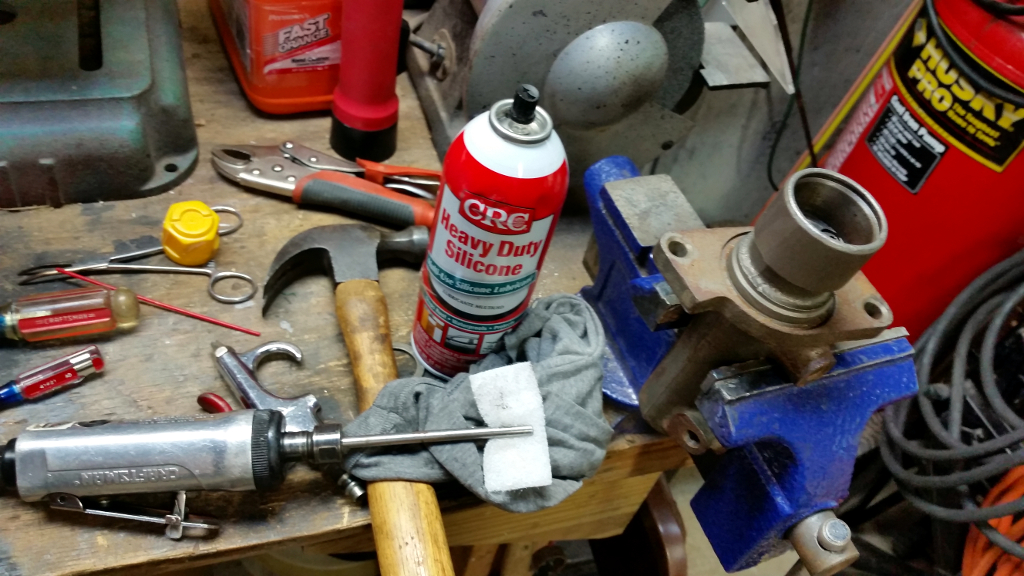
While doing the springs, also threw on a Cossie ebrake cable from Mike at Merkur Depot. Caliper mount needed to be opened up 0.120" or so and mounting to the caliper isn't perfect since it isn't designed for the short throw on the TC Varga caliper.

Image

Image

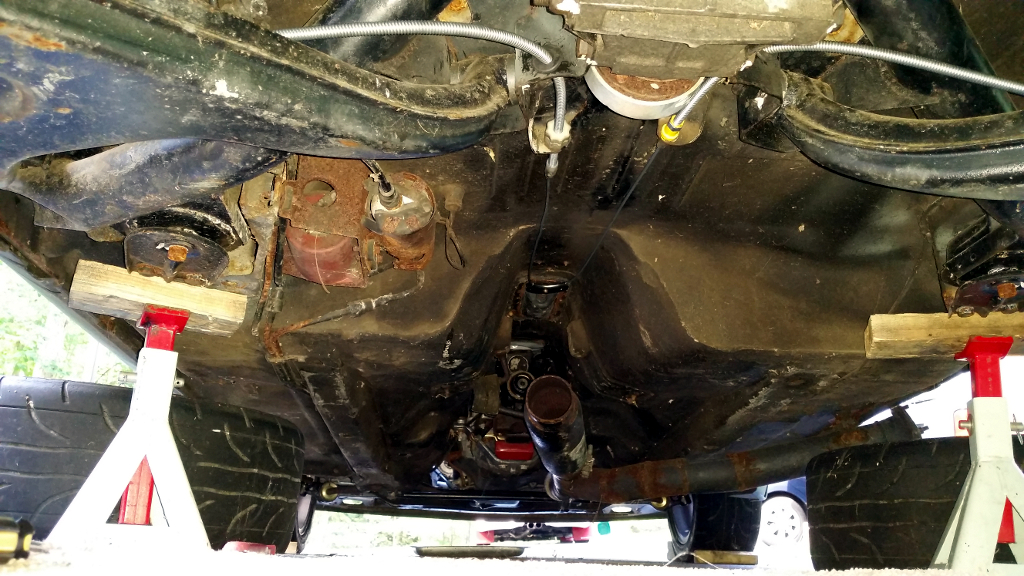
Farther shot away, but the back end finally complete:

Image

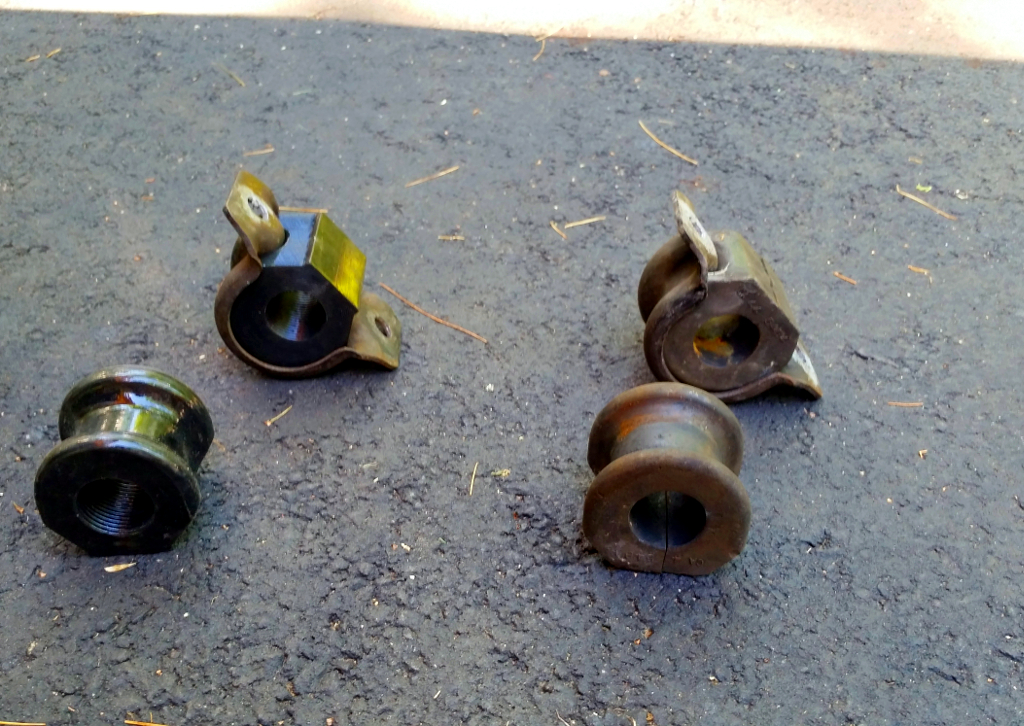
Before putting the car back on the ground, the last bushing on the car replaced with poly: FSB clamp bushings. Tough to find these for the XR older style brackets, but now everything on the car is either solid, poly, or nylon.

Image

TCAs were also replaced with new units from Mike. Powerflex bushings pressed into these from my OEM arms with shot balljoints.


Image

FINALLY back on the ground:

Image

Time for new rubber. 215/45/17 GForce Comp 2s back on the BSAs for street driving. Fit "nicely" in the FoST:

Image

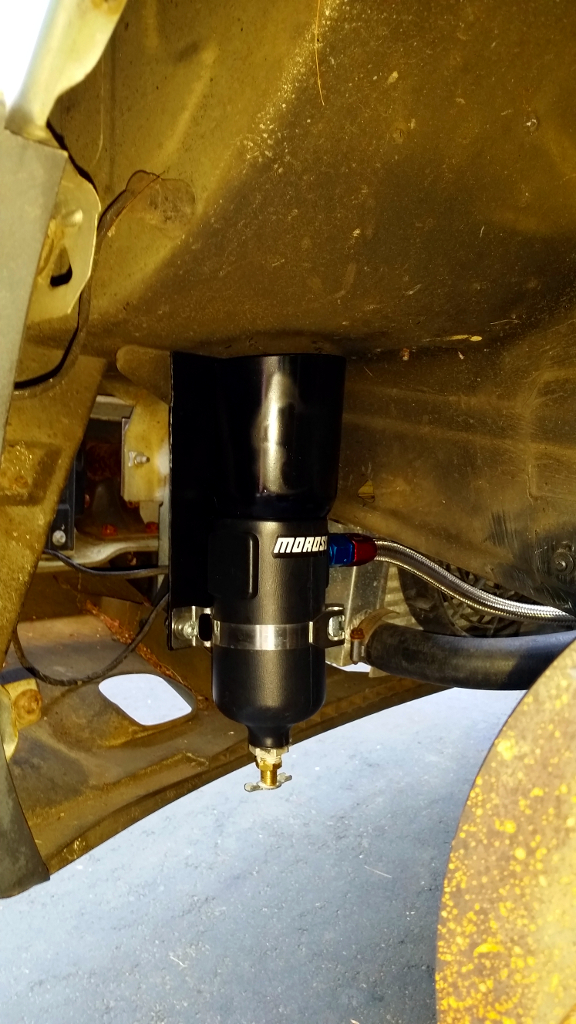
Along with the earlier vacuum line cleanup, I removed the PCV return soo... ordered a catch can and some stainless line. This runs off the OEM block separator and then to the can.

Image

Image

Image

Took Ray's advice and made a splash shield similar to the Focus Vortech filter shield. Half a paint mixing bucket and painted black.

Image

Also replaced the valve cover separator which leaked a lot around the lack of grommet. VC was drilled out to 1/2", Silverado grommet used, and 3/8" K&N push-in filter. If this leaks which it may from what I've seen from comments on the setup...I'll run another breather line down to the can.

Image

Image

Image

Re-secured the baffles in the cover too. When these rattle, it makes your butthole pucker. Sounds a lot like rod knock.

Image

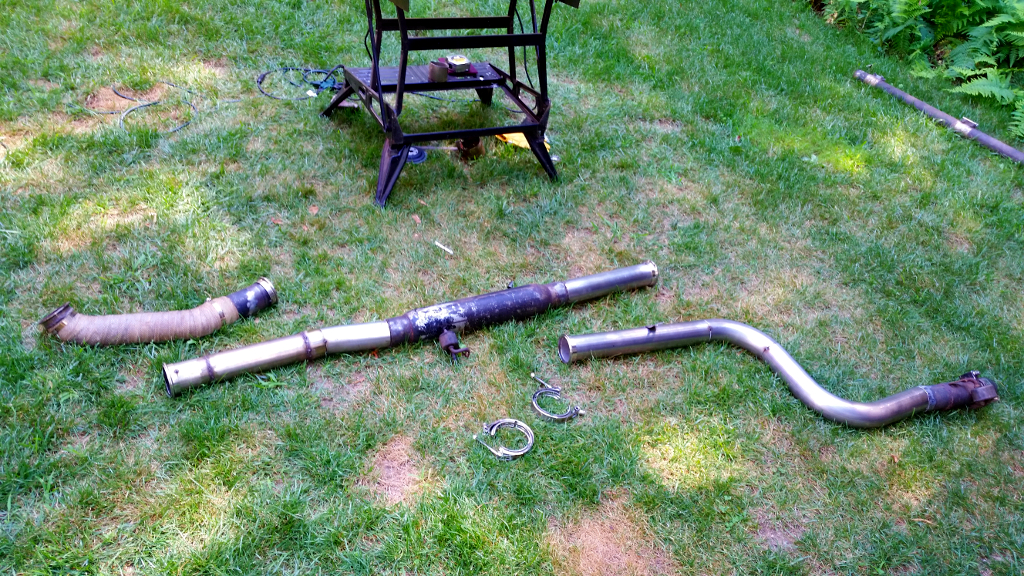
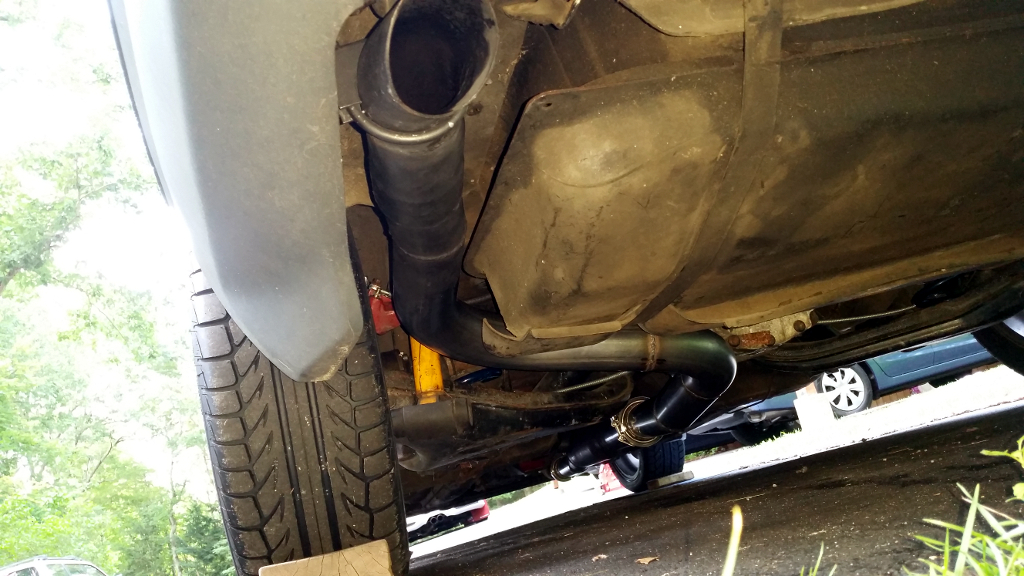
With the added "teh lows" I couldn't run the side exit anymore. The more I looked at the exhaust setup the more it pissed me off. With the spare stainless from the FoST exhaust I built, I was able to do this one with just a couple VBands. I reused the resonator and tip, but the rest is all 304.

Image

Image

Image

Another issue was water on both the front floors. Carpet has been out for years and I still couldn't find the leak. It wasn't the sunroof drains and wasn't the battery tray. HVAC completely stopped working and when pulling the box...noticed it was full of water. Sealed both the holes in the firewall (fresh air and recirc) and the car stayed dry. Instead of working with the old box and knowing AC won't go back in the car, I shipped a blower over from the UK without AC. MUCH smaller. Wiring was fun and HUGE thanks to Tom K for sending over a pic of the wiring. Wouldn't have had this working without him.

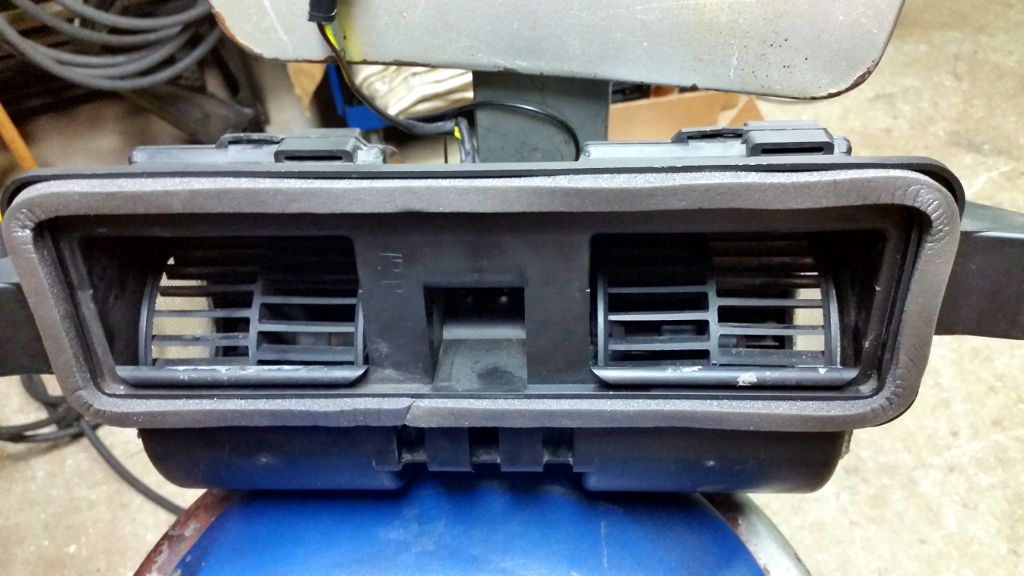
New box on top and old on bottom:

Image

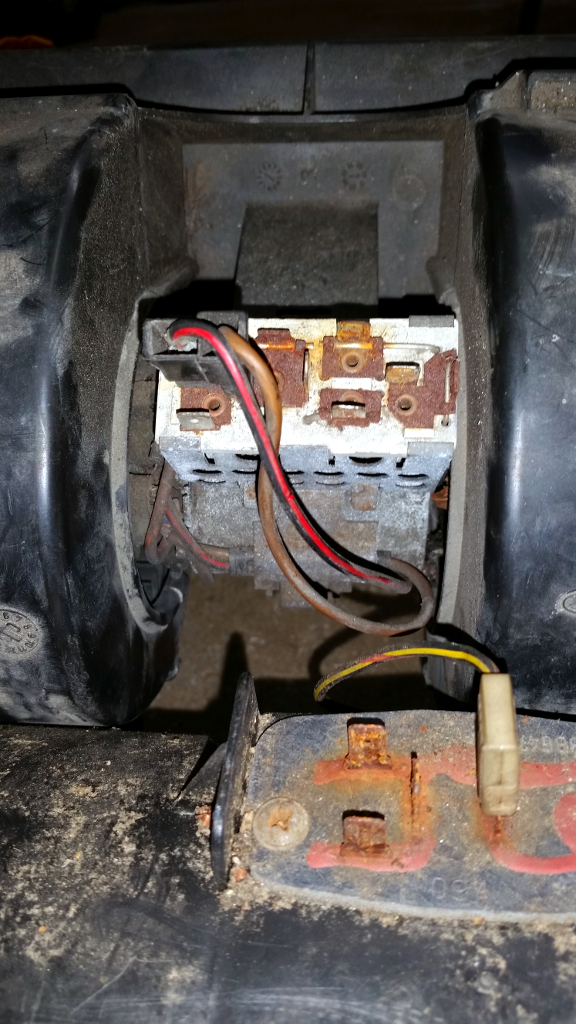
Tom's pic of the wiring into the XR:

Image

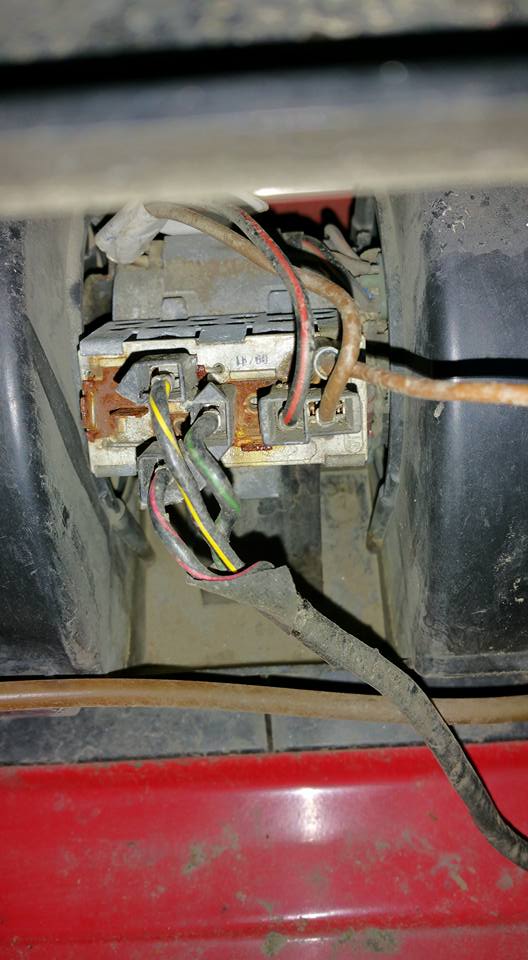
Took overkill to the next level. My connector was corroded so I made my own with a Weatherpack setup. Wires soldered to the blower pins and then to the new connector. Wires were also swapped on the small 2-pin connector for hot and ground to match Tom's pic.

Image


Image

Image

Not messing around with more water in the car, Home Depot provided the new seal for the bottom. 7/16" tall, 3/8" wide rubberized foam seal.

Image

And because rodents suck, wire mesh added to the blower inlet:

Image

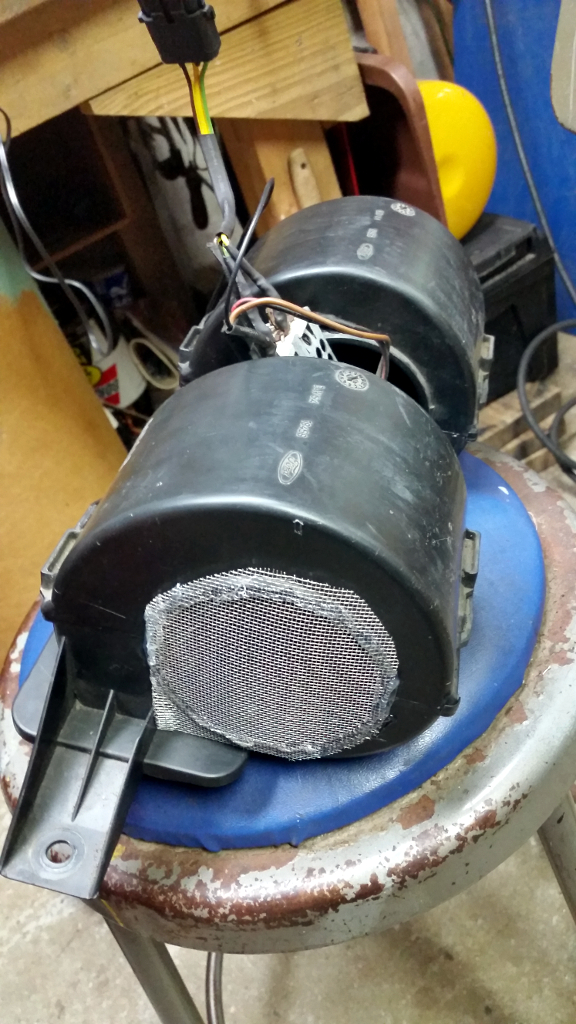
Done! Perfect for these 90* August days... ;)

Image

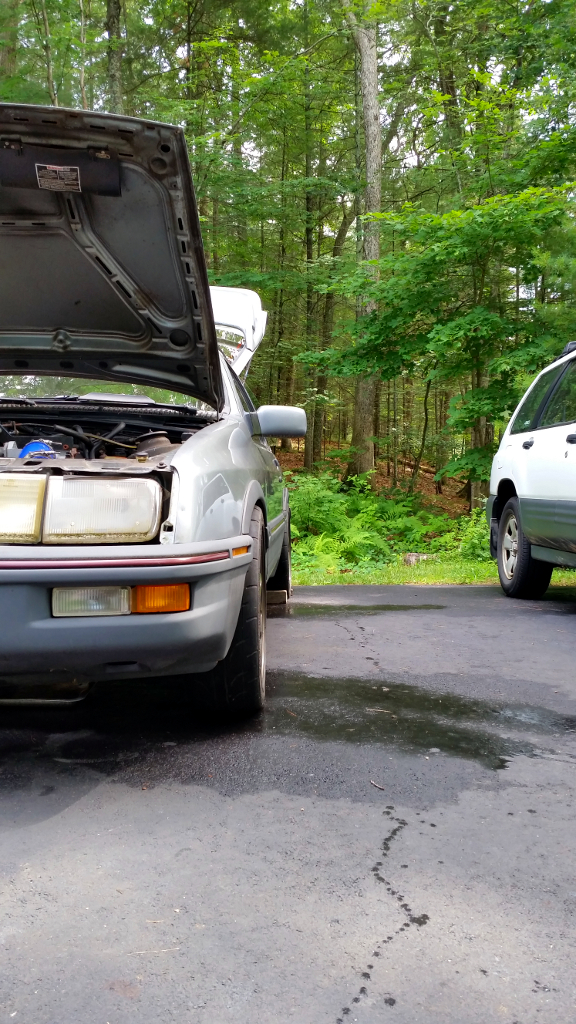
Time for a drive. Last min prep over the brakes for any leaks and checking fasteners one last time:

Image

Laptop up!

Image

And the biggest friggen smile on my face. Two months of working 20 hours every weekend and finally got to enjoy the car for an hour :)
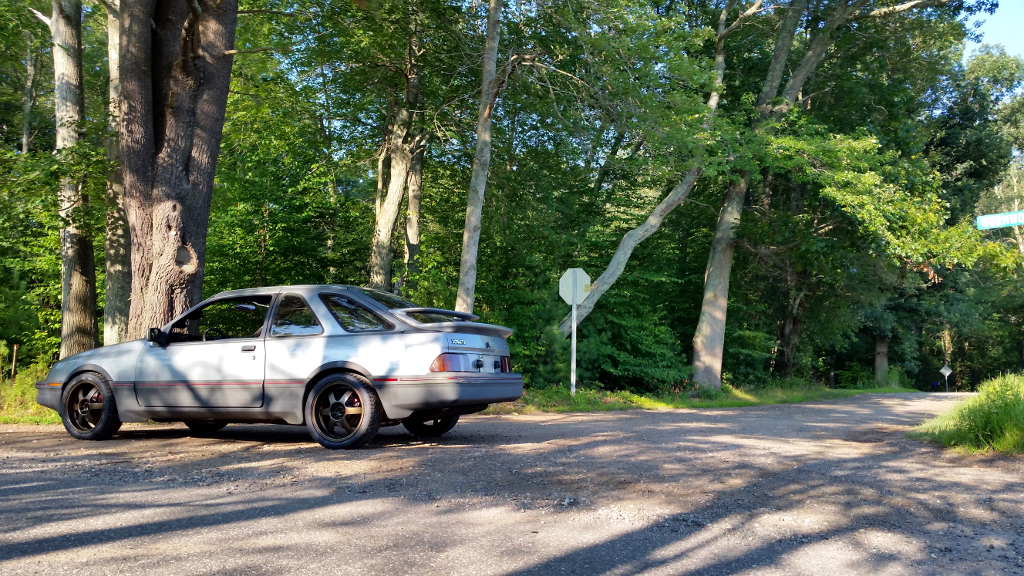
Image

Image

Until next time :cheers
User avatar
merkurdriver
Level 8
Posts: 6365
Joined: Tue Jan 21, 2003 4:29 pm
Location: Northeast Ohio
Contact:

Re: My Build Thread: Project "Rain Cloud"

Post by merkurdriver »

Heck of an update! Nice work! :cheers
Post Reply