
"Ray's AKA demonfire's XR4Ti build up"

-
BeefFajitas
- Level 6

- Posts: 886
- Joined: Mon Jan 12, 2004 2:15 pm
- Location: MA
-
Ray

- Level 7

- Posts: 4338
- Joined: Sun Oct 24, 2004 10:40 am
- Location: CT, USA
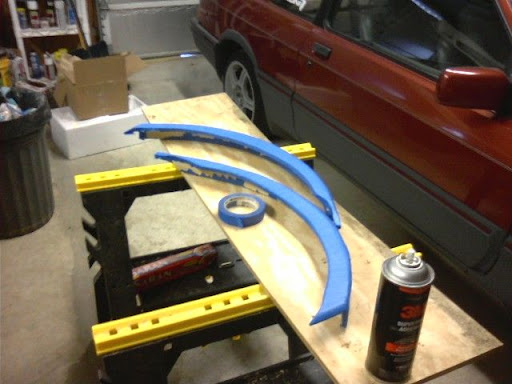
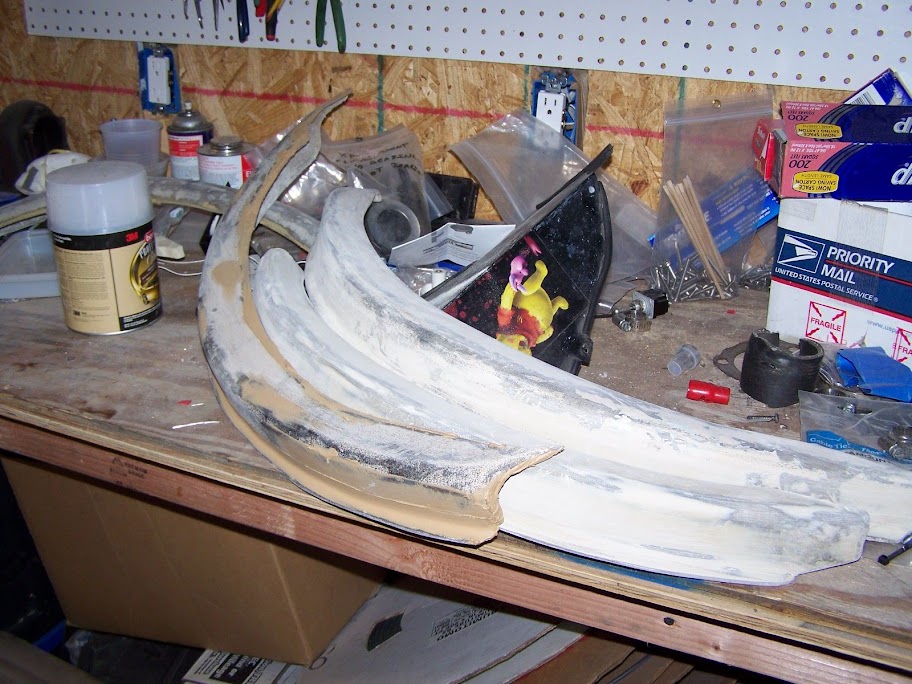
Spent quite a few hours with some high density foam. figured the flexi-flares i got (made for trucks) has had enough, so i wanted to make some custom ones.
So, cut foam, test fit, test fit, shape, test fit, glue foam, sand foam, test fit, wrap foam, apply mold release compound, then fiberglass it.
Sounds easy, right? Outkast's flares are a steal. this is super time intensive. I just hope my molds cure up enough with minimal prep work.
So, theoretically, after this cures, i'll trim it out, pop out the foam mold, then be able to prep the "inside" of the flares to sand smooth, body filler, etc, then be able to make as many as i need by applying release compound, then laying new glass in the glass molds, and voila.
Or so the theory goes. We'll see.
Anyway, couple pics. This is not designed to be a show car, but i wanted something that was a little less hacked than the rubber flares.
First mock up

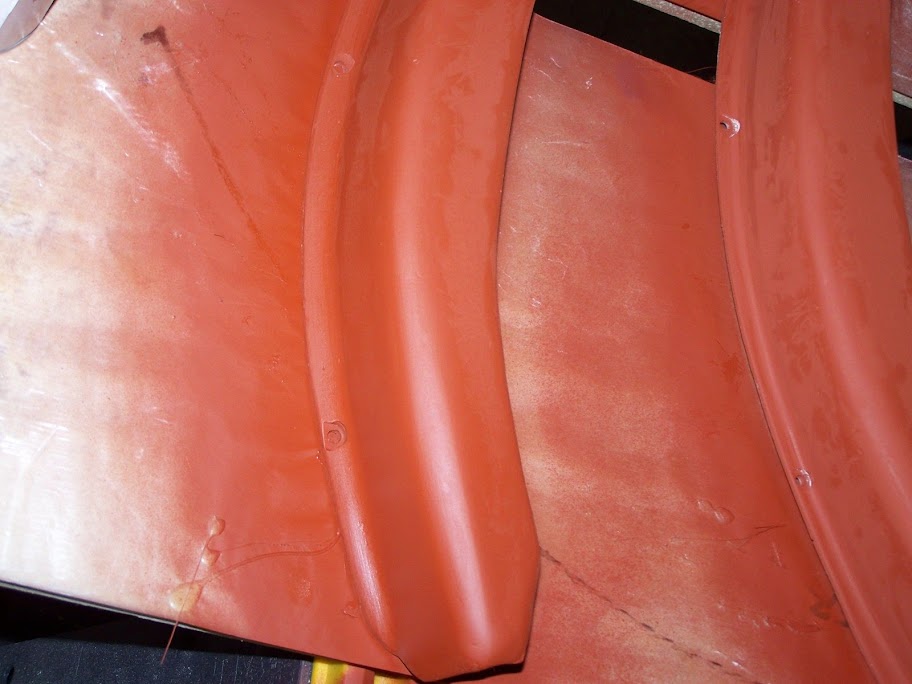
4 hours of work later, i have 4 shaped flares. Originally i wanted to wrap in plastic, but the double curve gave me too many bumps in the plastic itself. so break out the tape... man that was tedious.
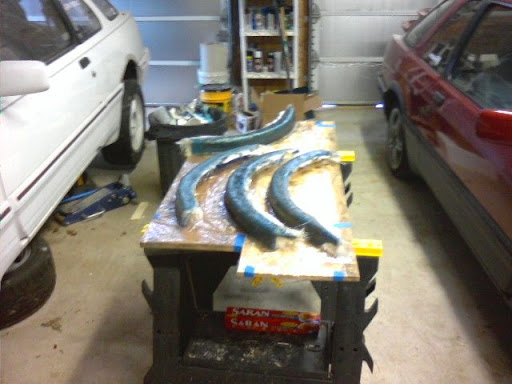
apply mold release to tape, then coat with resin, one layer of cloth, then two layers of chopped mat. i used cloth on the inside so that the inner part of the mold should be smoother - again, we'll see.
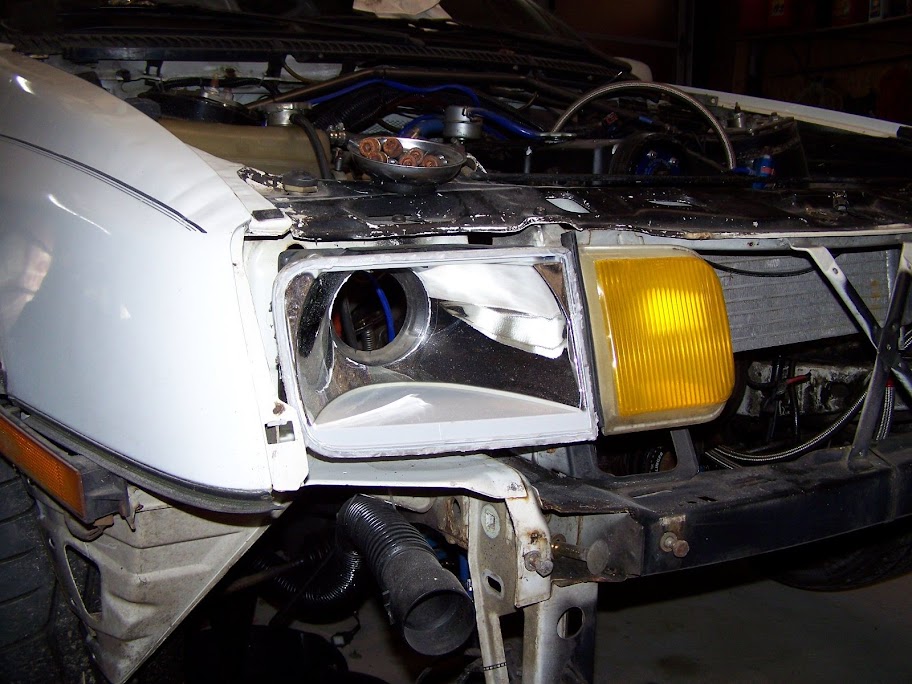
also picked up a spare headlight from merkur midwest (thanks blugg) and cut out the lens and cut out the back portion. not a bad circle free handing a dremel. not sure if i'm going to glass that or not- i kind of like the look.
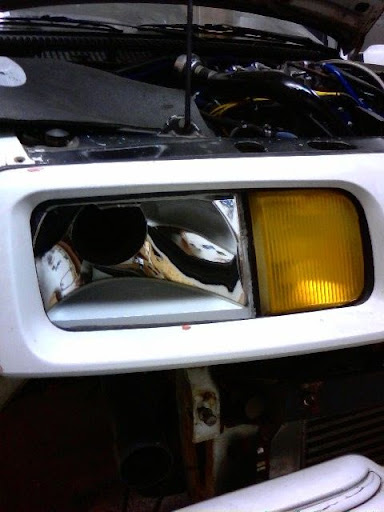
I might have to get a red LED to put in there, a la terminator style.
So, cut foam, test fit, test fit, shape, test fit, glue foam, sand foam, test fit, wrap foam, apply mold release compound, then fiberglass it.
Sounds easy, right? Outkast's flares are a steal. this is super time intensive. I just hope my molds cure up enough with minimal prep work.
So, theoretically, after this cures, i'll trim it out, pop out the foam mold, then be able to prep the "inside" of the flares to sand smooth, body filler, etc, then be able to make as many as i need by applying release compound, then laying new glass in the glass molds, and voila.
Or so the theory goes. We'll see.
Anyway, couple pics. This is not designed to be a show car, but i wanted something that was a little less hacked than the rubber flares.
First mock up
4 hours of work later, i have 4 shaped flares. Originally i wanted to wrap in plastic, but the double curve gave me too many bumps in the plastic itself. so break out the tape... man that was tedious.
apply mold release to tape, then coat with resin, one layer of cloth, then two layers of chopped mat. i used cloth on the inside so that the inner part of the mold should be smoother - again, we'll see.
also picked up a spare headlight from merkur midwest (thanks blugg) and cut out the lens and cut out the back portion. not a bad circle free handing a dremel. not sure if i'm going to glass that or not- i kind of like the look.
I might have to get a red LED to put in there, a la terminator style.
-Ray
1985 Ford F150 - Tow Missile
1985 Merkur XR4Ti -#141 CP "Miss Daisy"
2005 Subaru LGT
http://www.cartct.com
1985 Ford F150 - Tow Missile
1985 Merkur XR4Ti -#141 CP "Miss Daisy"
2005 Subaru LGT
http://www.cartct.com
-
anglin
- Level 7
- Posts: 2456
- Joined: Thu Apr 22, 2004 3:20 pm
- Location: Hartford, CT
That would be awesome!demonfire wrote:I might have to get a red LED to put in there, a la terminator style.
Looking good, Ray. Can't wait to see the final product installed on the car.
Anglin email: - anglin at mc2racing.com
www.mc2racing.com
www.mc2racing.com
-
Ray
- Level 7
- Posts: 4338
- Joined: Sun Oct 24, 2004 10:40 am
- Location: CT, USA
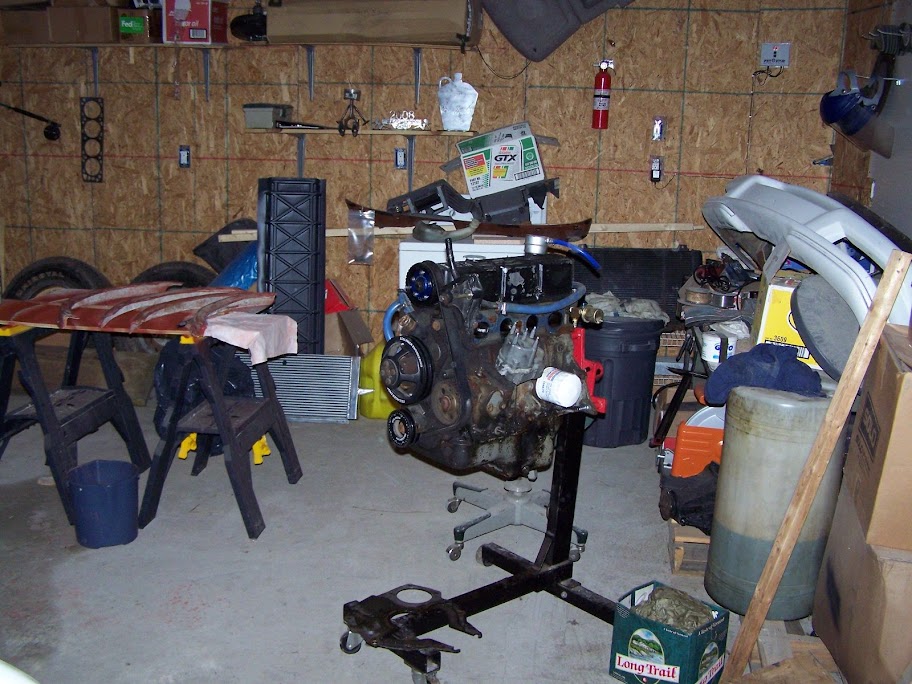
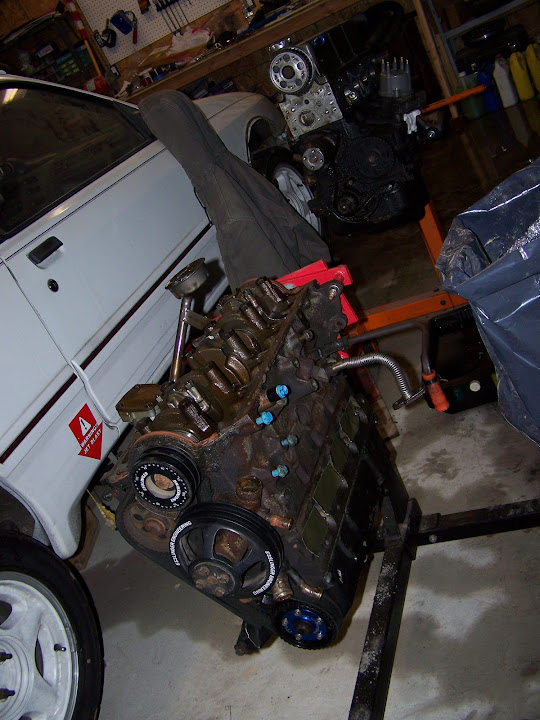
Got some teardown progress made. Special thanks to matt AKA addictionracing for helping this weekend.
removing bits from the motor
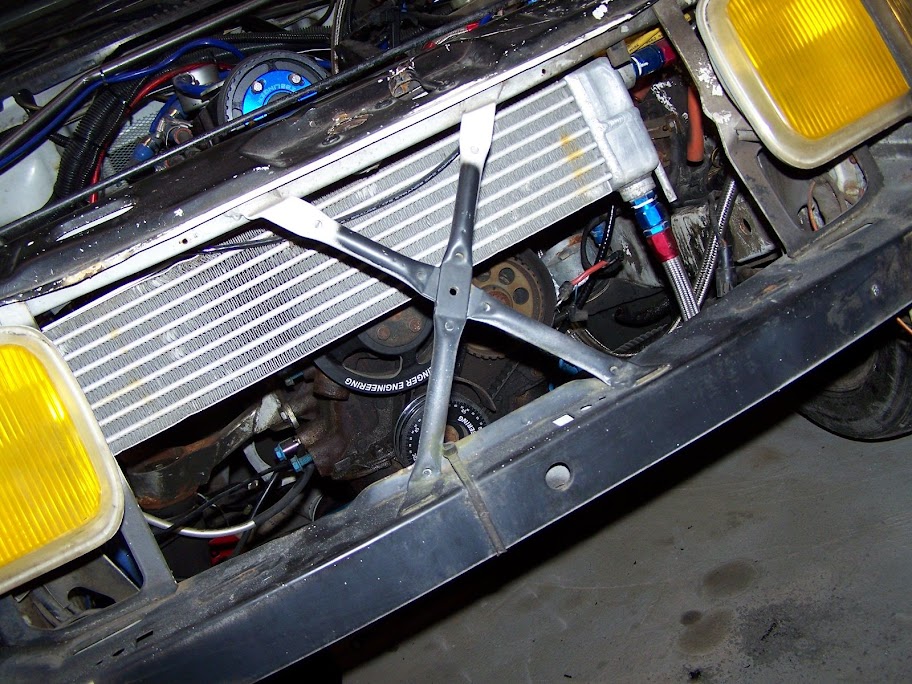
oil cooler location now - note: the mazda rx7 cooler fits perfectly above mike's shorty radiator.
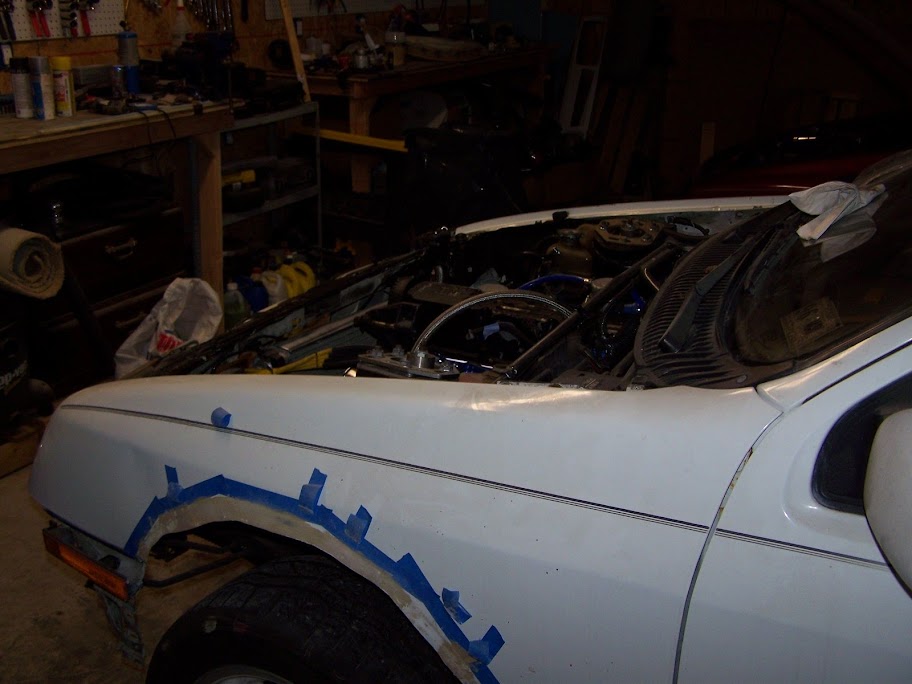
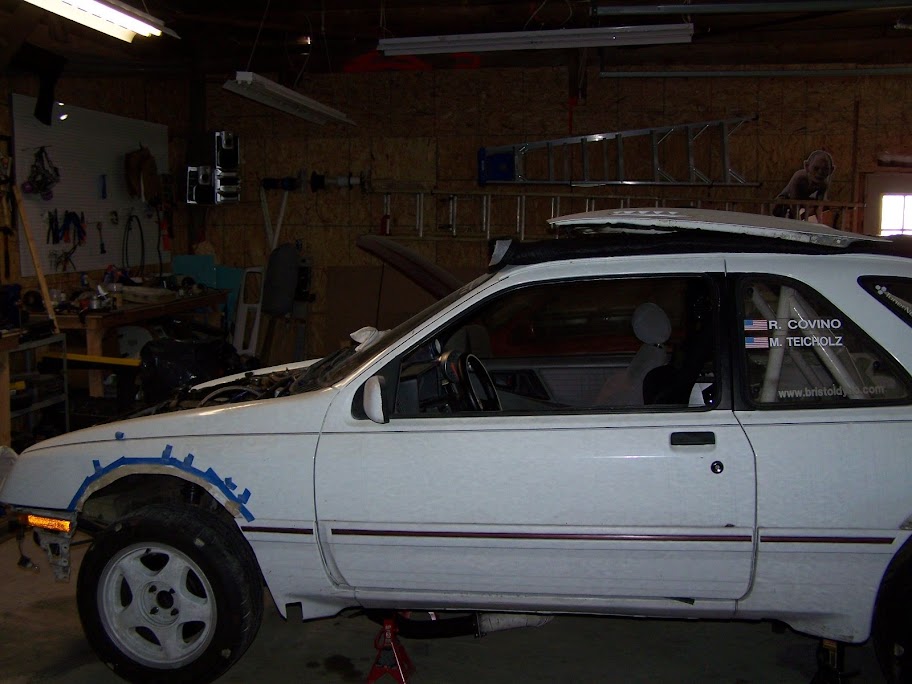
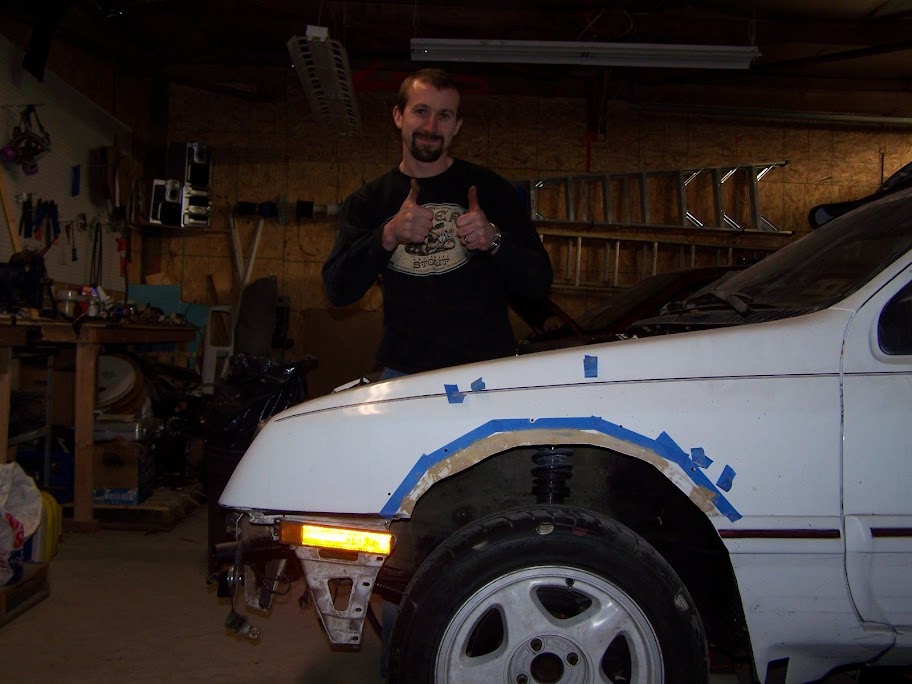
little bit of body work on the (cut) fenders)
pile o' parts
modded headlamp housing
yoink
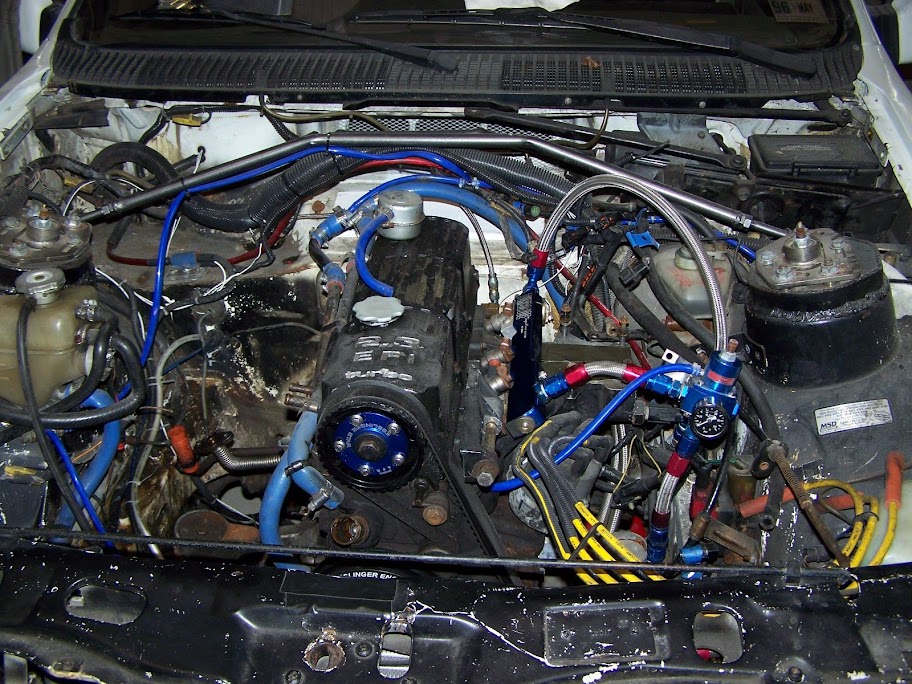
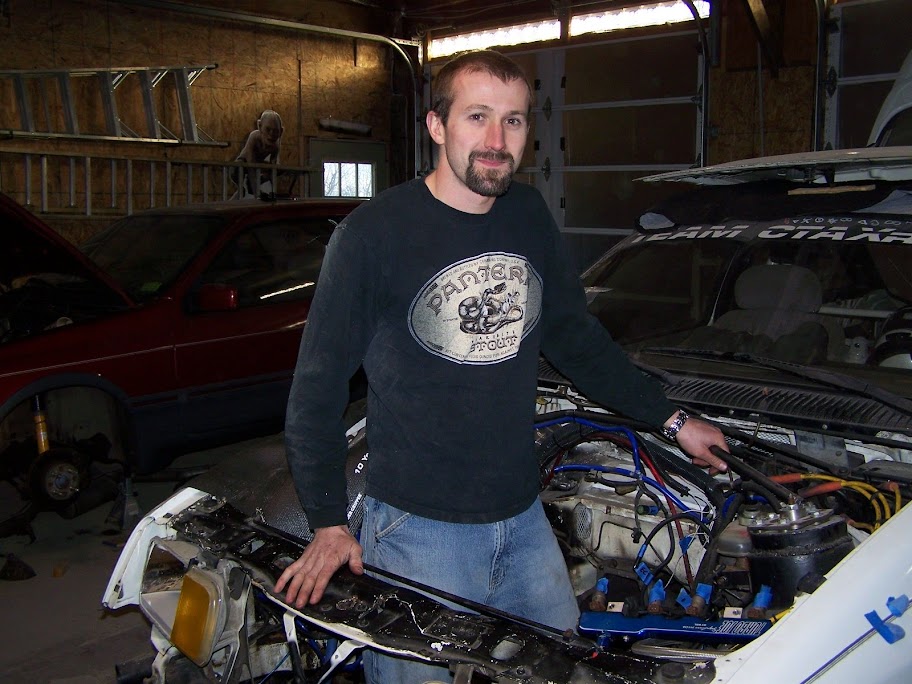
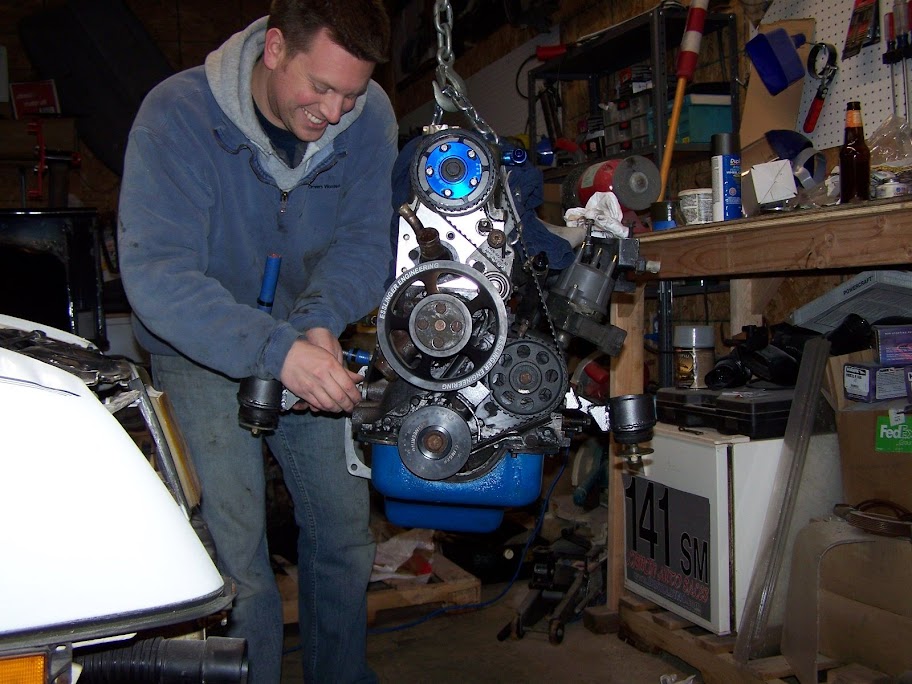
ubiquitous me in the engine bay pics
deep in thought

note: the strut brace i made doesn't have to be removed to pull the motor out
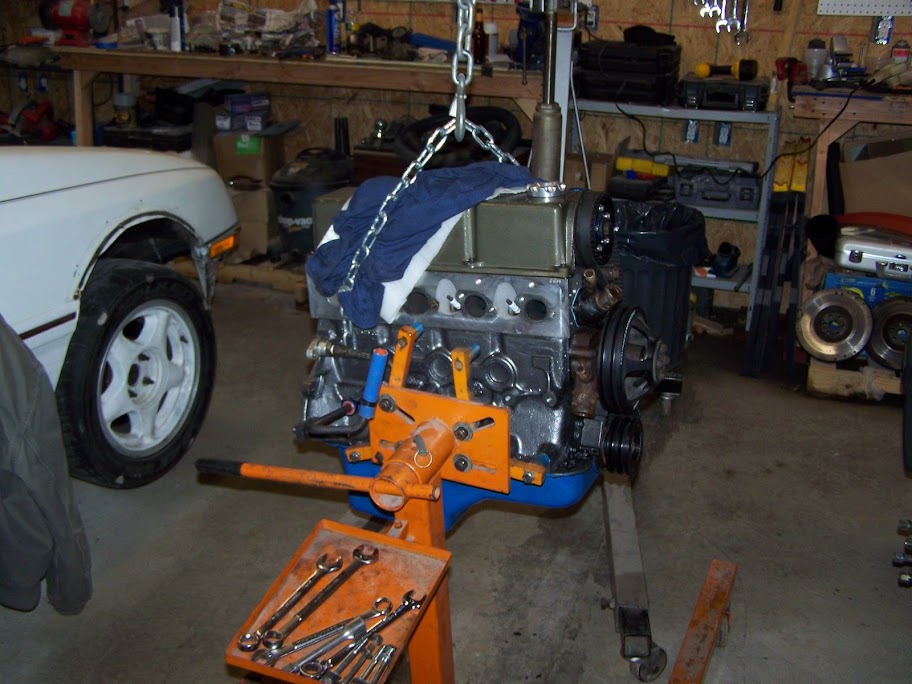
time to clean this motor up now...
new flywheel going in (fidanza):

now, if anyone knows an easier way to do an oil change please let me know. that took hours!
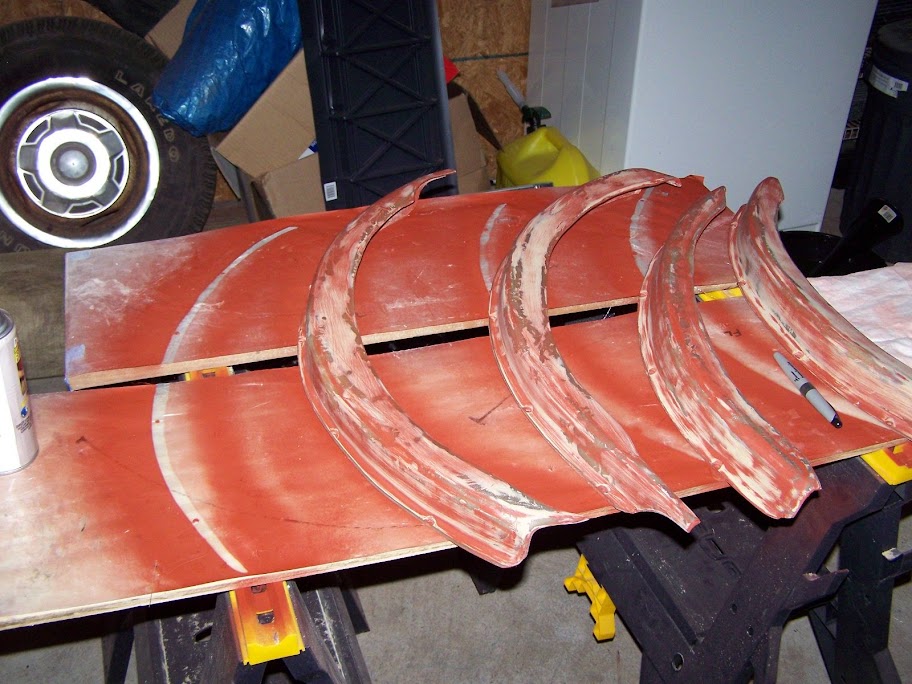
fender flare progress:
first layer of mud sanded out - second spot layer on and sanded (mostly)
about 6 hours of sanding so far.
high build primed:

and cut back down with 400 wet. this will continue until i'm happy with them. very smooth so far but there are a few spots i need to work on.
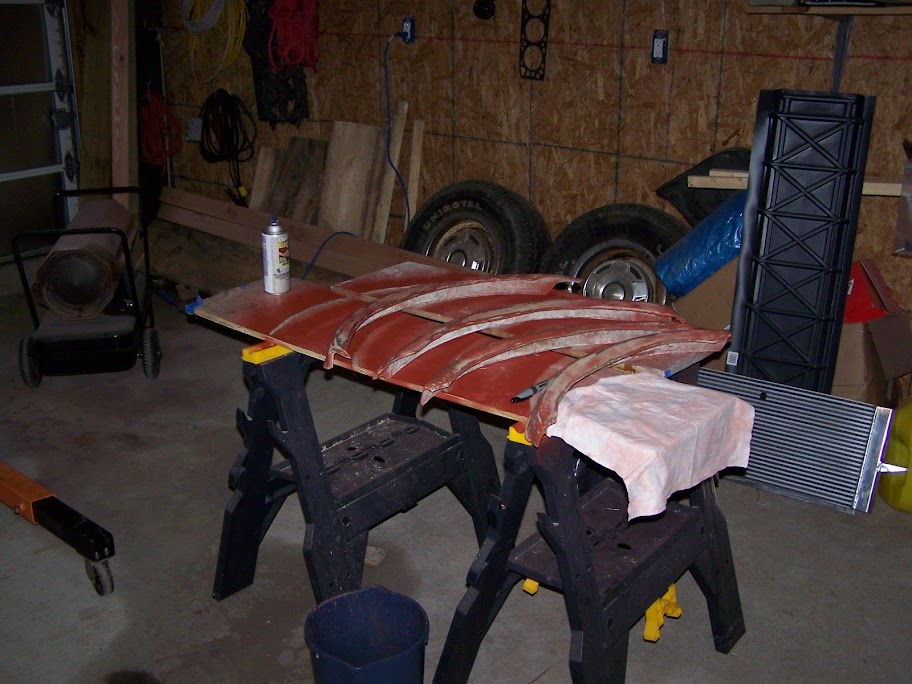
you can see the 80 grit scratches now, filled.
more posts will be made as progress continues.
removing bits from the motor
oil cooler location now - note: the mazda rx7 cooler fits perfectly above mike's shorty radiator.
little bit of body work on the (cut) fenders)
pile o' parts
modded headlamp housing
yoink
ubiquitous me in the engine bay pics
deep in thought
note: the strut brace i made doesn't have to be removed to pull the motor out
time to clean this motor up now...
new flywheel going in (fidanza):
now, if anyone knows an easier way to do an oil change please let me know. that took hours!
fender flare progress:
first layer of mud sanded out - second spot layer on and sanded (mostly)
about 6 hours of sanding so far.
high build primed:
and cut back down with 400 wet. this will continue until i'm happy with them. very smooth so far but there are a few spots i need to work on.
you can see the 80 grit scratches now, filled.
more posts will be made as progress continues.
-Ray
1985 Ford F150 - Tow Missile
1985 Merkur XR4Ti -#141 CP "Miss Daisy"
2005 Subaru LGT
http://www.cartct.com
1985 Ford F150 - Tow Missile
1985 Merkur XR4Ti -#141 CP "Miss Daisy"
2005 Subaru LGT
http://www.cartct.com
-
xr4outcast
- Level 3

- Posts: 268
- Joined: Sun Nov 18, 2007 4:36 am
- Location: Annapolis,Md
-
anglin
- Level 7
- Posts: 2456
- Joined: Thu Apr 22, 2004 3:20 pm
- Location: Hartford, CT
Just FYI, you may want to pay attention to the oil pan sooner rather than later. The engine you're going to receive may not have an oil pan that meets your standards.demonfire wrote:time to clean this motor up now...
Anglin email: - anglin at mc2racing.com
www.mc2racing.com
www.mc2racing.com
-
Ray
- Level 7
- Posts: 4338
- Joined: Sun Oct 24, 2004 10:40 am
- Location: CT, USA
Mine's dirty, but solid. I can easily remove this one, clean it, paint it, get a new gasket, and install on the "new" motor. I plan on cleaning up the new one anyway. No sense in putting in something that's covered in oil after all this work
Thanks tho.
Rob - yeah i know. Mine are not NEARLY as nice as yours but i need something that comes out almost 2". Normally isn't an issue but i've had my r-comps pick up the asphalt sealer, and fling it up inside the car, landing hot asphalt on the back of my neck. Really screws up a run.
Thanks tho.
Rob - yeah i know. Mine are not NEARLY as nice as yours but i need something that comes out almost 2". Normally isn't an issue but i've had my r-comps pick up the asphalt sealer, and fling it up inside the car, landing hot asphalt on the back of my neck. Really screws up a run.
-Ray
1985 Ford F150 - Tow Missile
1985 Merkur XR4Ti -#141 CP "Miss Daisy"
2005 Subaru LGT
http://www.cartct.com
1985 Ford F150 - Tow Missile
1985 Merkur XR4Ti -#141 CP "Miss Daisy"
2005 Subaru LGT
http://www.cartct.com
-
AddictionRacing
- Level 1

- Posts: 71
- Joined: Fri Dec 11, 2009 12:18 pm
- Location: Plainville, CT
Haha I remember that run - I thought it was pretty friggin' funnydemonfire wrote: i need something that comes out almost 2". Normally isn't an issue but i've had my r-comps pick up the asphalt sealer, and fling it up inside the car, landing hot asphalt on the back of my neck. Really screws up a run.
-Matt #14
1986 XR4Ti many mods - 2010 FCSCC CP champ
2008 VW GTI APR Stage 2+ w/LSD - 2009 CART and FCSCC GS champ, 2011 CART DSP champ
1986 XR4Ti many mods - 2010 FCSCC CP champ
2008 VW GTI APR Stage 2+ w/LSD - 2009 CART and FCSCC GS champ, 2011 CART DSP champ
-
Ray
- Level 7
- Posts: 4338
- Joined: Sun Oct 24, 2004 10:40 am
- Location: CT, USA
you were driving during that run, but it actually isn't the first time it's happened.
Made some progress matt
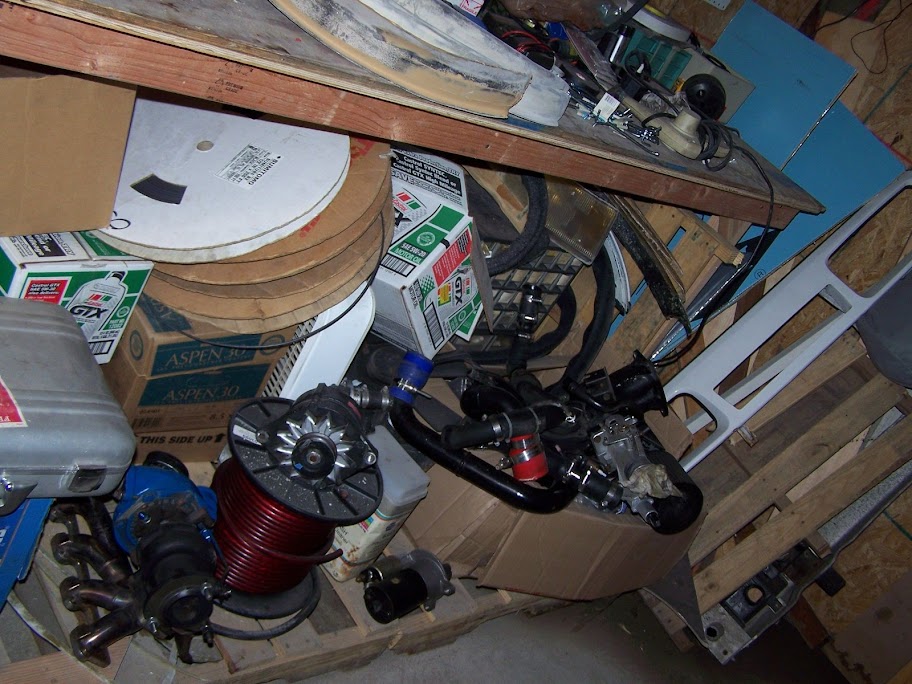
oh, crap, what's that say?
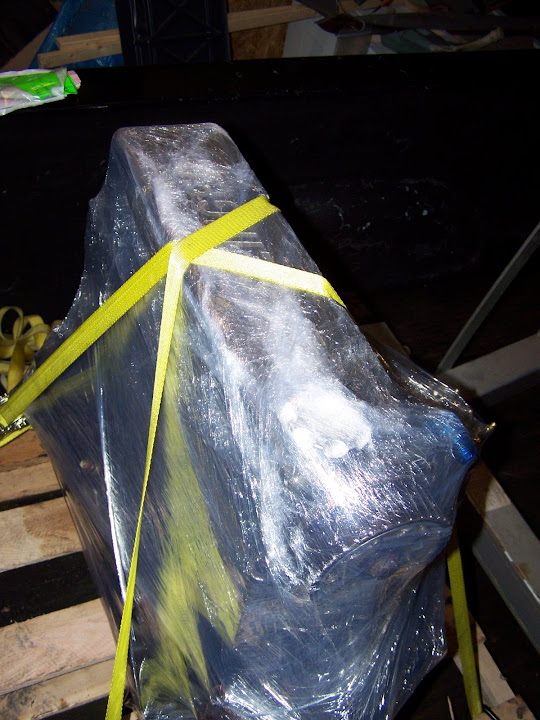
truck seems to have some extra stuff in the back?
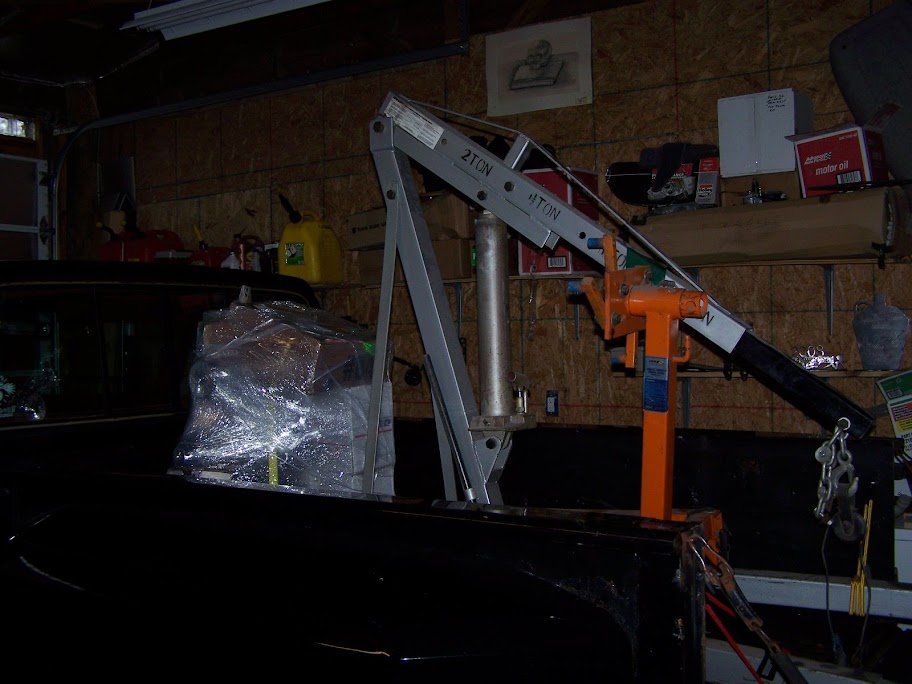
what an odd way to ship boxes.

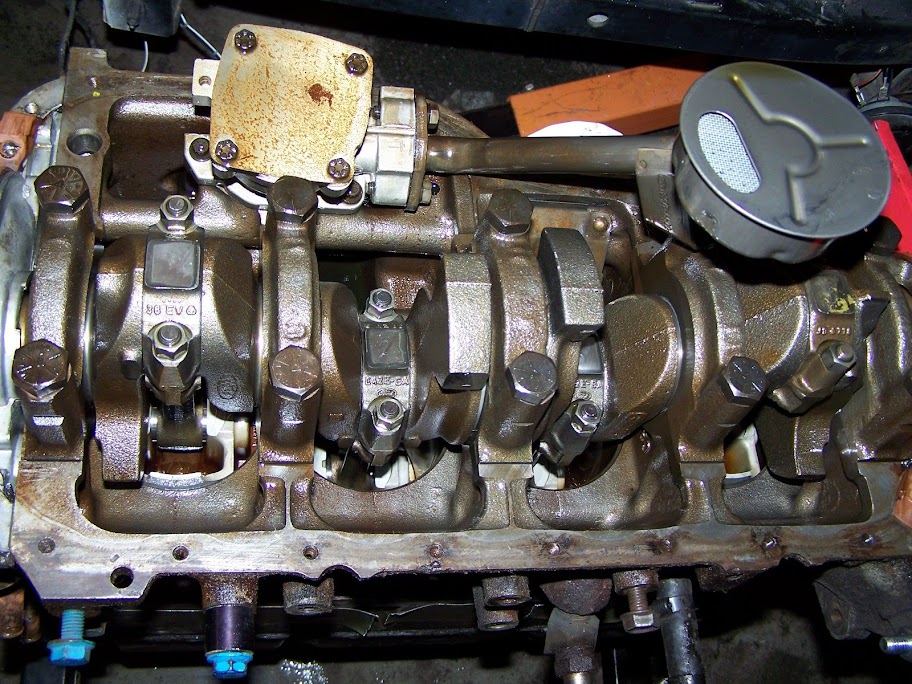
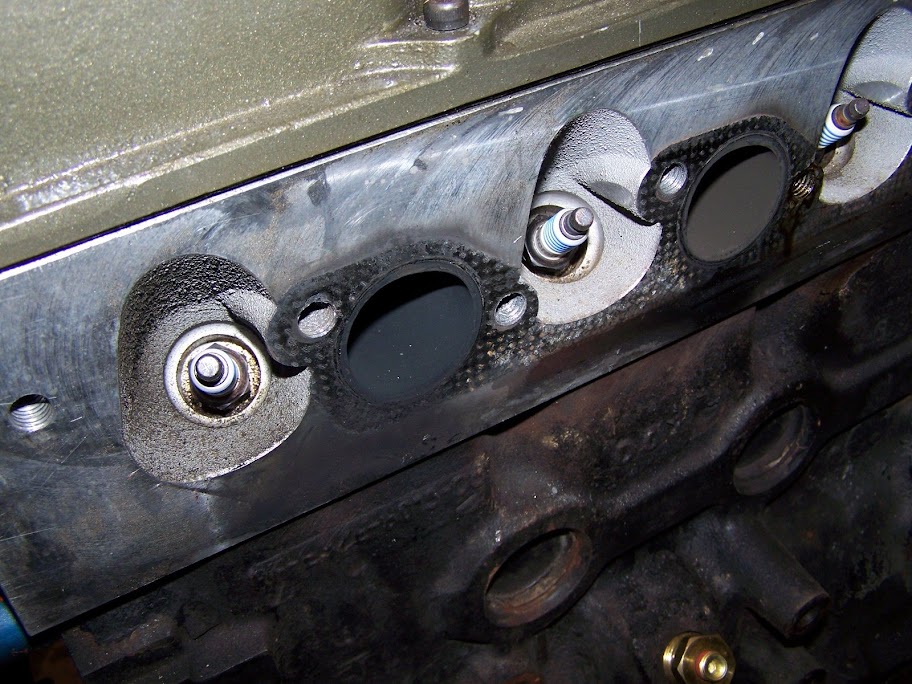
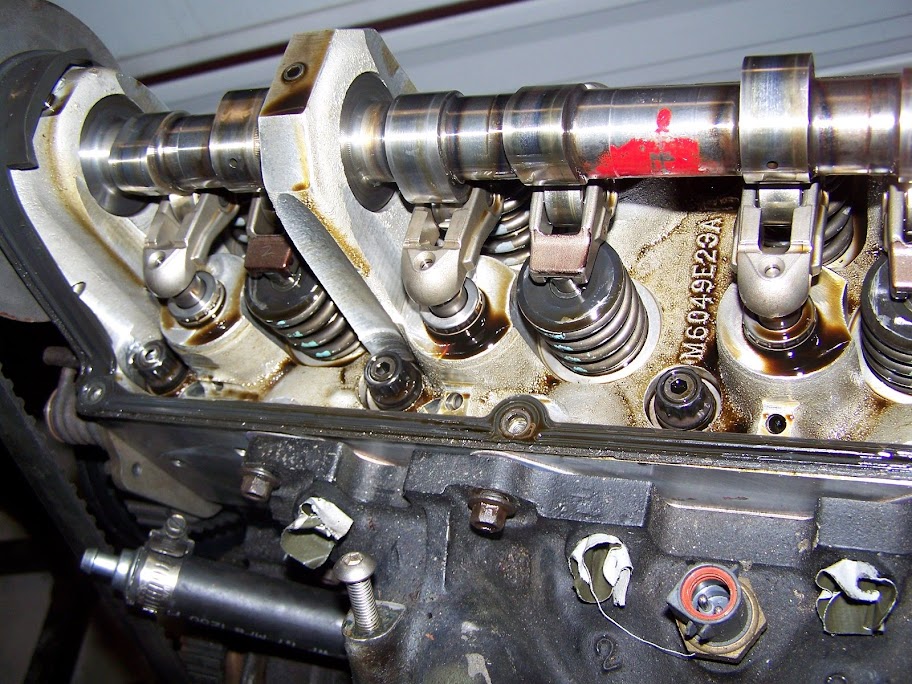
inside the stock motor - frickin' clean
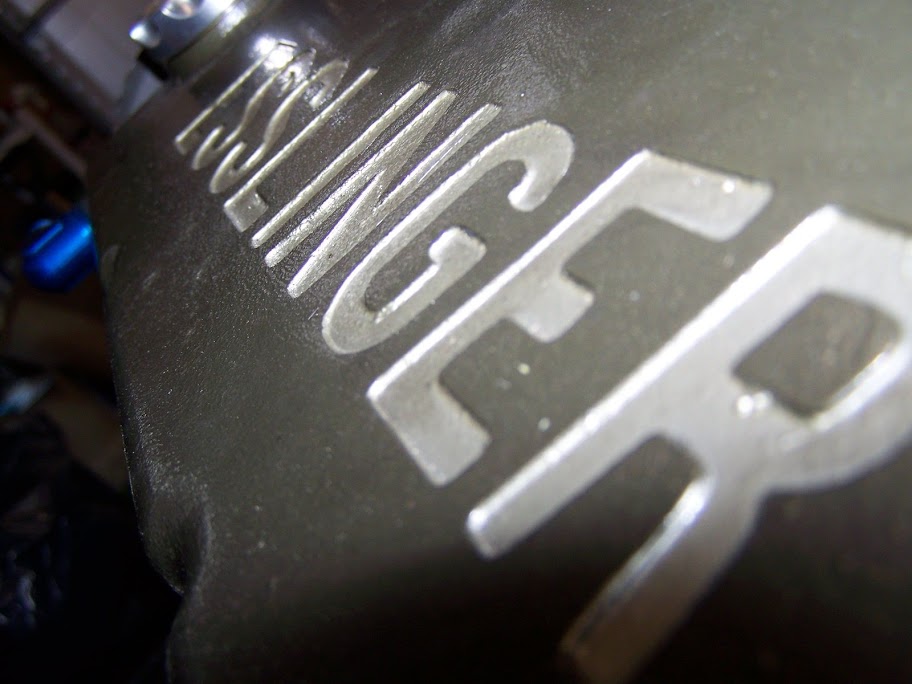
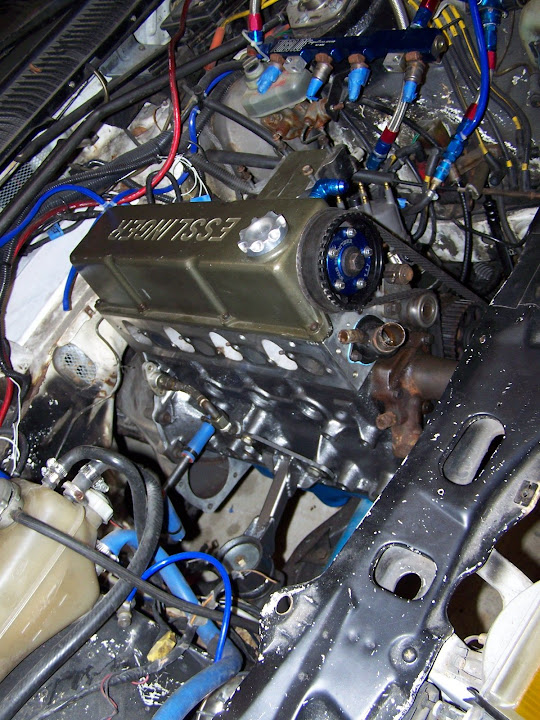
ES what?
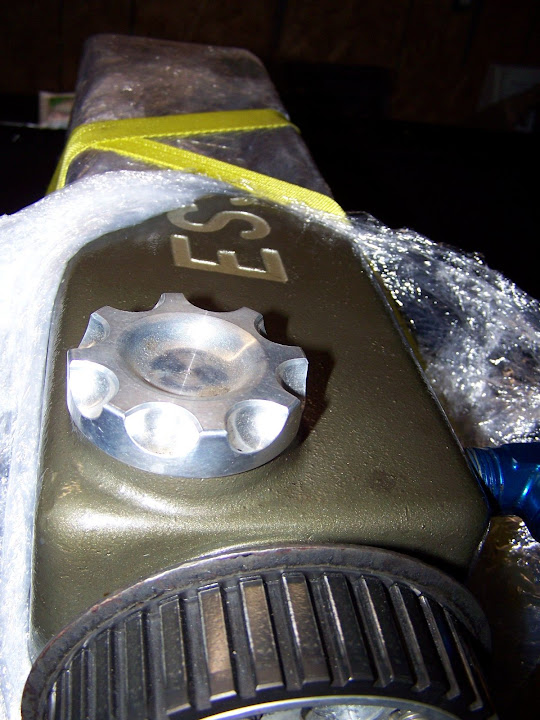
ah! hah! SUPRISE!
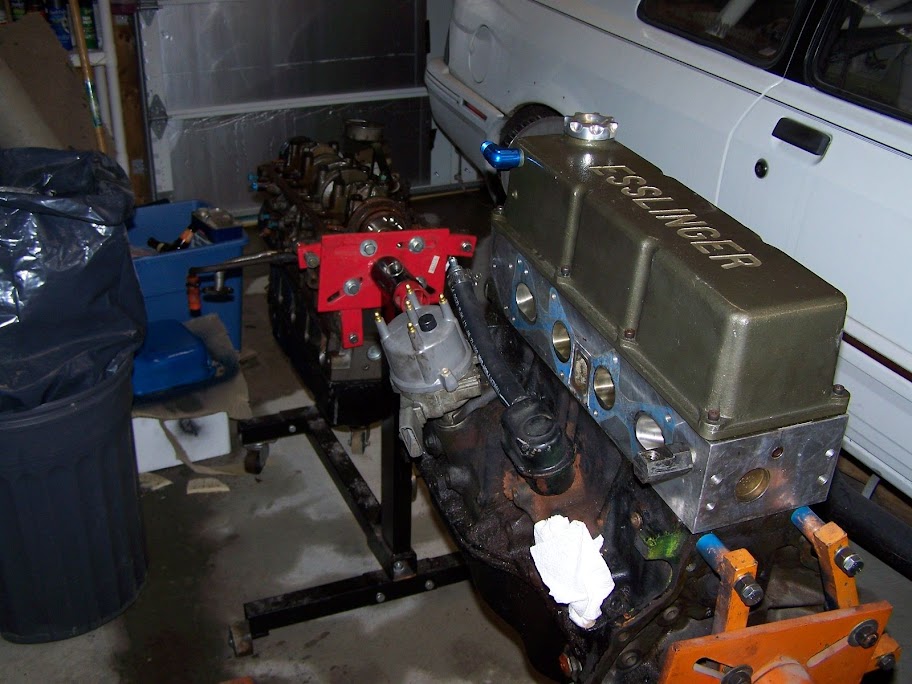
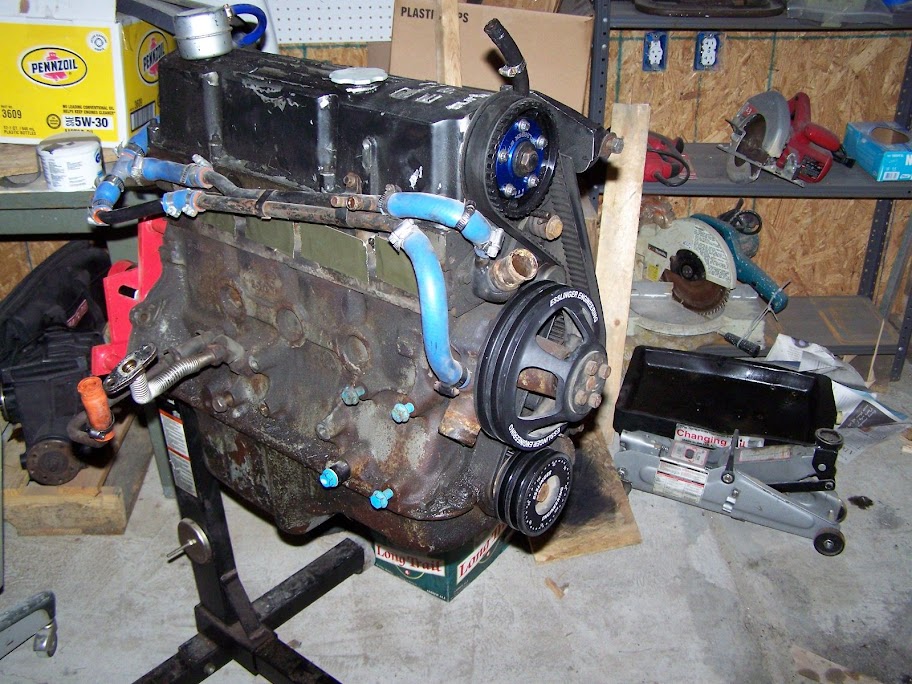
flow this.
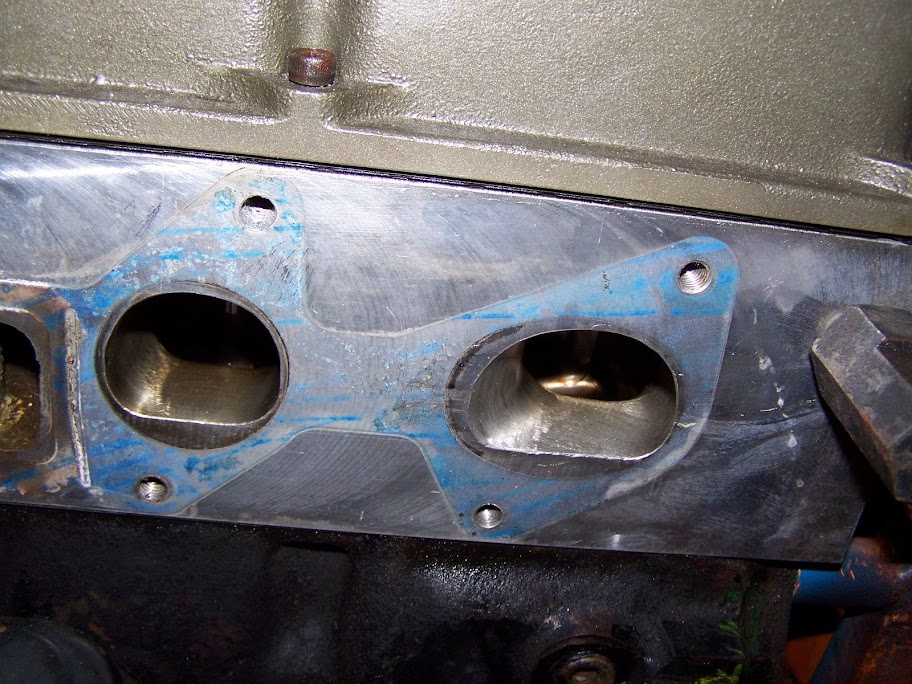
sex.

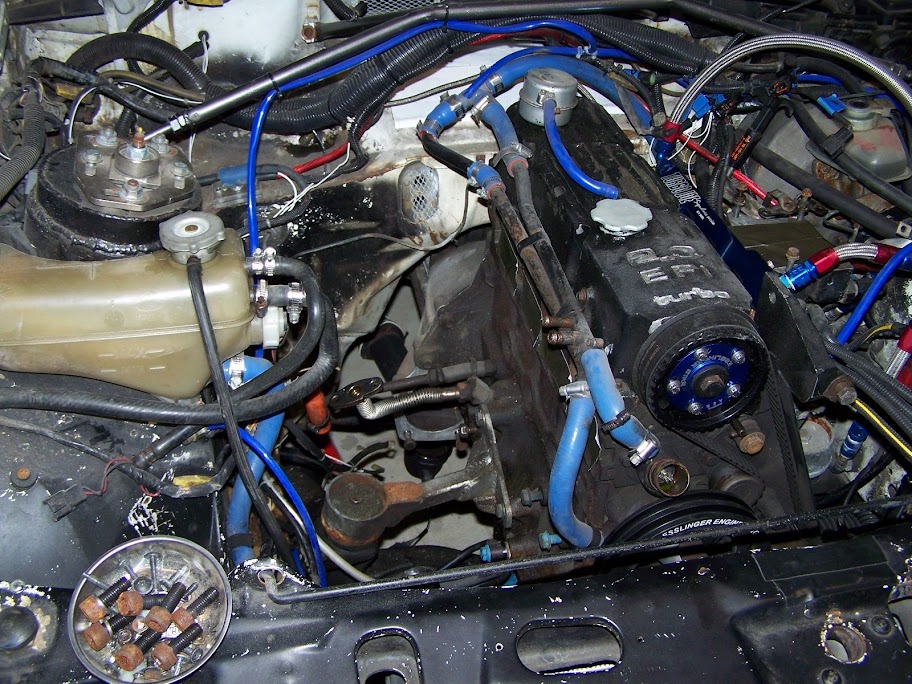
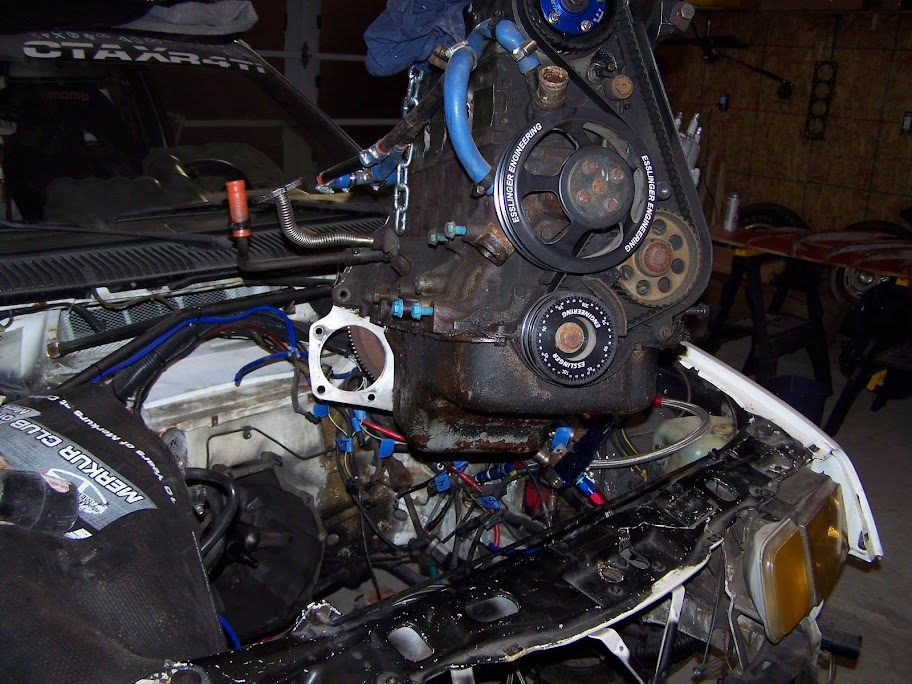
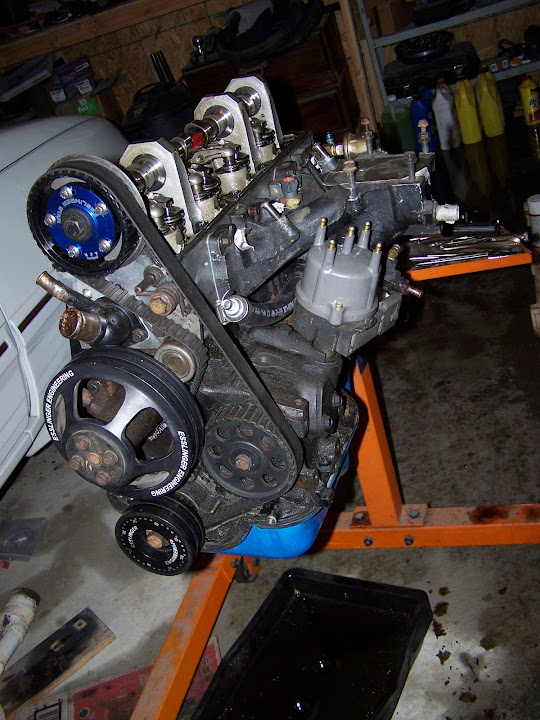
got my essy pulley swapped over, cam timing lined up with crank timing...
Made some progress matt
oh, crap, what's that say?
truck seems to have some extra stuff in the back?
what an odd way to ship boxes.
inside the stock motor - frickin' clean
ES what?
ah! hah! SUPRISE!
flow this.
sex.
got my essy pulley swapped over, cam timing lined up with crank timing...
-Ray
1985 Ford F150 - Tow Missile
1985 Merkur XR4Ti -#141 CP "Miss Daisy"
2005 Subaru LGT
http://www.cartct.com
1985 Ford F150 - Tow Missile
1985 Merkur XR4Ti -#141 CP "Miss Daisy"
2005 Subaru LGT
http://www.cartct.com
-
anglin
- Level 7
- Posts: 2456
- Joined: Thu Apr 22, 2004 3:20 pm
- Location: Hartford, CT
-
AddictionRacing
- Level 1
- Posts: 71
- Joined: Fri Dec 11, 2009 12:18 pm
- Location: Plainville, CT
-
Ray
- Level 7
- Posts: 4338
- Joined: Sun Oct 24, 2004 10:40 am
- Location: CT, USA
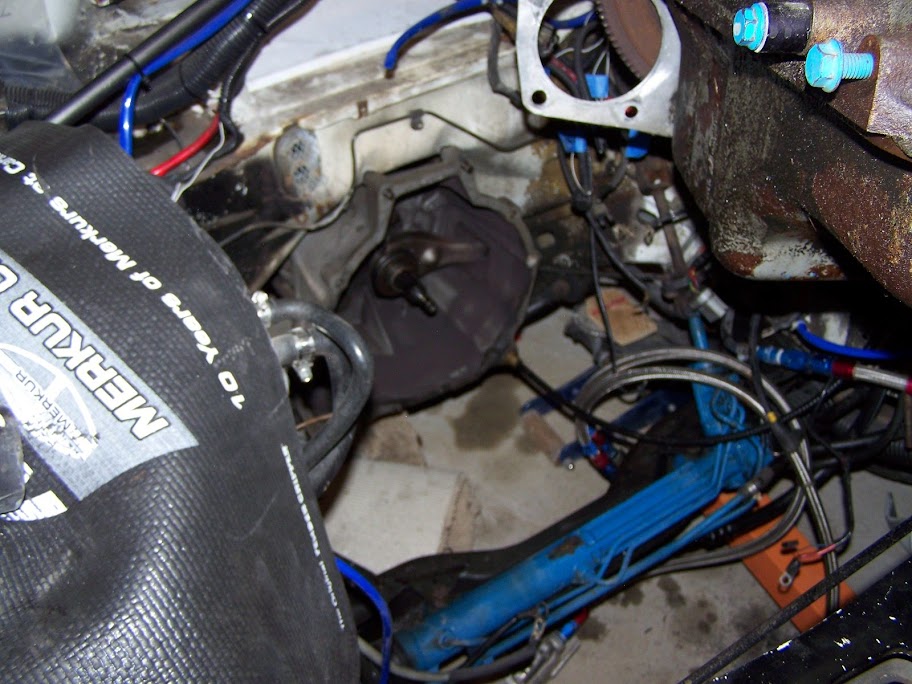
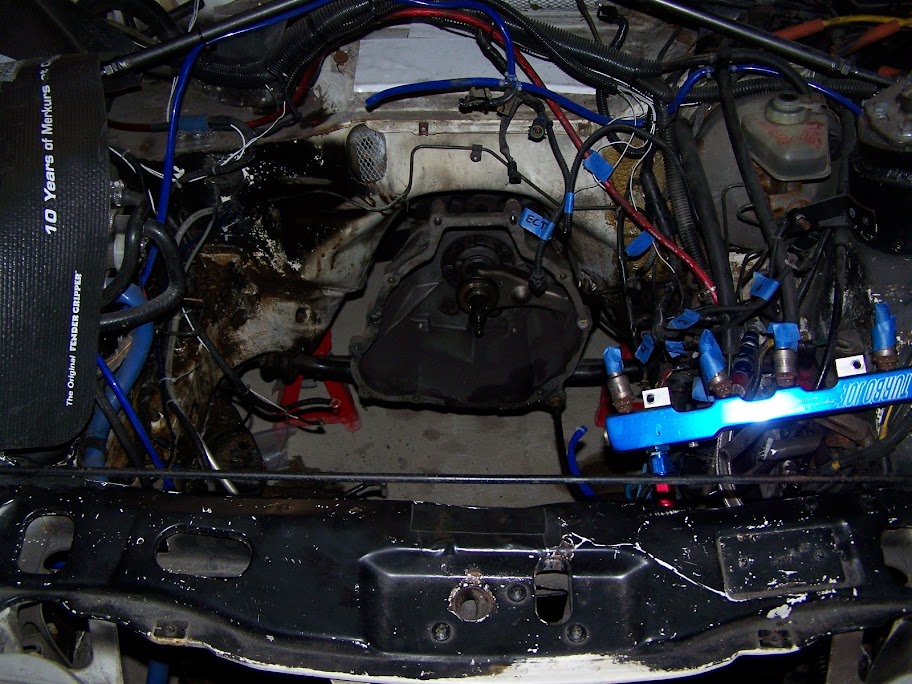
Matt came by today and we got a little bit done on the car.
Dropped motor in car - couldn't get the input shaft to line up (was being a bitch), drop tranny, install motor, reinstall tranny. Took a little longer than i wanted but it's done. Now i just have to put on the accessories like the turbo, exhaust, etc, but that's all easy stuff...
Anyway, some pics.
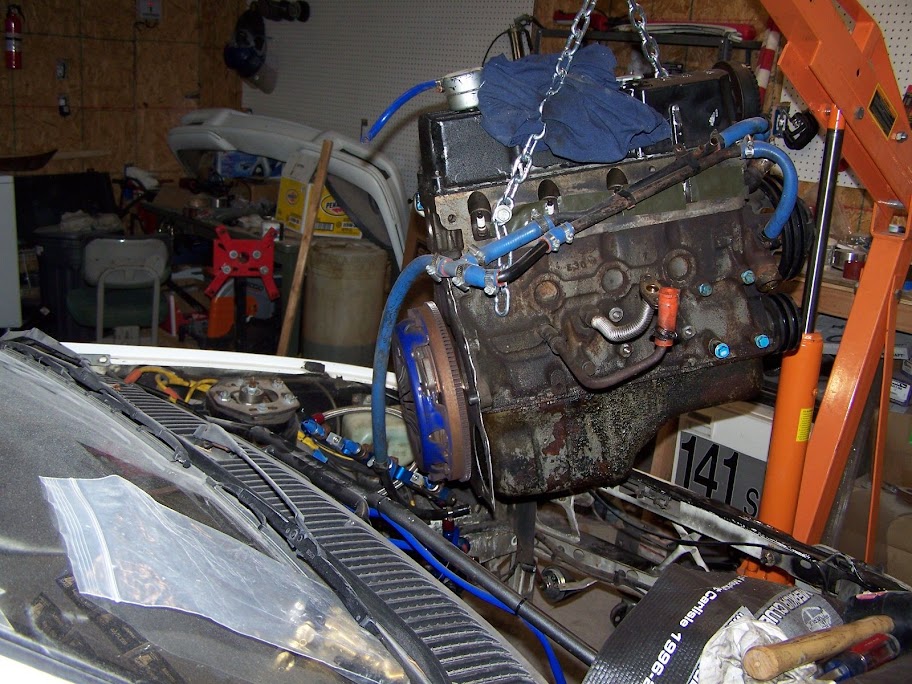
motor cleaned up and on the stand. went with a gunmetal with metallic flake paint. I think i like it. When i pull apart my other motor and send it out to have it hot tanked / rehoned if needed / etc i'm gonna do this color.

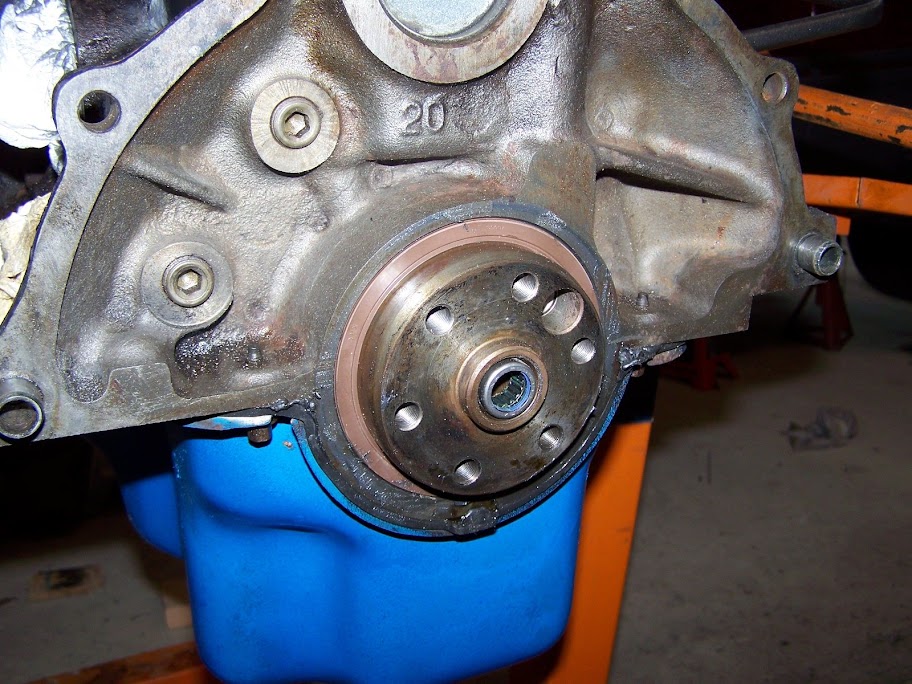
pilot bearing out (used the wet paper method - easy, and took 2 minutes with no grease mess)

new pilot bearing and rear main seal.
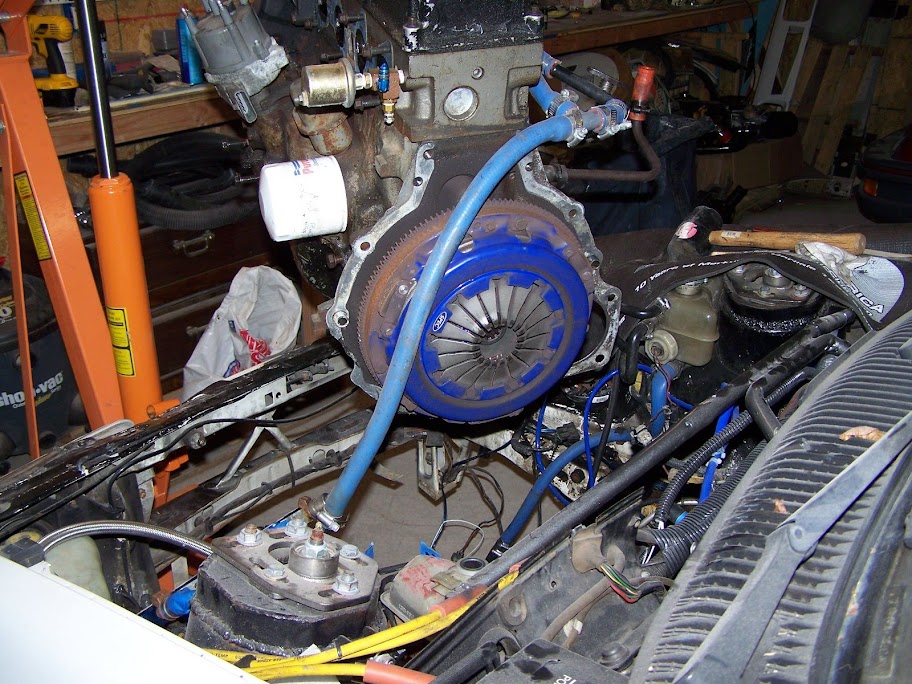
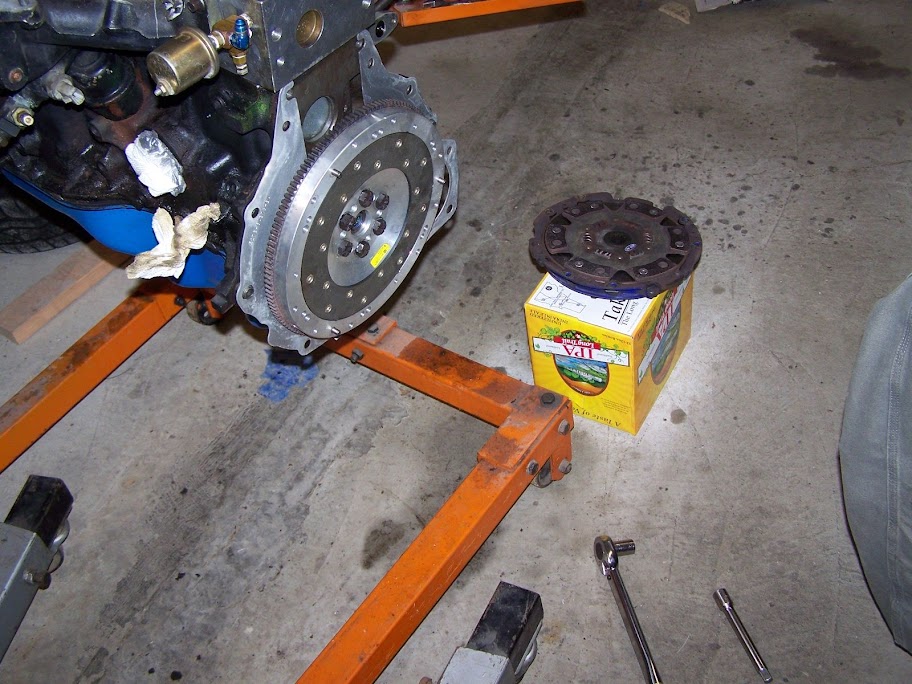
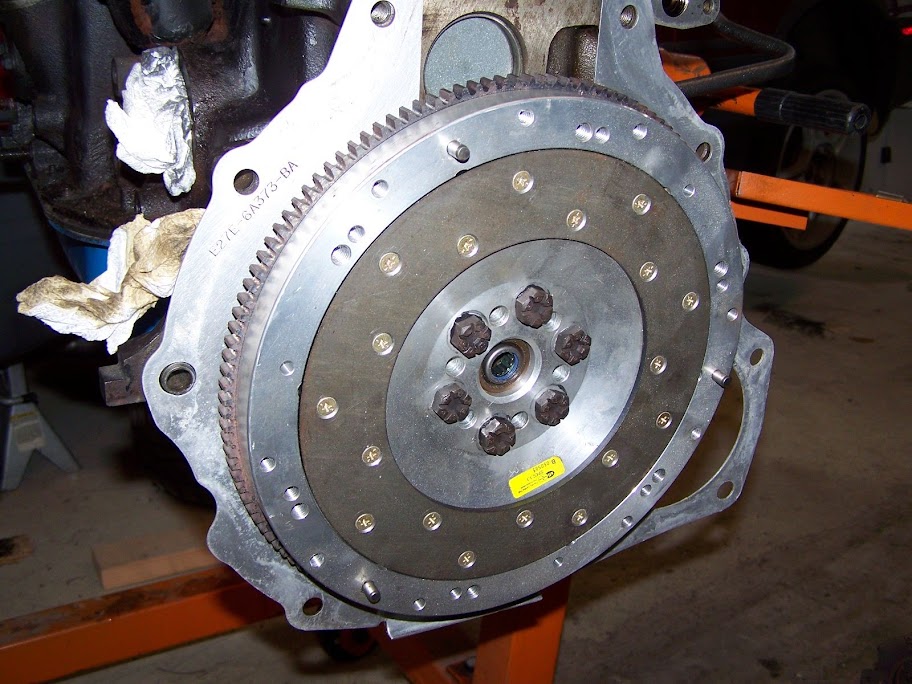
aluminum (fidanza) flywheel installed.
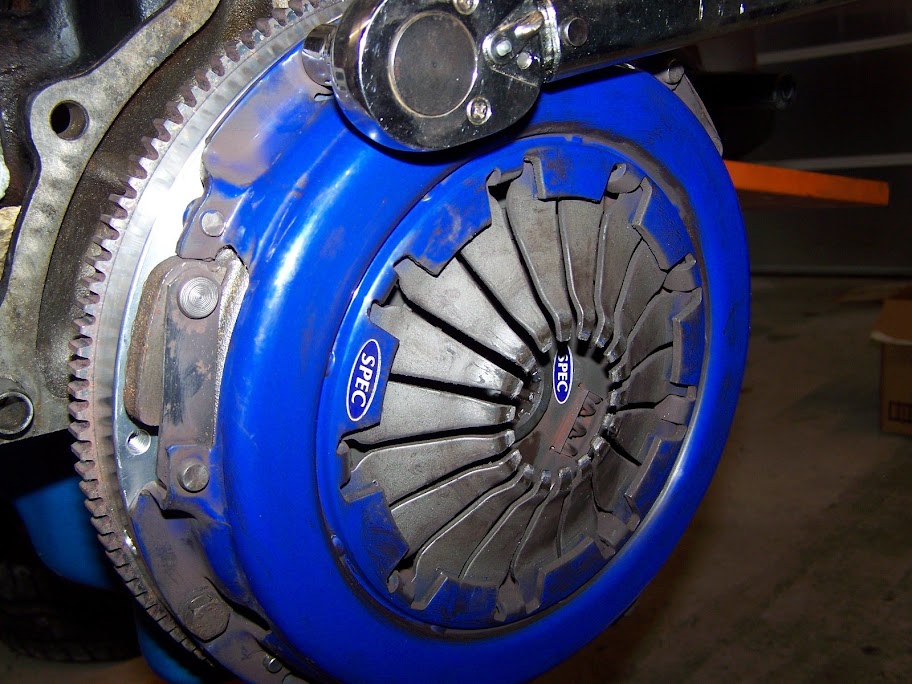
spec stg 3 installed...

matt laughing while installing the motor mounts
and... after much swearing...
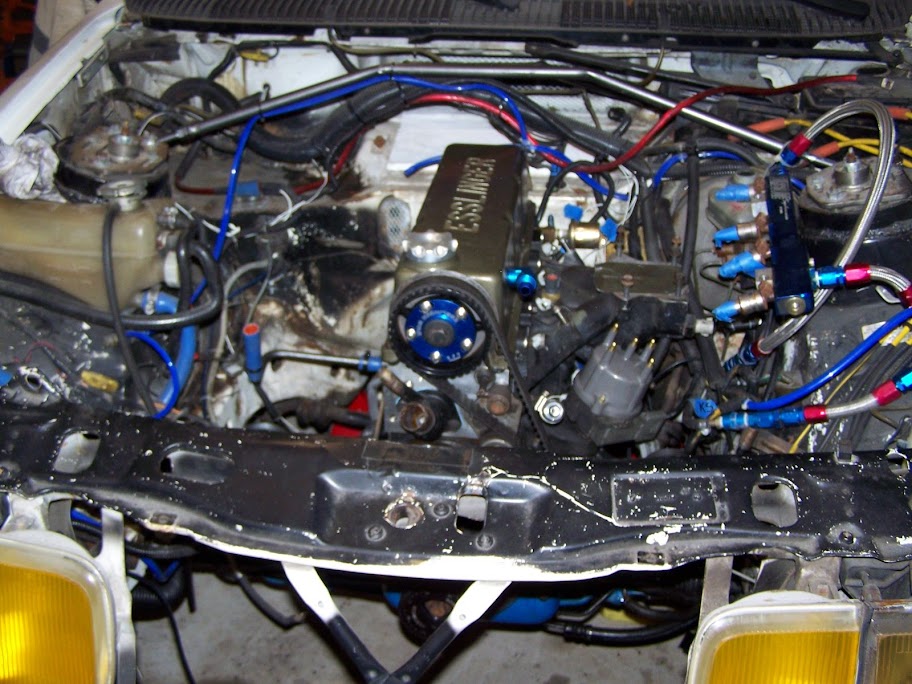
Dropped motor in car - couldn't get the input shaft to line up (was being a bitch), drop tranny, install motor, reinstall tranny. Took a little longer than i wanted but it's done. Now i just have to put on the accessories like the turbo, exhaust, etc, but that's all easy stuff...
Anyway, some pics.
motor cleaned up and on the stand. went with a gunmetal with metallic flake paint. I think i like it. When i pull apart my other motor and send it out to have it hot tanked / rehoned if needed / etc i'm gonna do this color.
pilot bearing out (used the wet paper method - easy, and took 2 minutes with no grease mess)
new pilot bearing and rear main seal.
aluminum (fidanza) flywheel installed.
spec stg 3 installed...
matt laughing while installing the motor mounts
and... after much swearing...
-Ray
1985 Ford F150 - Tow Missile
1985 Merkur XR4Ti -#141 CP "Miss Daisy"
2005 Subaru LGT
http://www.cartct.com
1985 Ford F150 - Tow Missile
1985 Merkur XR4Ti -#141 CP "Miss Daisy"
2005 Subaru LGT
http://www.cartct.com
-
John Brennan

- Level 8
- Posts: 11630
- Joined: Wed Jun 18, 2003 4:19 pm
- Location: Scottsdale, AZ "Summer Is Coming"
-
merkurdriver

- Level 8
- Posts: 6432
- Joined: Tue Jan 21, 2003 4:29 pm
- Location: Northeast Ohio
-
Ray
- Level 7
- Posts: 4338
- Joined: Sun Oct 24, 2004 10:40 am
- Location: CT, USA
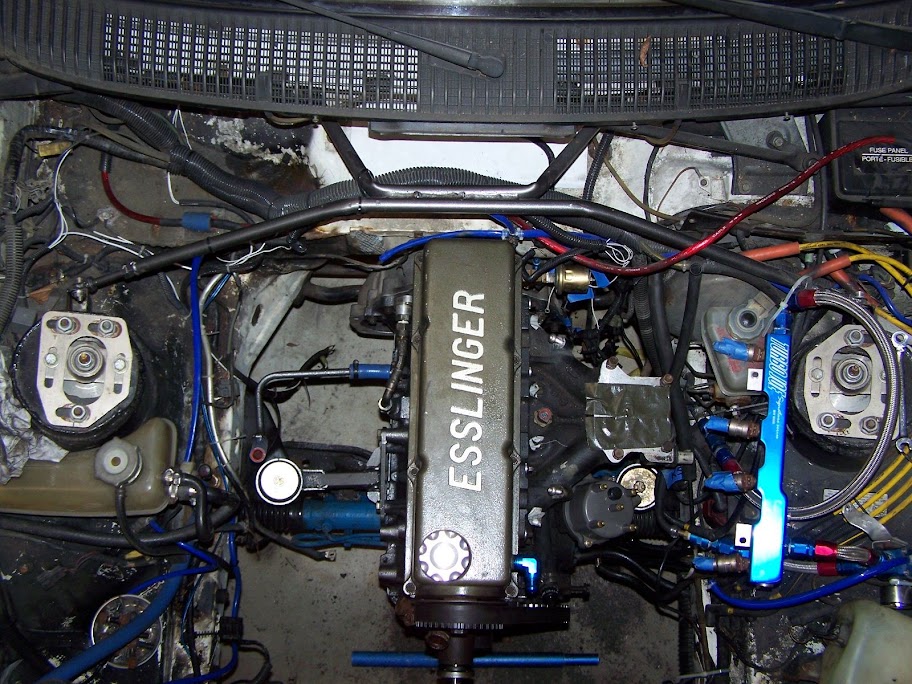
Hopefully the car IS serious 
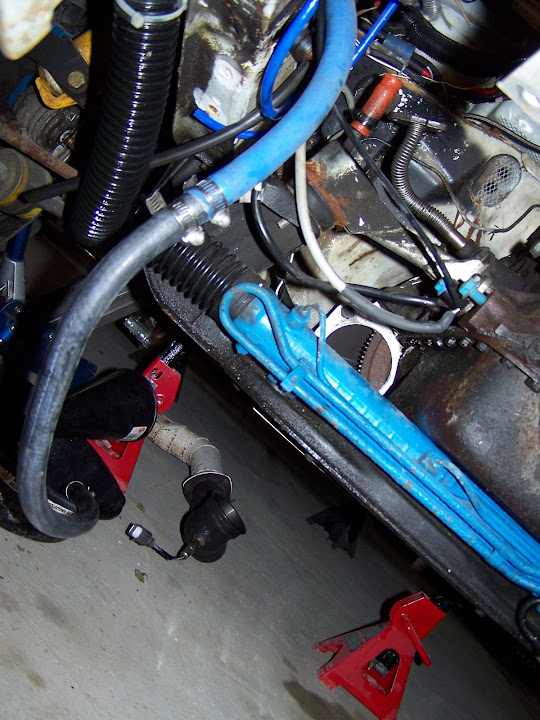
The motor is sitting a bit low. I went out last night after dinner and hung the turbo on the car and installed the new stainless braided oil return line (I hate the stock one - it always is a bitch to line up) and noticed the motor is just about on the rack. I figure the only thing that it could be is the motor mounts which were set loose when the car was dropped are not flush on the motor, so when i get some time this week i'll readjust that and hopefully that fixes it. We'll see.
T minus 5 weeks until the first points event. Got a little bit left to do.
-Ray
1985 Ford F150 - Tow Missile
1985 Merkur XR4Ti -#141 CP "Miss Daisy"
2005 Subaru LGT
http://www.cartct.com
1985 Ford F150 - Tow Missile
1985 Merkur XR4Ti -#141 CP "Miss Daisy"
2005 Subaru LGT
http://www.cartct.com