More progress done this weekend. Was able to get the wastegate bracket finished along with a much cleaner looking offset arm which was needed due to where it mounts on the larger compressor housing. Braided coolant feed for the turbo done and installed, IAC and TPS wiring extended and loomed, IC piping complete, alternator relocated and wired up. Still waiting on an in-line use for the hot lead to the alt.
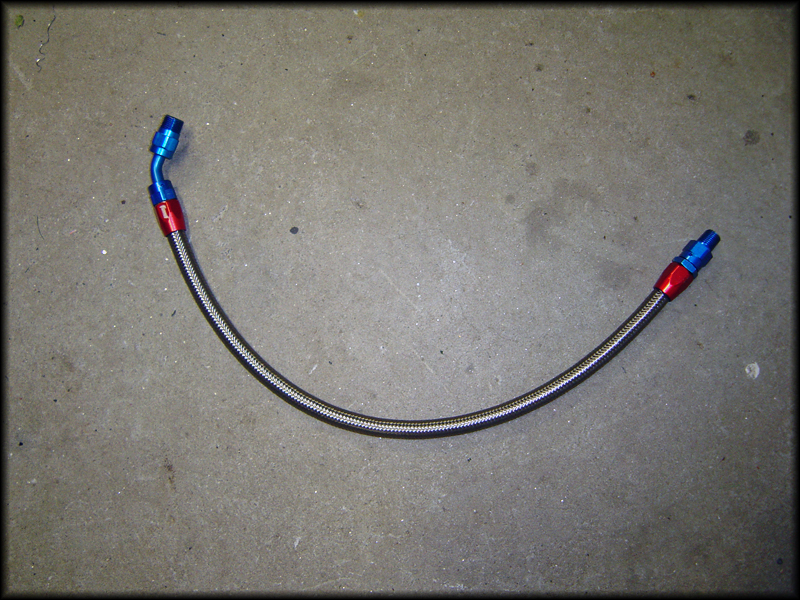
Few pics. Coolant feed. First time working with AN line. Took me a few cuts to get the first fitting on and then got the 2nd on first try:
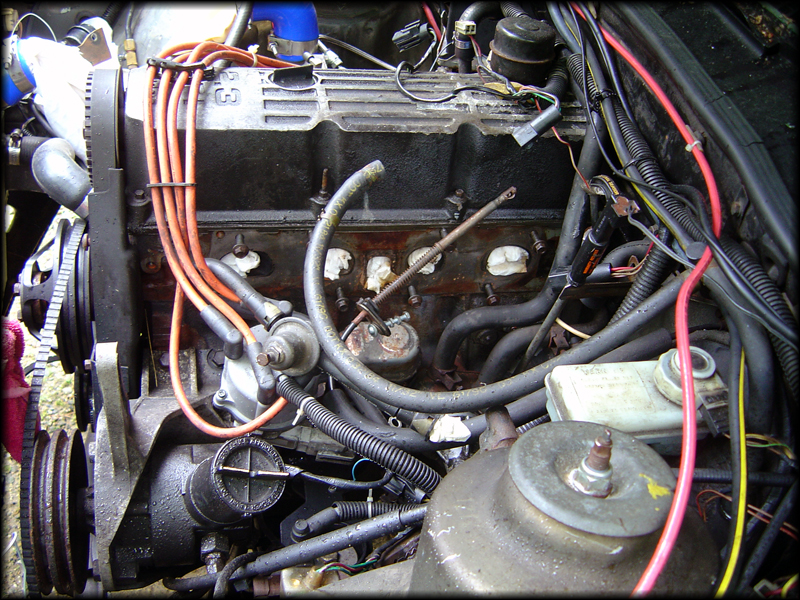
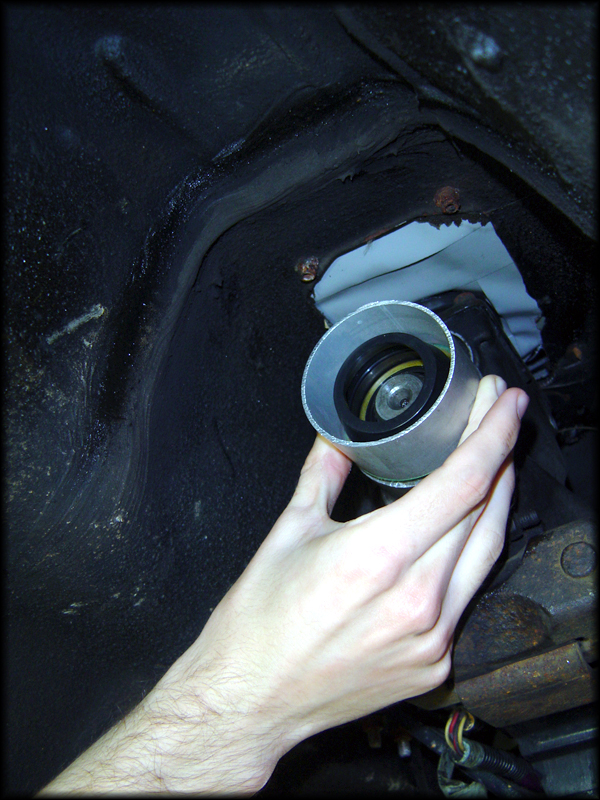
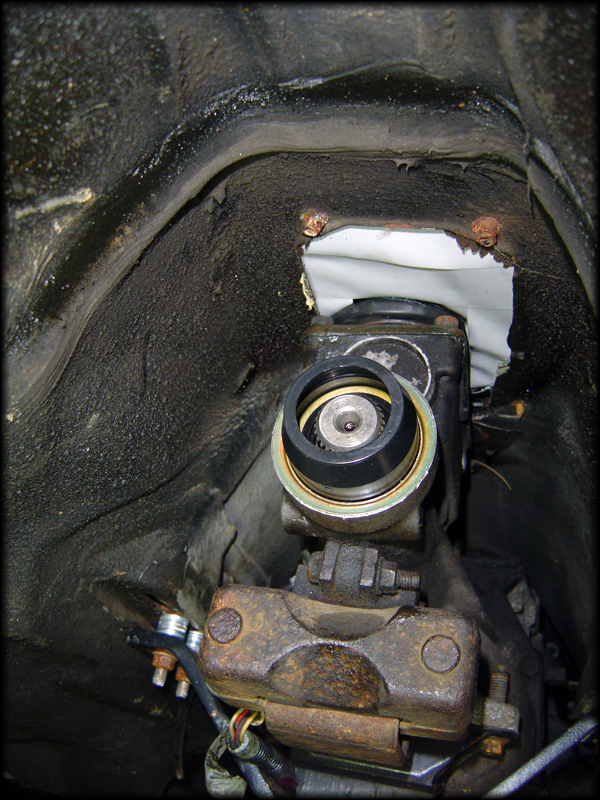
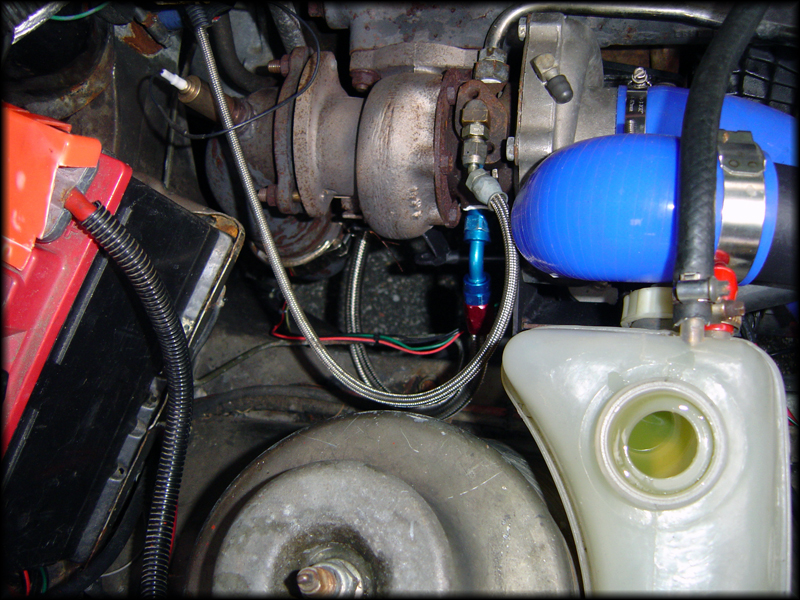
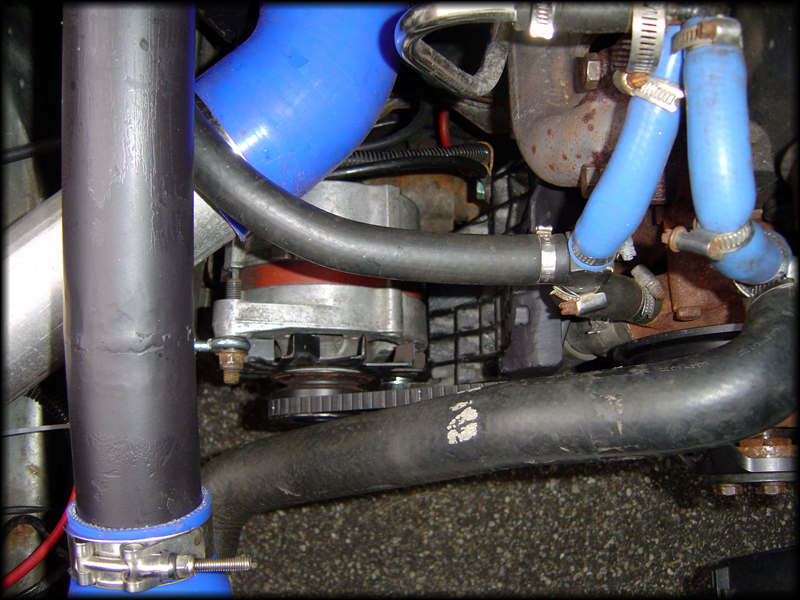
Installed and in car. This was necessary since I wanted to keep water cooling to the CHRA, but was nearly impossible with an internal gate setup and the Cossie housing with the way I have the compressor clocked. I may shorten the oil feed as well since it looks stupid that long as it's made for a center mount manifold:
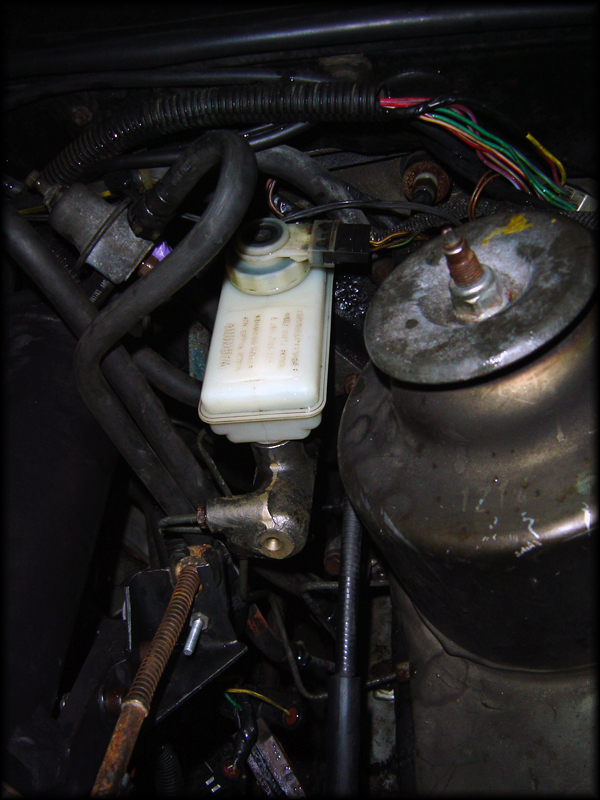
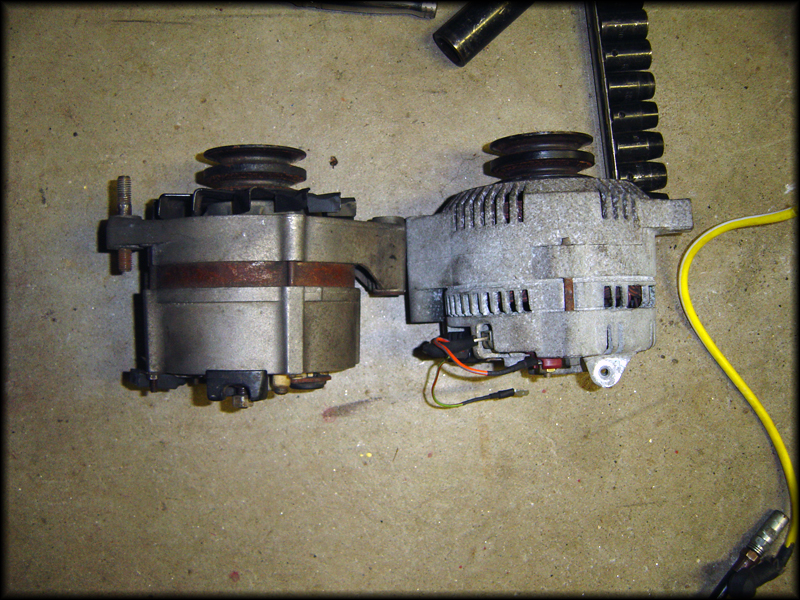
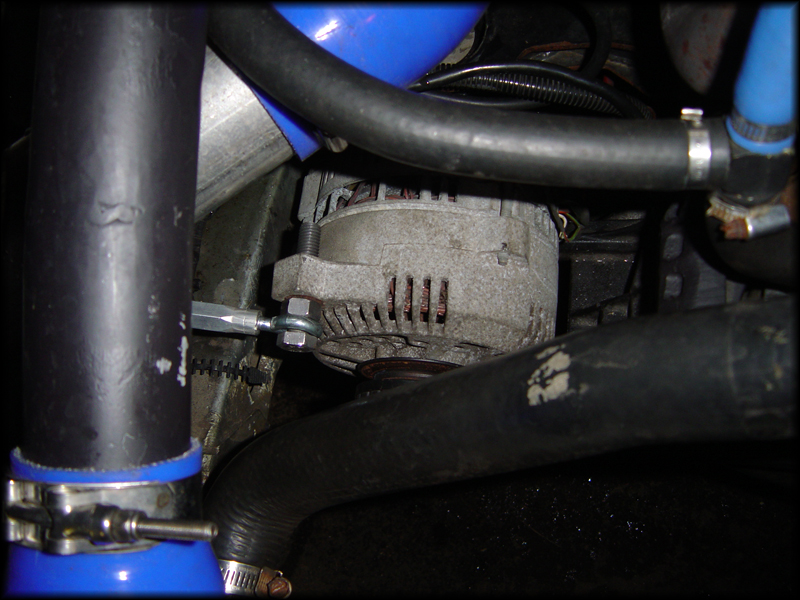
Had to relocate the alternator from the top driver's side to where the AC compressor was. Took Ray's idea and modified it for my application since I still run the v-belts and his car has the Non Stop Tuning pullies. Had to modify the AC bracket, add a turnbuckle fastened to the fender, 61" belt and a 3/8" rod for a pivot bolt with spacers on each side to align the pulley. Unfortunately, I can't run the inner belt, but there is enough bite where none of the accessories slip.
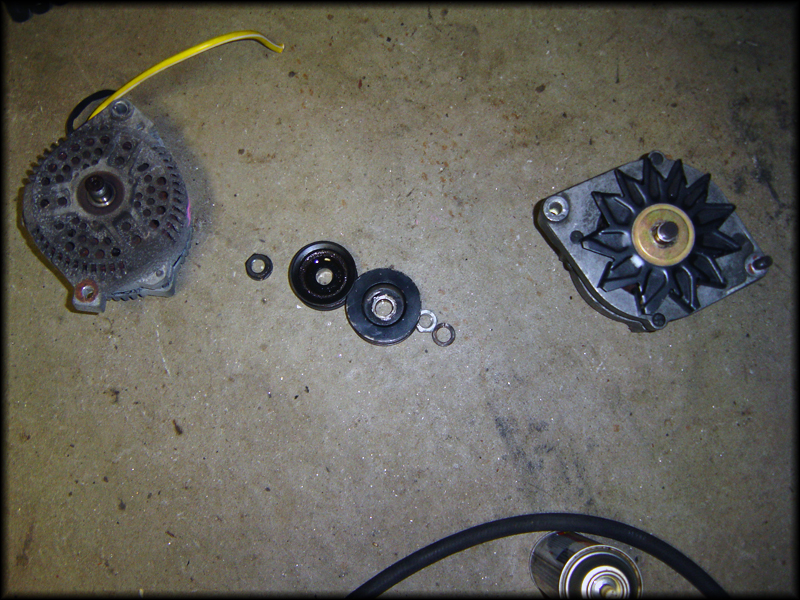
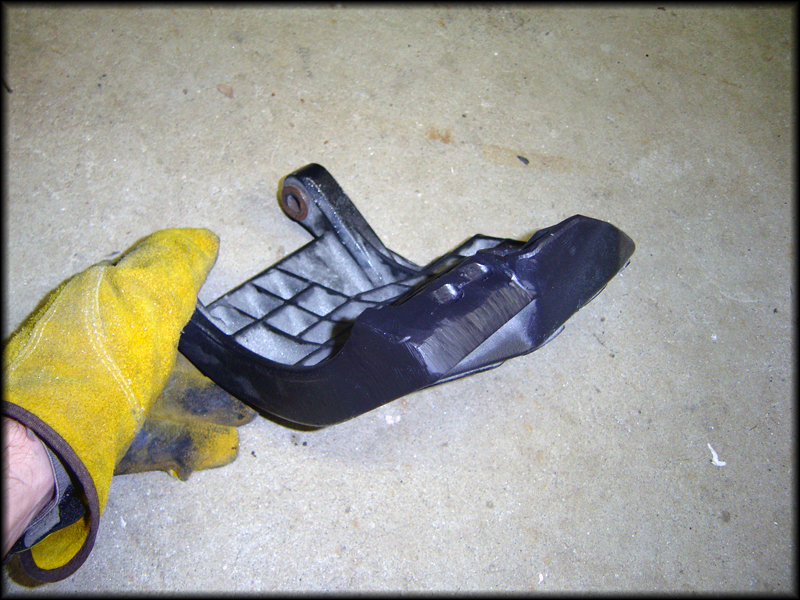
Modified bracket:
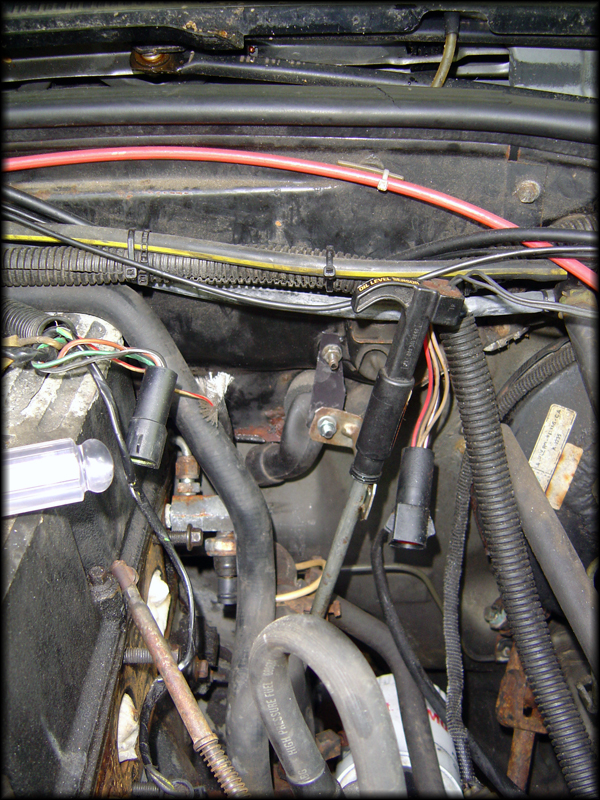
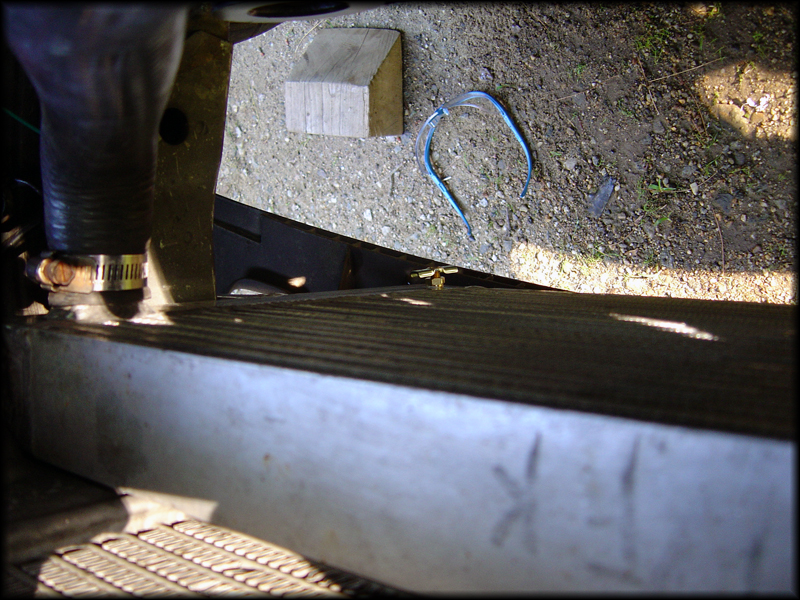
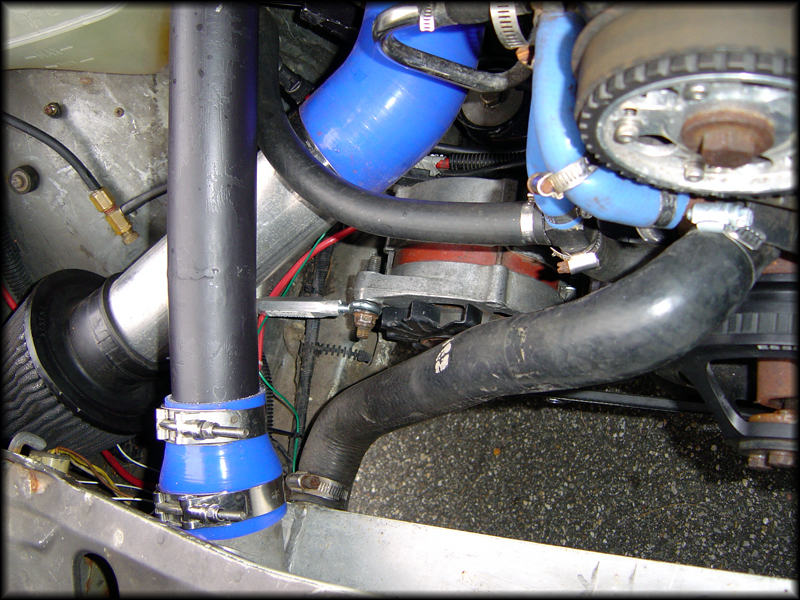
Alternator mounted in the car and tensioned:
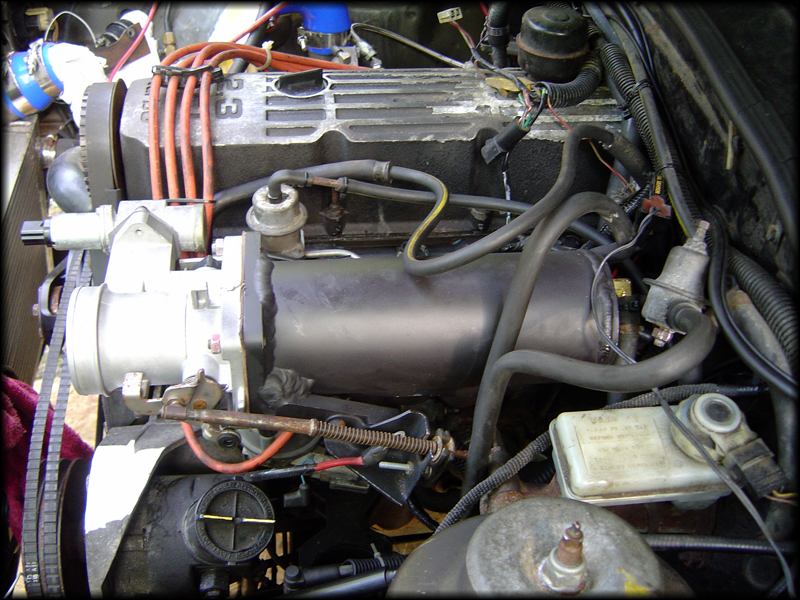
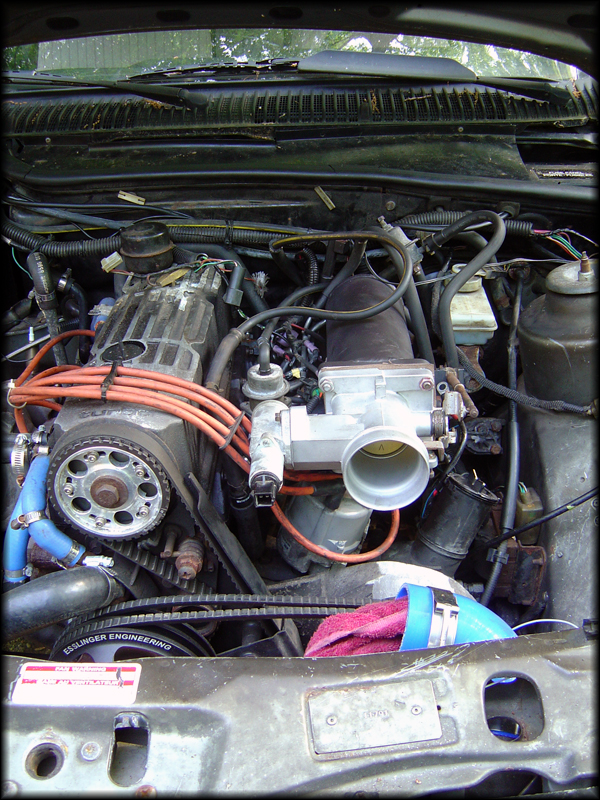
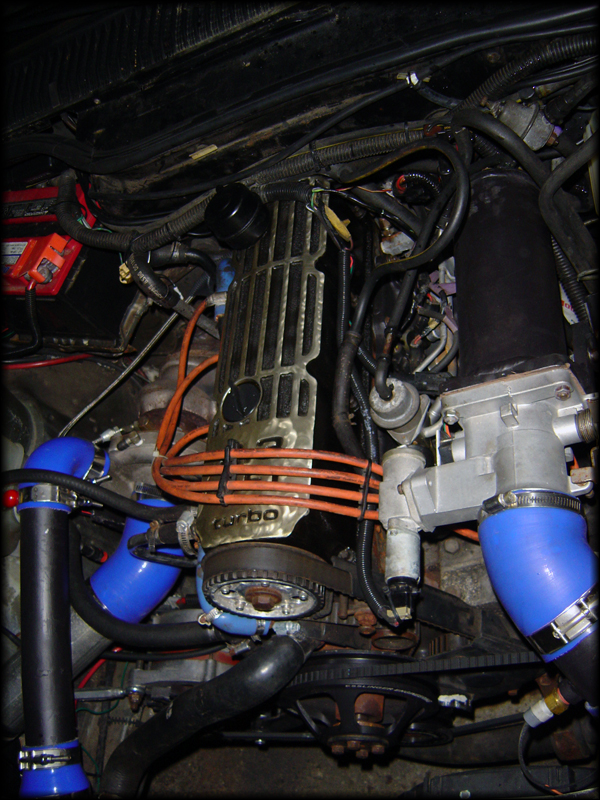
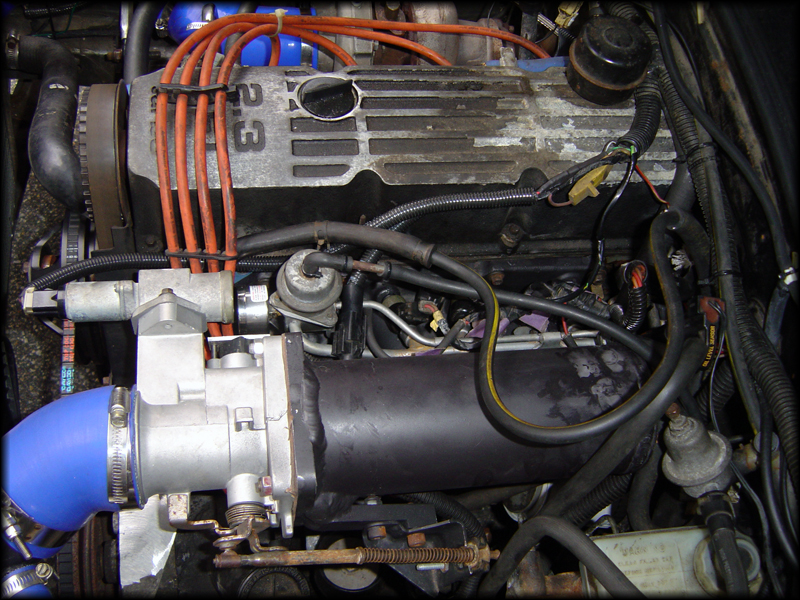
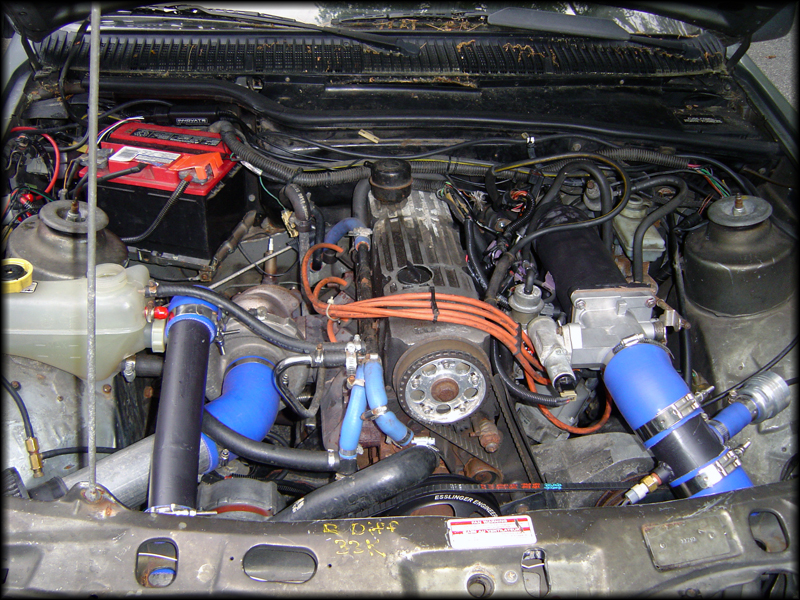
Intake setup complete. Still have the crazy vacuum line for the PCV, but that will be fixed soon along with some other minor dress-up items such as a bigger t-bolt on the TB (3" wouldn't fit) putting a hose clamp back on the filter which is currently on the TB and putting the heatshield back in:
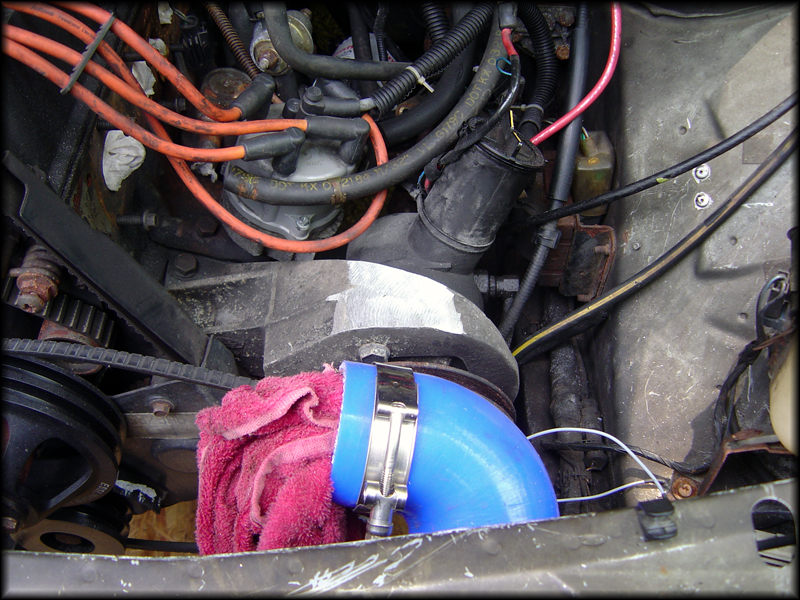
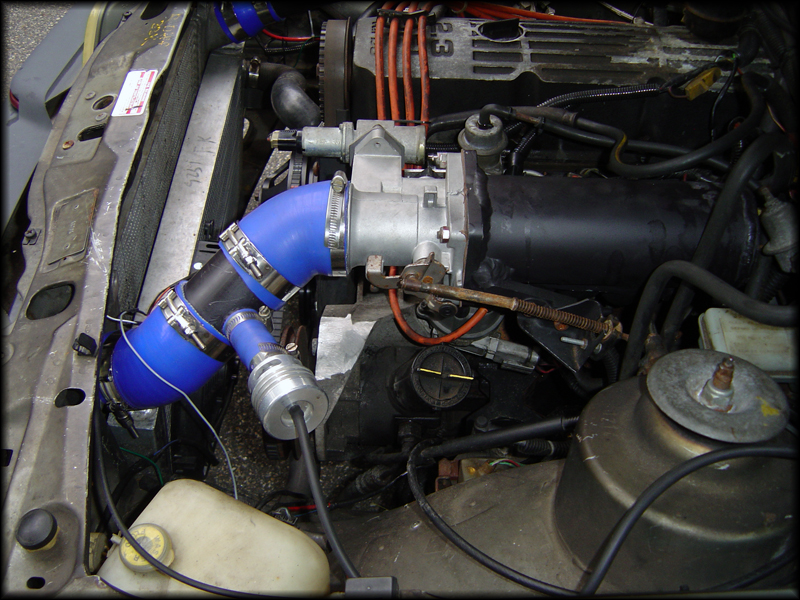
Cold side piping with BOV and IAT:
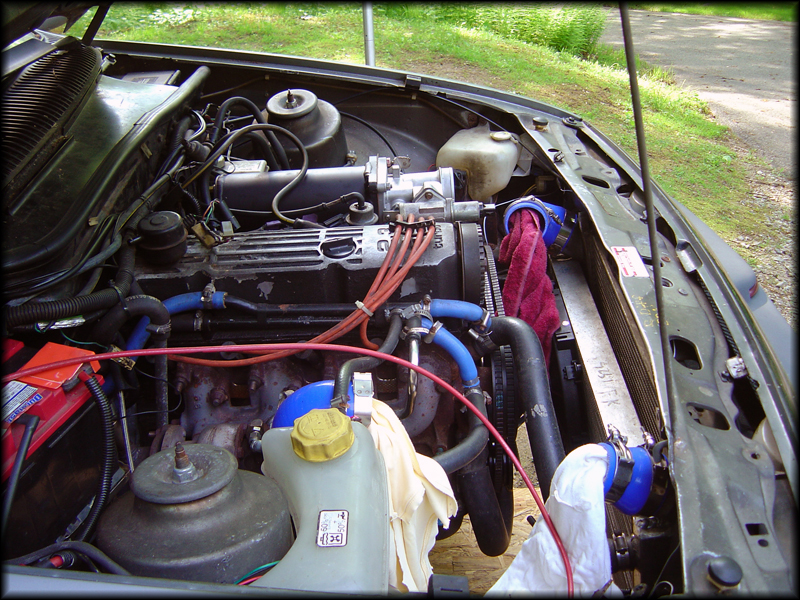
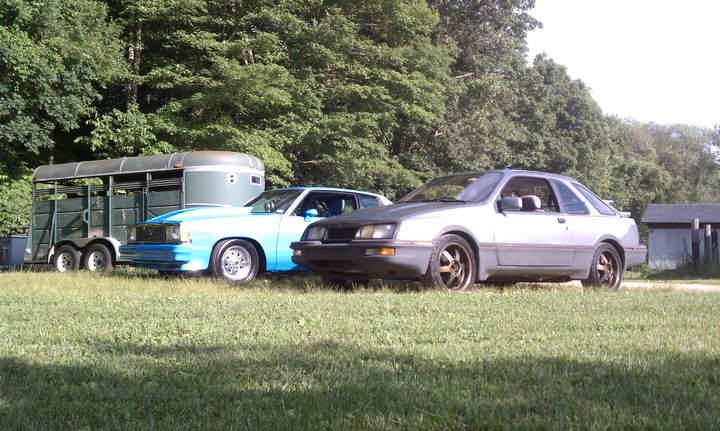
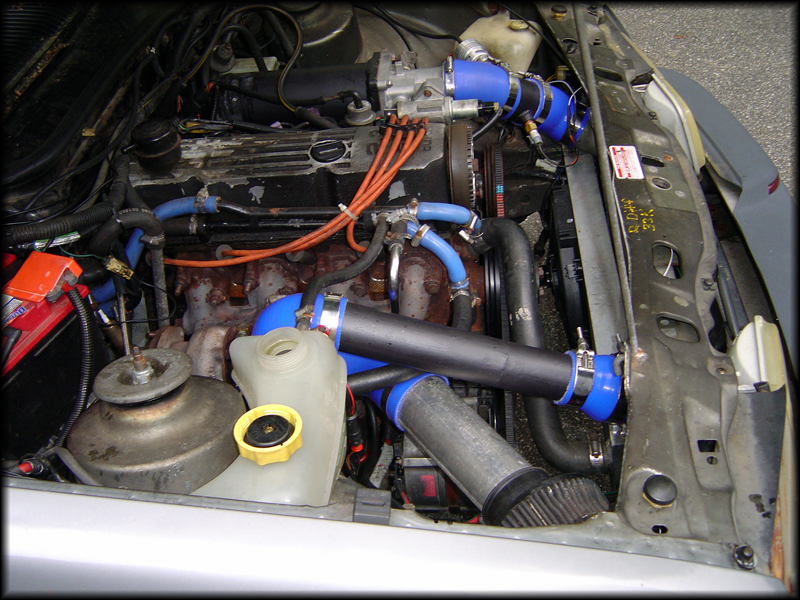
Front shot:
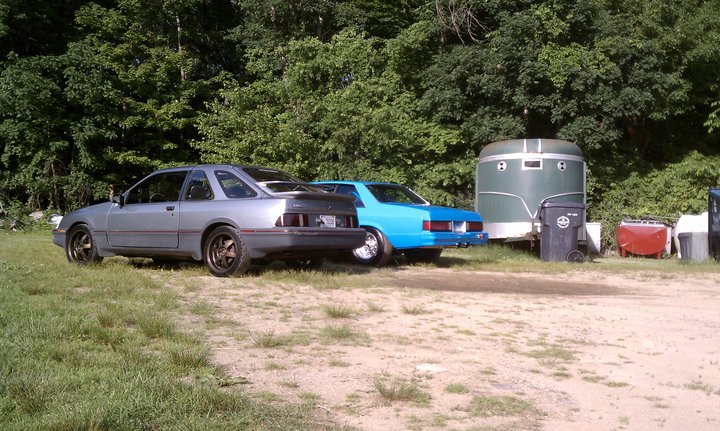
Passenger side:
Quick idle clip. Can definitely hear a lot of resonance in the plenum. Really changed the motor note in the bay:
http://www.youtube.com/watch?v=jkHLoGq6nxY
Overall, successful weekend. Ran into a few snags.
Snag #1
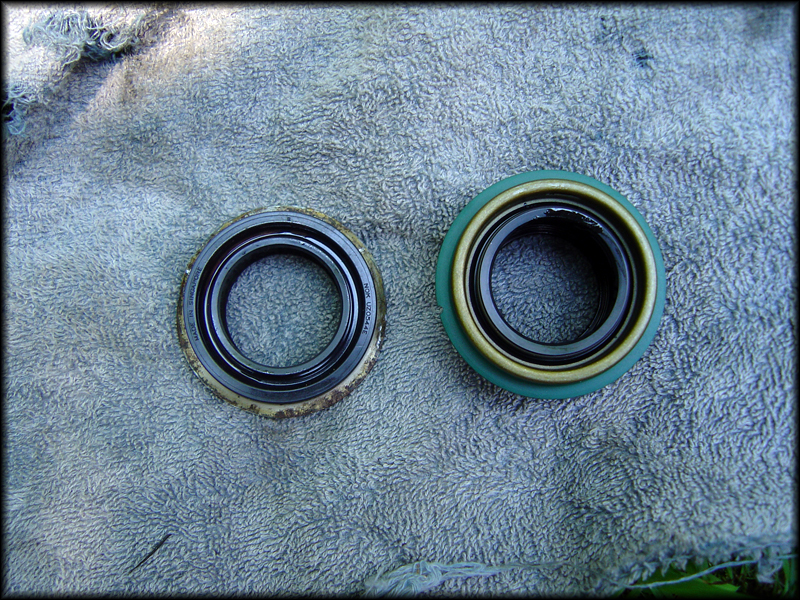
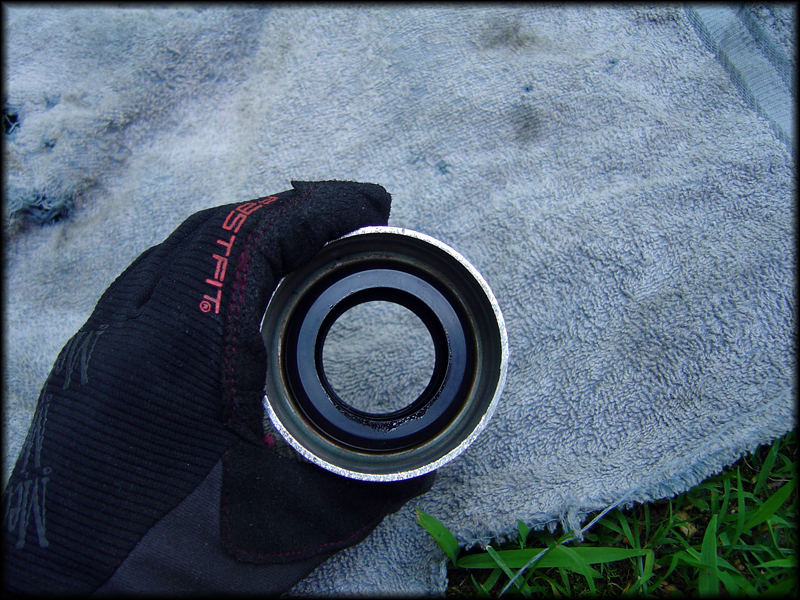
The intake I have now is based on an inline lower which you can see here:

Compared to the one that comes in the XR4Ti which is the Four Square:

Notice the fuel rail mounting bosses are different which require a specific fuel rail which I had, no problem. What I didn't notice is the four square intake uses a spacer plate between the FPR and the rail which I transferred to the inline rail. The inline rail has a machined recess for the gasket so it does not need to the spacer plate. Fired car up and showered the whole side of the motor in fuel. So...remove the rail (which led to snag #2) and remove the plate after I noticed the recess.
#2: Snapped one of the plastic fuel clips for the return line for the rail, but Advance Auto had a selection of Ford clips so I grabbed a set of these which I broke:

And a set of duckbill clips since it's just a matter of time before the factory ones break:

#3: While working Friday evening (maybe 30minutes in) cutting the old wastegate bracket up, the angle grinder dug into to the bracket and hit my left middle finger, cut about half way though. Few hours and 3 stitches later, completed everything else above.
Hope to put the insurance back on the car and put some miles on next weekend.