"Ray's AKA demonfire's XR4Ti build up"

Documenting your big project with photos/videos? Have photos/videos to share of anything Merkur related? Place your links to photos and videos here. Please - Merkurs and Merkur-related pictures only. Cosworths welcome!!
Carlisle and event related pictures are to be placed in the relevant section under 'Events'.
Merkur Club web site
DSPXR4ti
Level 7
Level 7
Posts: 1473
Joined: Mon Mar 20, 2006 2:26 pm
Location: San Jose, Calif.

Post by DSPXR4ti »

merkurdriver wrote:
DSPXR4ti wrote:
Wait a minute! did the stock automatic XR come with a different hose set up?
Yes, stock 85-88 auto XRs came with a slightly different hose set up that used less hoses. I'll see if I can dig up a pic, if not I'll go outside and take one...
That would be great! I owe you one, thank you.

Ben
85 DSP XR4ti, 2009 Solo 2 National Champion, burns muffler, 3in exhaust, Mc2 Full suspension, 325 hps & 328tqr, GMR Intake, Wilwood brakes, Eaton LSD, stand alone ECU. Working on being SM National Champion.
Taps
Level 4
Level 4
Posts: 315
Joined: Sat Jan 15, 2005 1:29 pm
Location: Essex UK

Post by Taps »

Been thinking and think as your building something totally different you should go the whole hog :lol:

http://forum.merkurclub.com/forum/viewt ... 338#161338
User avatar
Ray
Level 7
Level 7
Posts: 4338
Joined: Sun Oct 24, 2004 10:40 am
Location: CT, USA

Post by Ray »

Taps - YES!

Mike - i figured out a solution that doesn't involve drilling or ordering new hoses; just a little fabrication.

some progress from today. got the bumper and all that pulled the other night. heat (joe) has been over helping quite often. couldn't have pulled the turbine housing off w/o that extra set of hands! thanks again for stopping over.

pictures aren't terribly exciting, but here they are


stock turbo with stock .48 turbine housing off.
still no shaft play. gotta love garretts.

Image

stock turbine housing
Image

front of the car as it sits right now. oil cooler will be moved from where it is (in front of the intercooler) to on top of the shorty radiator.
Image

i really kind of dig how the car looks with the no bumper situation going on...

Image

Image

once again, the exhaust side is off. i feel like i do this at least twice a year. or more.
Image

cosworth housing on right. stock on left. bolts btw, are m8 x 1.25 x 16mm.
Image

so much nicer of a wastegate opening. outlet is 3". transition cone, V band flanges and V band, new fan, and a few other bits will be arriving in the next week.
Image

Image

turbine
Image

hEaT working at the bench. (ambient temp outside is low 20's - it was about 40 in the shop)
Image

my solution to the extra hoses on the stock radiator versus only two hoses on the new radiator. take a 1/2" steel spacer fitting, two 5/8" steel spacers, and some 1.5" tubing... drill tubing, notch fittings, weld.
voila. you have yourself a T.
Image

another view. the nuts are o2 sensor bungs for the new DP i'll be building later.
Image

yes. i painted the cool side blue. the hot side is painted with that VHT 2000 degree stuff. the hot side is normal ford blue engine paint. yes, i did it mostly to piss off joe.
Image

Image

shows you how much more the cossie housing sits back versus stock.
Image

one nut was a super bitch to get tight. i mean really.
Image

mocked up the radiator. at full "up" it's 4" from the bottom of the upper radiator support. i need a little more than 4.5" to fit the oil cooler, so i'll space it down 1".
Image

Image


more pictures as more progress is made.
-Ray
1985 Ford F150 - Tow Missile
1985 Merkur XR4Ti -#141 CP "Miss Daisy"
2005 Subaru LGT
http://www.cartct.com
Taps
Level 4
Level 4
Posts: 315
Joined: Sat Jan 15, 2005 1:29 pm
Location: Essex UK

Post by Taps »

demonfire wrote:Taps - YES!
Sorry m8 I put that in the wrong thread :oops:
DSPXR4ti
Level 7
Level 7
Posts: 1473
Joined: Mon Mar 20, 2006 2:26 pm
Location: San Jose, Calif.

Post by DSPXR4ti »

Hey Ray,

Have you put in a Flex hose on your down tube? or another question is have you had any problems with "that" header cracking. If not thats great but I would still recommend a flex hose on your down tube.

Ben
85 DSP XR4ti, 2009 Solo 2 National Champion, burns muffler, 3in exhaust, Mc2 Full suspension, 325 hps & 328tqr, GMR Intake, Wilwood brakes, Eaton LSD, stand alone ECU. Working on being SM National Champion.
User avatar
Ray
Level 7
Level 7
Posts: 4338
Joined: Sun Oct 24, 2004 10:40 am
Location: CT, USA

Post by Ray »

Nope, but i have to cut apart my downpipe and kinda rebuild it so the flex portion is not out of the question!
-Ray
1985 Ford F150 - Tow Missile
1985 Merkur XR4Ti -#141 CP "Miss Daisy"
2005 Subaru LGT
http://www.cartct.com
User avatar
pyropete125
Level 7
Level 7
Posts: 1311
Joined: Wed Jan 07, 2004 2:51 am
Location: west haven, CT

Post by pyropete125 »

id safety wire the nuts to be safe from them loosening while its out.

good work!
89 xr4ti, LOTS'O'MODS. PICS OF MY XR, FOLVO STUFF, AND...
User avatar
Ray
Level 7
Level 7
Posts: 4338
Joined: Sun Oct 24, 2004 10:40 am
Location: CT, USA

Post by Ray »

the turbo to header nuts? good idea. it's just mocked up in the car right now, waiting on parts to make the new downpipe.

I made the new wastegate actuator bracket today. Also unpacked some more in the shop, which took longer than actually making this bracket.

Sorry for the cell phone pics, but i didn't really think to go in and grab my camera today.

wastegate actuator, 11psi, from a DSM.
bracket is bolted to a flange i made that is the same shape as the compressor side backing plate flanges, and also bolts to the inlet hole, which makes it pretty sturdy.

Image

Image

i'll get better pictures either later this evening or as more progress is made.


pete, for safety wire, what do you use? just a small drilled hole thru the bolt and stud then wire? I really dont know if i can drill thru that.
-Ray
1985 Ford F150 - Tow Missile
1985 Merkur XR4Ti -#141 CP "Miss Daisy"
2005 Subaru LGT
http://www.cartct.com
User avatar
merkurdriver
Level 8
Posts: 6432
Joined: Tue Jan 21, 2003 4:29 pm
Location: Northeast Ohio

Post by merkurdriver »

DSPXR4ti wrote:
merkurdriver wrote:
DSPXR4ti wrote:
Wait a minute! did the stock automatic XR come with a different hose set up?
Yes, stock 85-88 auto XRs came with a slightly different hose set up that used less hoses. I'll see if I can dig up a pic, if not I'll go outside and take one...
That would be great! I owe you one, thank you.
Don't want to clutter up Ray's build page w/ pics that are not of his car, so here is a link to a pic of the auto XR hoses:
http://merkur.50megs.com/photo2_2.html
(bottom of page)
Easy way to have 2 hoses going to your radiator instead of 4.
User avatar
Ray
Level 7
Level 7
Posts: 4338
Joined: Sun Oct 24, 2004 10:40 am
Location: CT, USA

Post by Ray »

Ben, that flex pipe is trick - thanks for reminding me i should use one


Joe came by today and we hammered out a new downpipe in a couple of hours. I did end up putting a stainless flex in, as well as make the downpipe in two pieces with a V band to make install / uninstall easier. Also allows a rotation point.

Anyway, we were playing with taking pictures while welding so i apologize in advance for the first few pics that are just us welding...

Image

i've got three workbenches and i'm welding on the floor... but at least now i HAVE a floor :)

Image

Image

Image

Image

Image

Image

Image

Image

stainless flange with stainless 3 to 3.25" transition cone - cut on a 22.5 degree angle down - this then blends down with a couple more angle cuts to the 3" x 4" flex. on the flex is welded the flange for the V band - from the V band goes another couple 22.5 degree cuts, making a 45 degree bend to a 15 degree bend around the hump in the firewall out to where it was before.

Image

making more angles...

Image

mockup number 8 or 9 or 10...

Image

have about 3/8 to 1/2 of clearance, a bit tight but not bad.
Image

like a glove.
Image

Image

guess which piece i reused? :)

anyway, this is post final mockup and before seam welding.

Image

skipped a few steps - but you get the idea. seam weld, check for leaks, mock up again, mark locations for o2 sensors, remove, drill, weld o2 bungs, quick sand, then high temp ceramic flat black paint. voila.

Image

i have it installed now, just got in a few minutes ago. took longer to get the damned oil drain flange bolted down than it did to hang the header, downpipe, and lower downpipe combined.

I'll make more progress tomorrow; not sure if i'm gonna work on the shop or the car, or the new bar ;)
-Ray
1985 Ford F150 - Tow Missile
1985 Merkur XR4Ti -#141 CP "Miss Daisy"
2005 Subaru LGT
http://www.cartct.com
User avatar
Ray
Level 7
Level 7
Posts: 4338
Joined: Sun Oct 24, 2004 10:40 am
Location: CT, USA

Post by Ray »

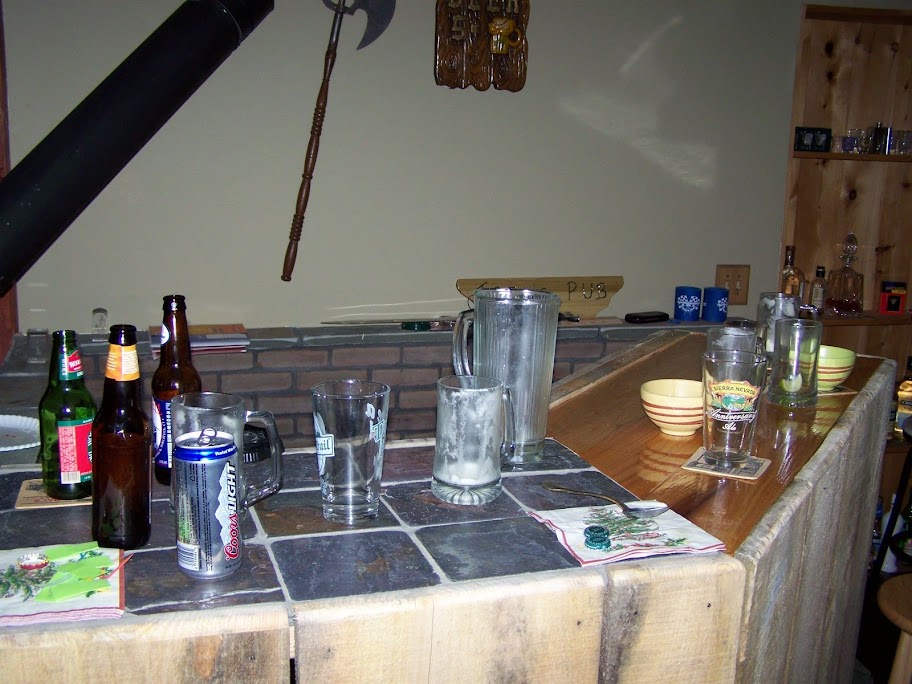
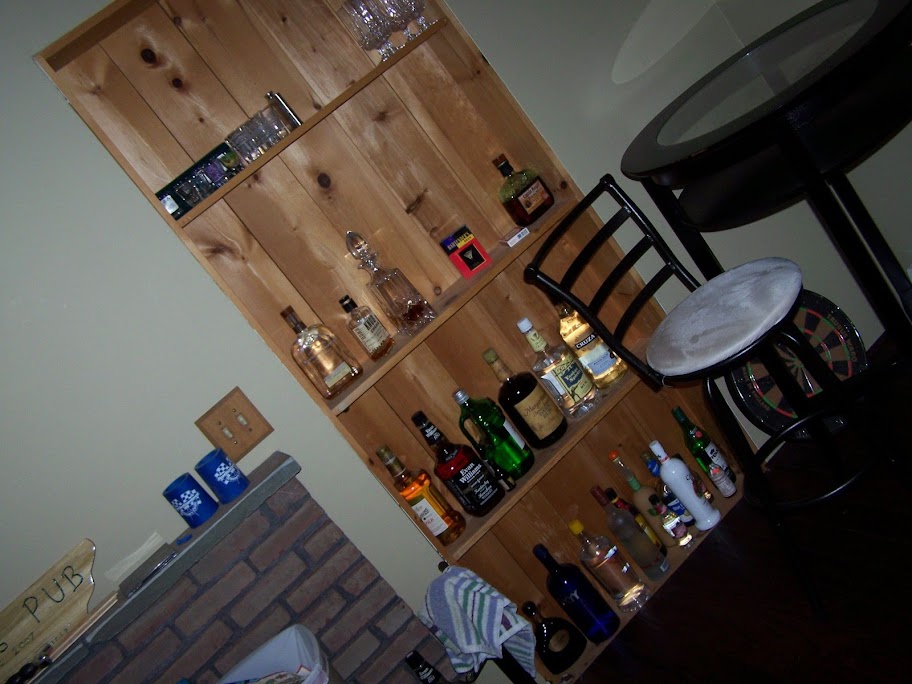
had about 15 people over last night to "break in" the new bar i built. total damage was about 30 beers of multiple varieties, half a handle of gin, half a handle of bourbon, and a touch of many other things.

Image

i "went shopping" friday night
Image


and today, i decided to go back and do a little more work on the car... which progressed into about 6 or so hours.

heh.

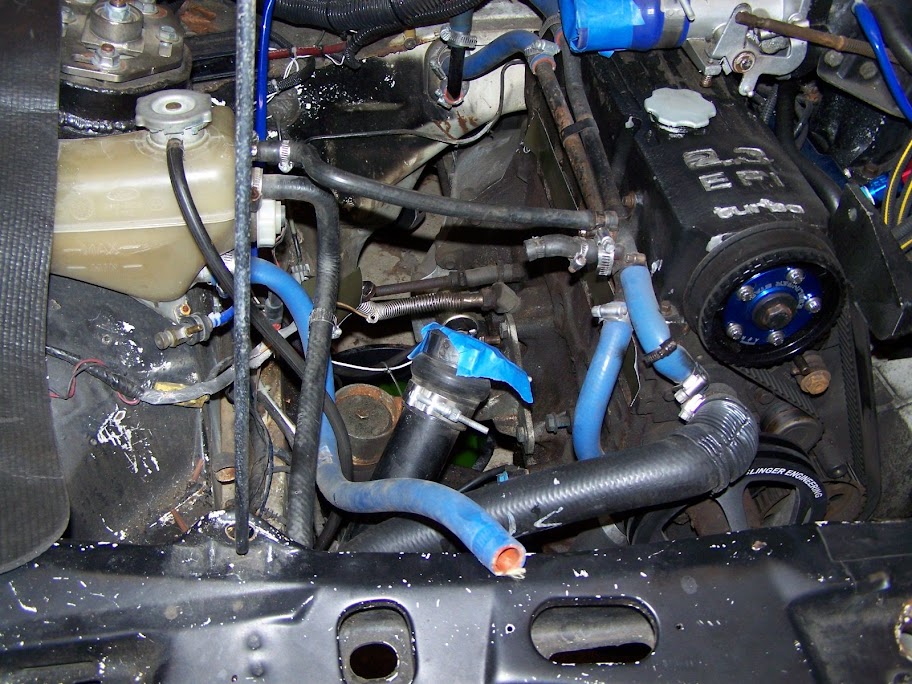
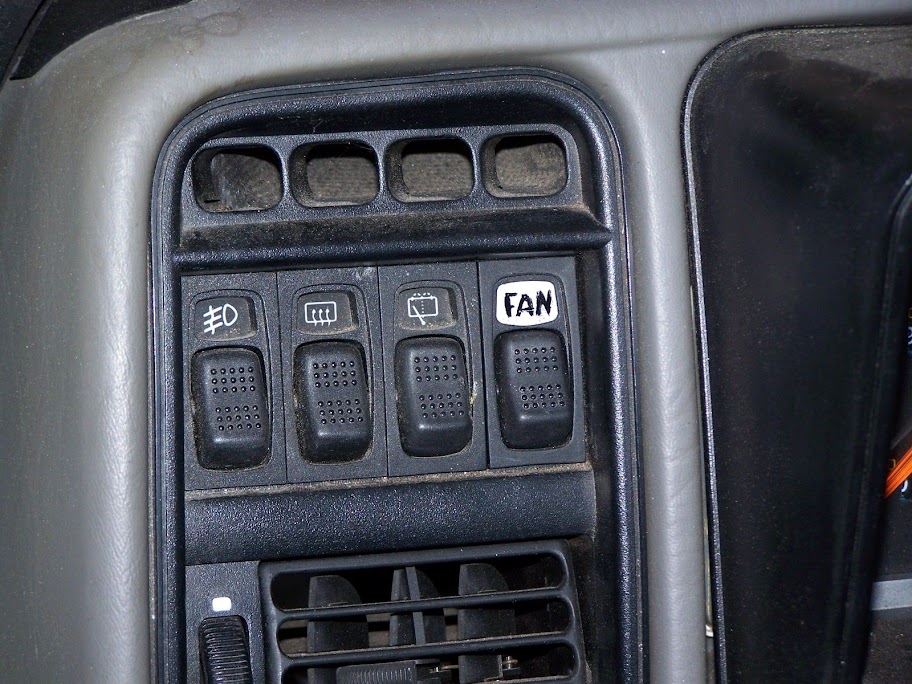
so yesterday joe (hEaT) came by while i was still taping foam board and i mentioned i wanted to pull the heater core. He had never done one so why not start on a car with 1. no carpet and 2. not much in the way already. so he pulled that out for me (thanks joe) and we got to work on figuring out what to do. i decided to not put the lower dash back in as it saves a few more pounds, but i needed a solution for my fan switch as i used the "ac" switch to turn my fans on. joe had a good idea: use the heated seat switch. so we did. checked both with a meter and one showed 1.1 ohms while closed - the other 0.2 ohms. we used the 0.2
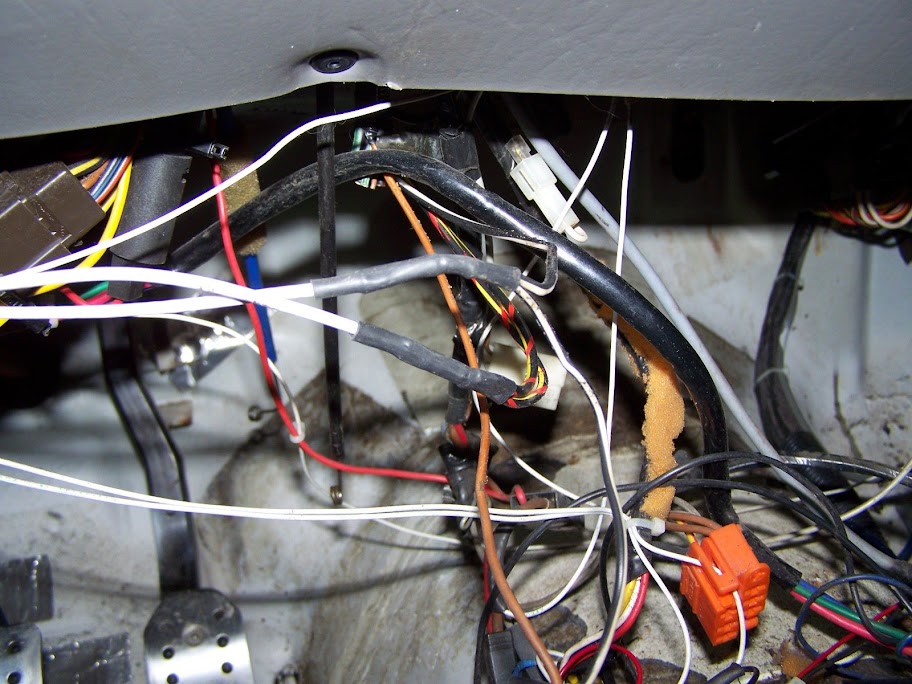
exactoknife off the black, and get some touch up paint and meter some wires and run a ground to the switch - now the green light illuminates and the switch illuminates when the fan is on. the fan is also now wired using the factory connector (aftermarket fan) - all wires were fully sheathed in heat shrink although i didn't get a pic of that. wiring is still my number one passion for 'car stuff' and i tend to take forever making sure everything is just so. obviously below, is "during" so the wiring (oem mess) will be cleaned up.

below - pics. who reads text anymore anyway?

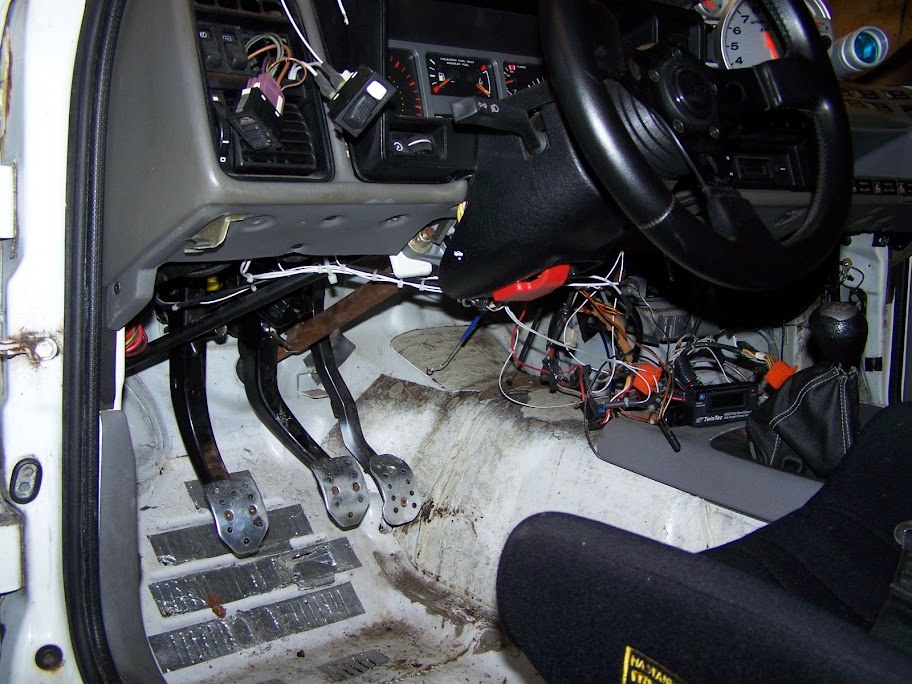
heater core removed. lower dash removed.
Image

Image

"new" fan switch wired.
Image

Image

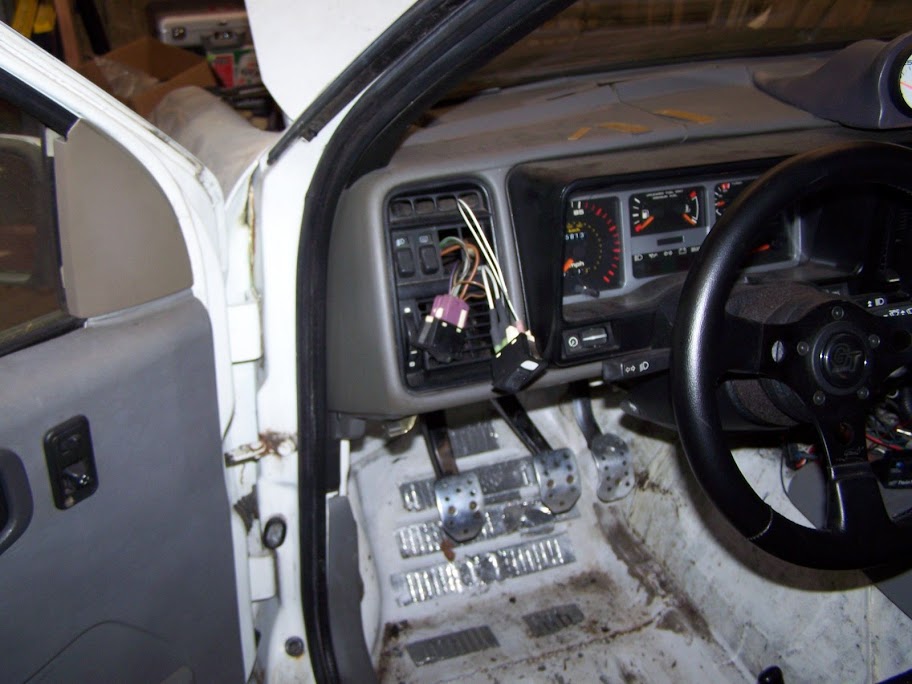
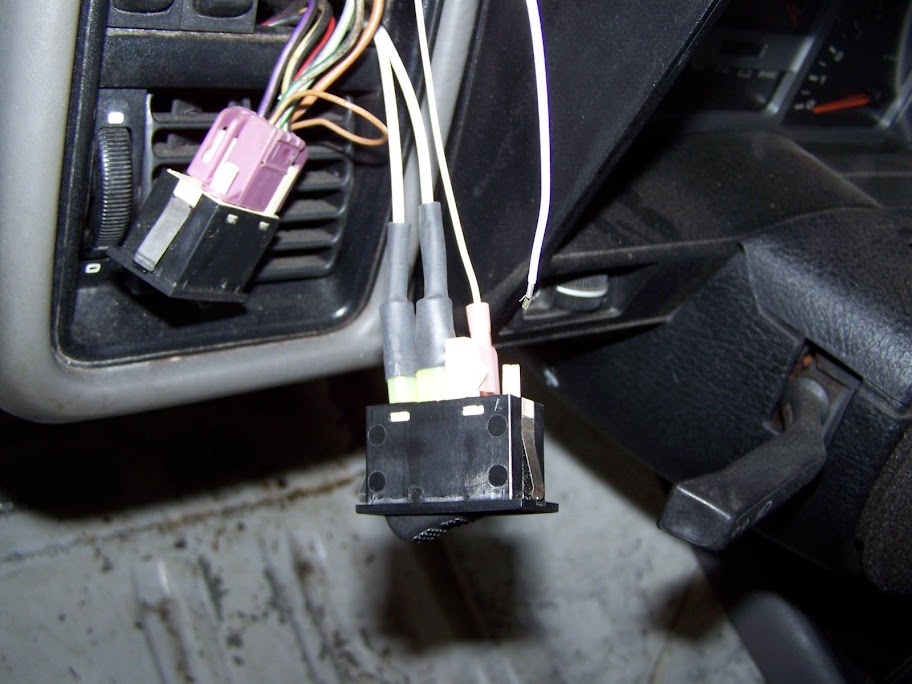
from the back of the factory HVAC switch - yes i cut the harness. i also trimmed out wires i dont need (fan speed selector, etc)
Image

looks like hell but i swear, using a toothpick to paint frickin' sucks. i'll razor edge it better when it's not 30 degrees out (although now the shop is heated so it was about 50 in there - i just didn't want to spend too much time on that today. heh.)
Image

no flash, and therefore blurry, but shows the switch is illuminated. (just need to ground the ground pin for this to work)
Image

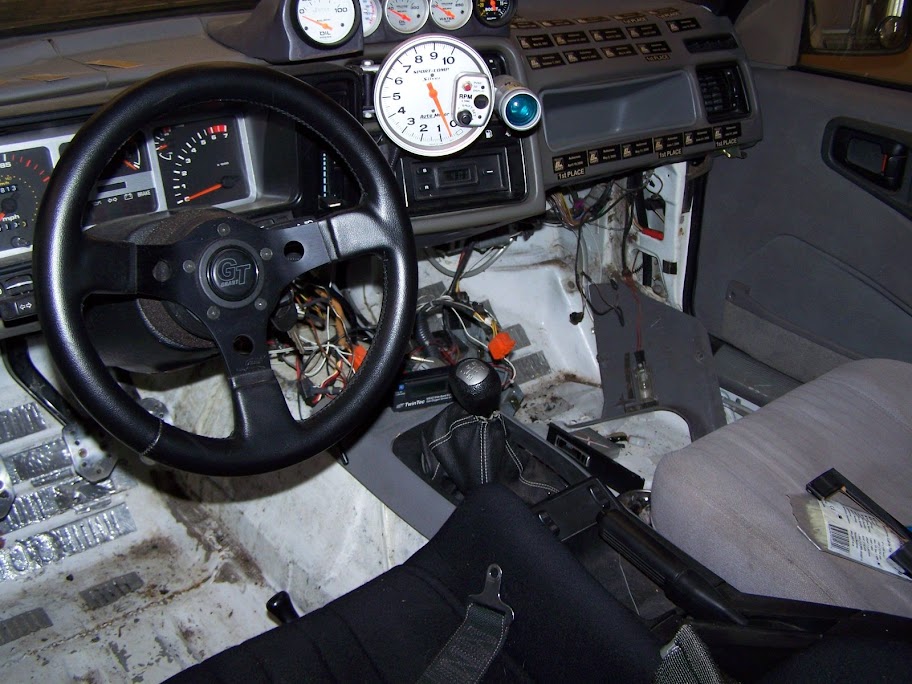
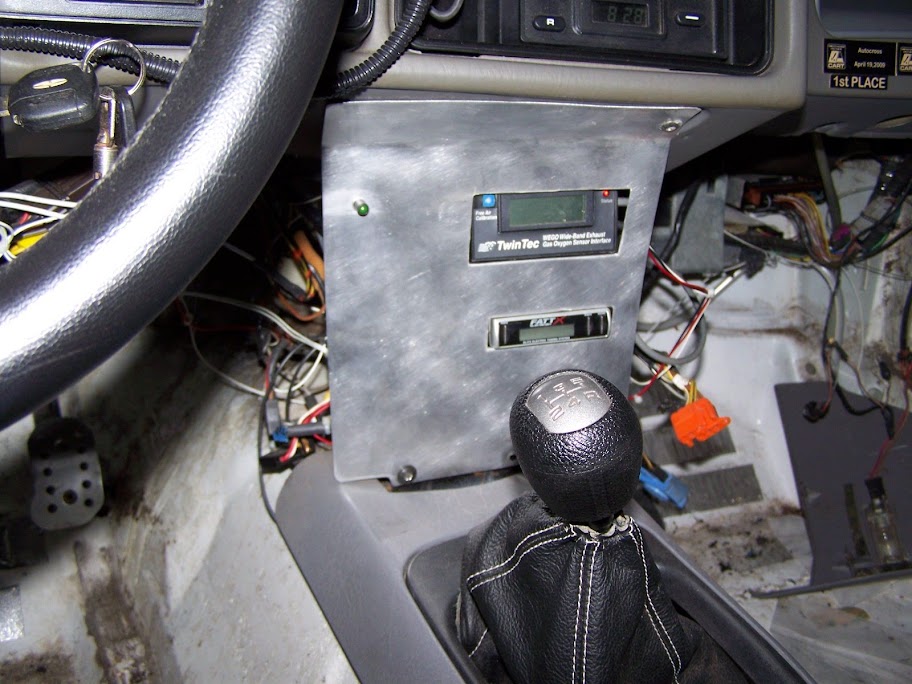
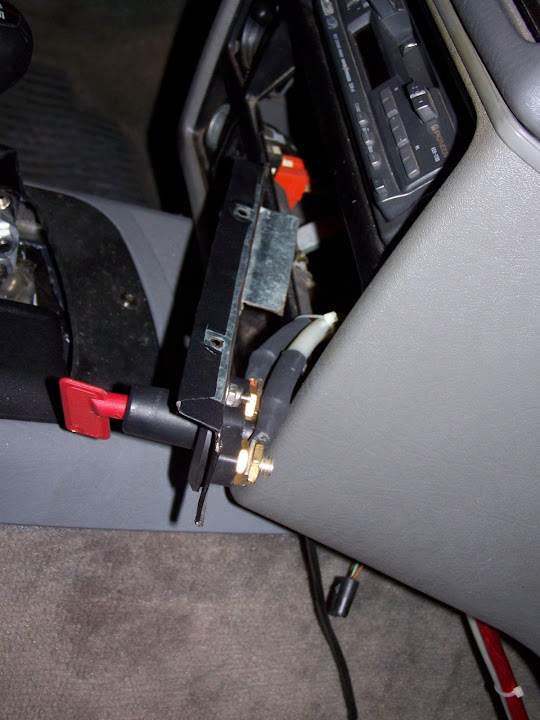
figured i'd need something to mount my wideband, turbo timer, and green fan light. also, wanted to place the not yet purchased but on the list battery kill switch. quick trip to the hardware store for some 0.025" aluminum sheet and ...

Image

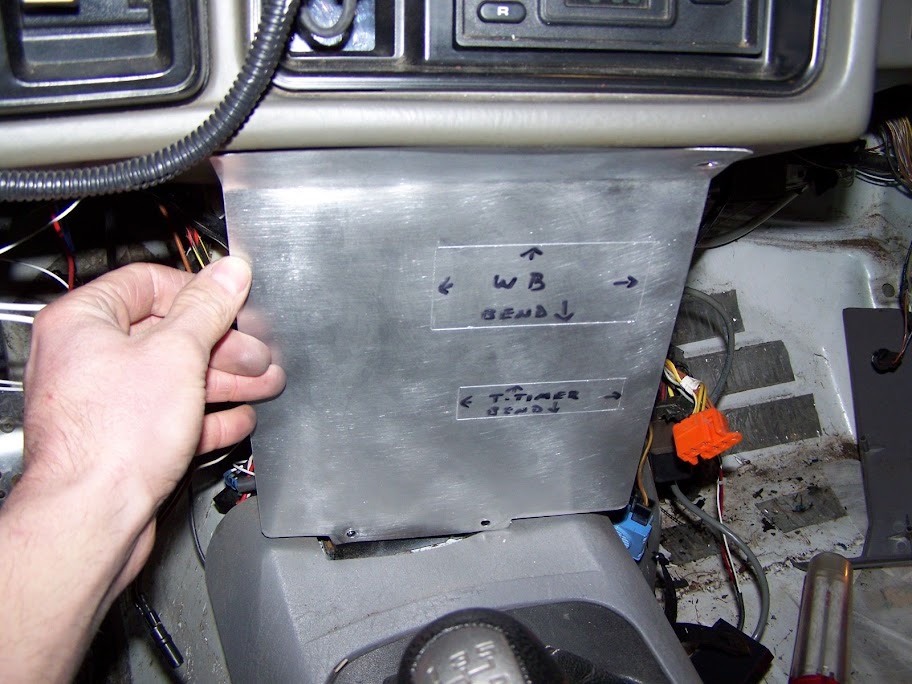
i used cardboard for mockup. took a bit longer to make this simple plate than i figured, but i like it.
Image

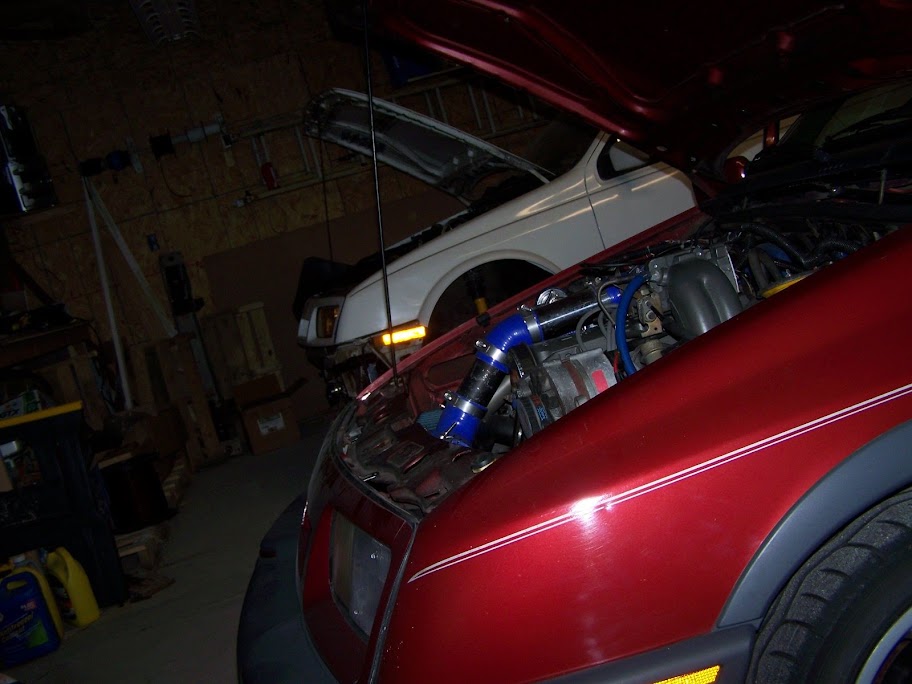
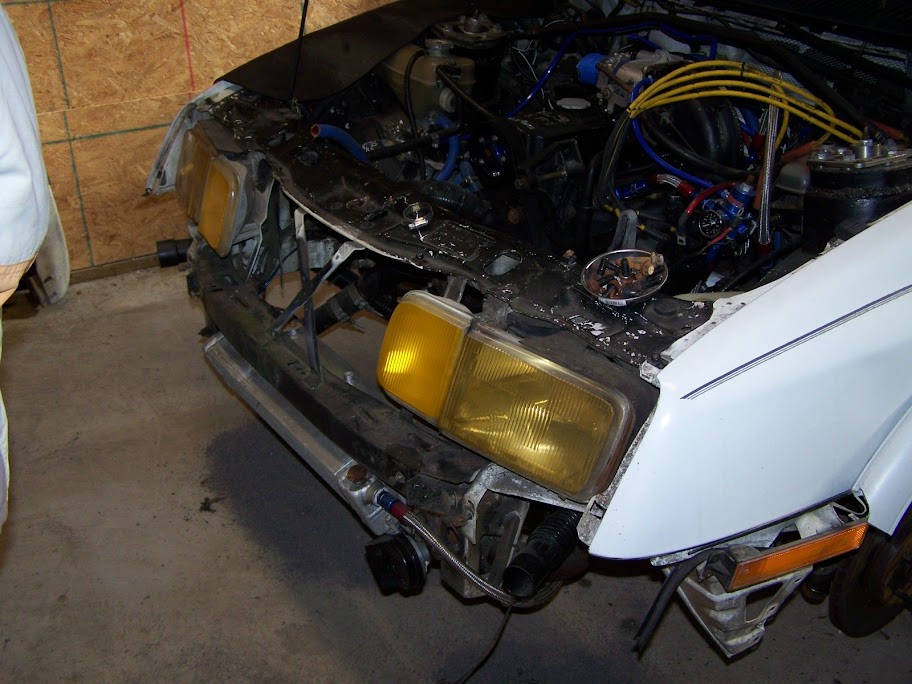
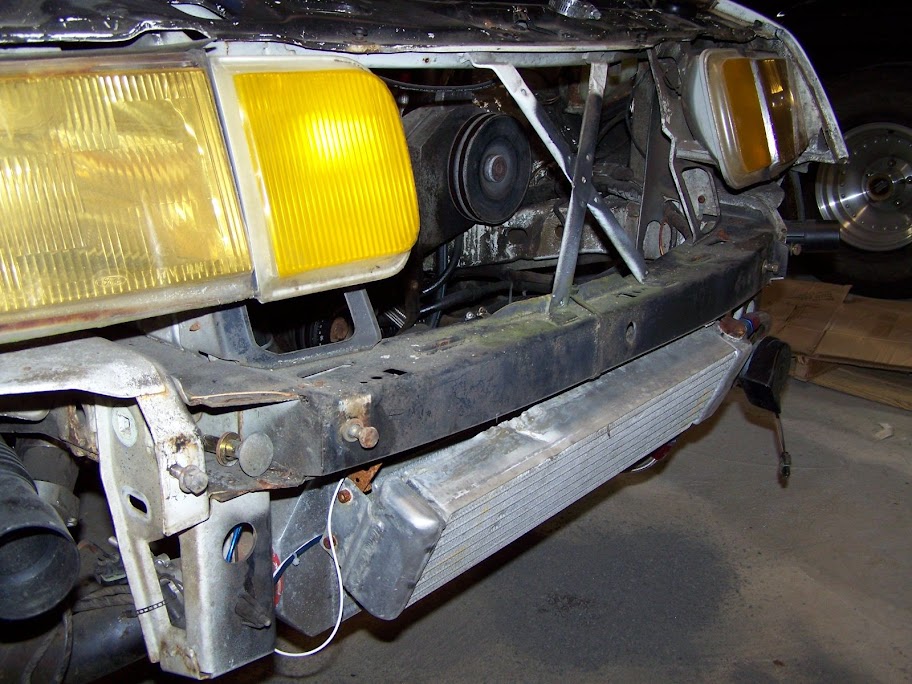
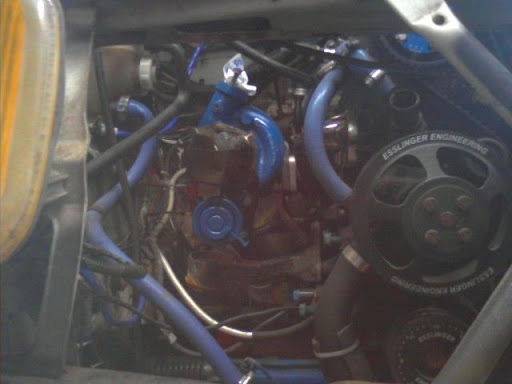
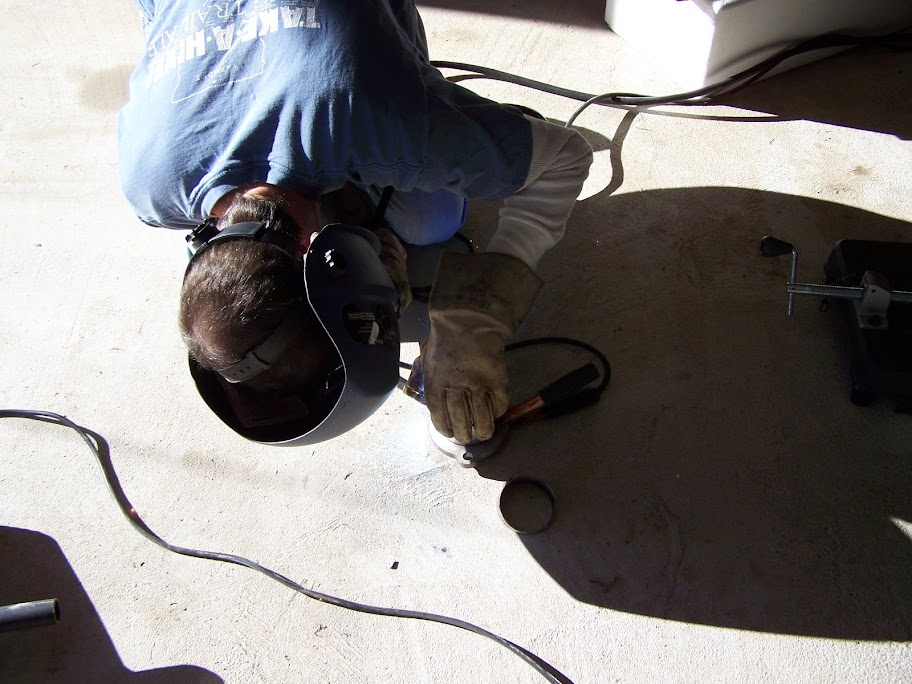
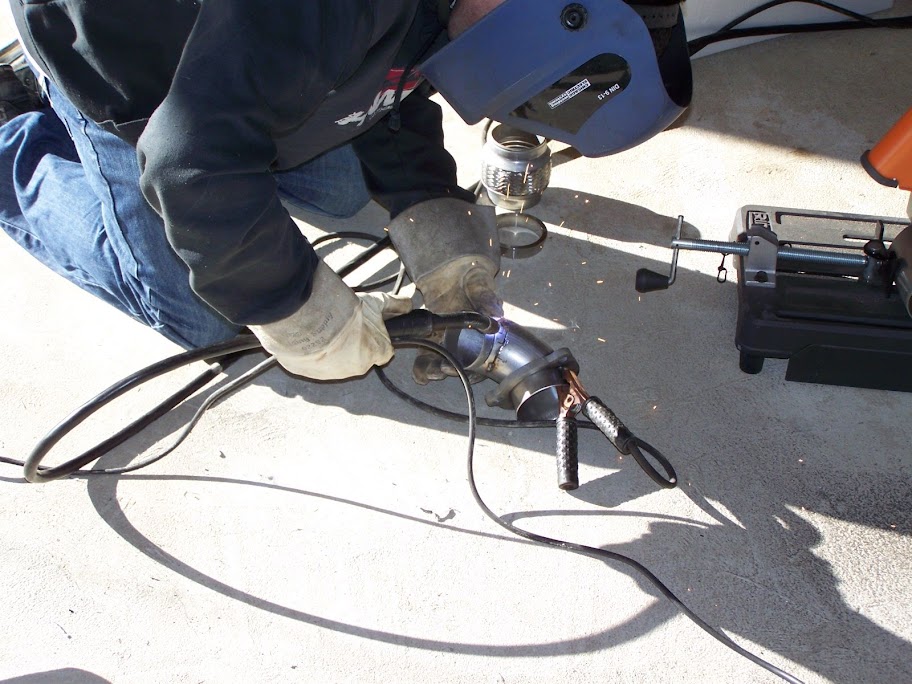
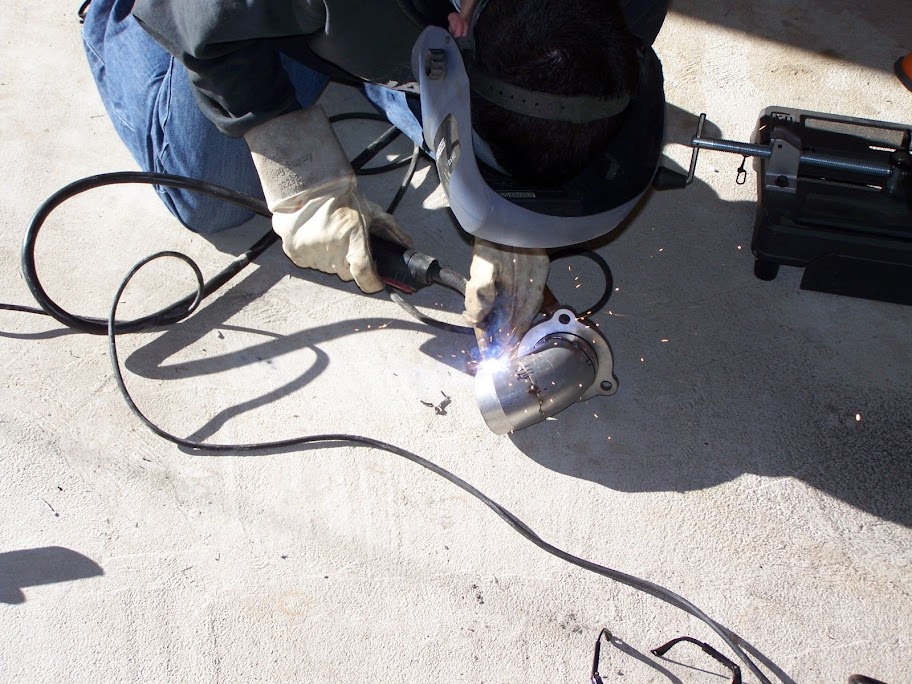
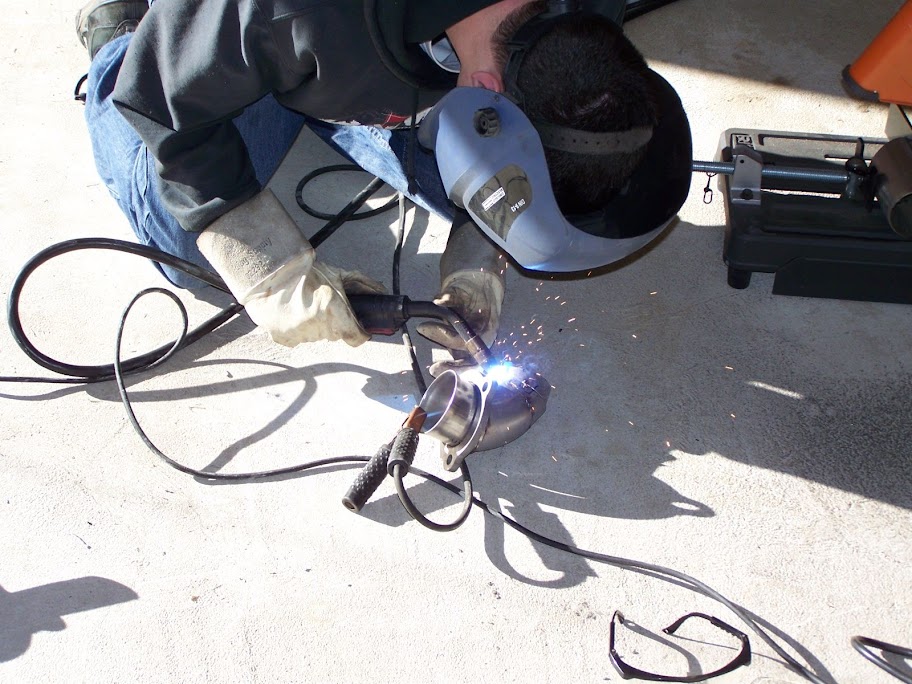
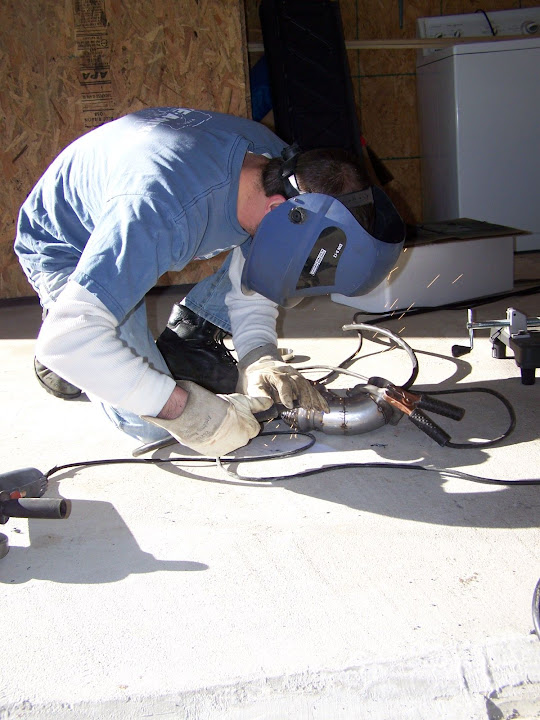
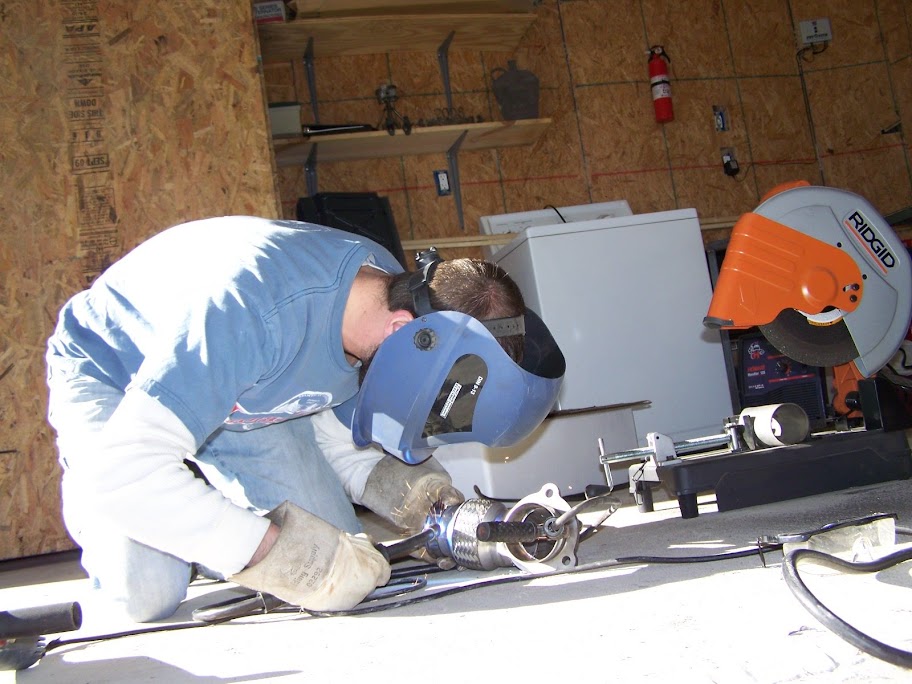
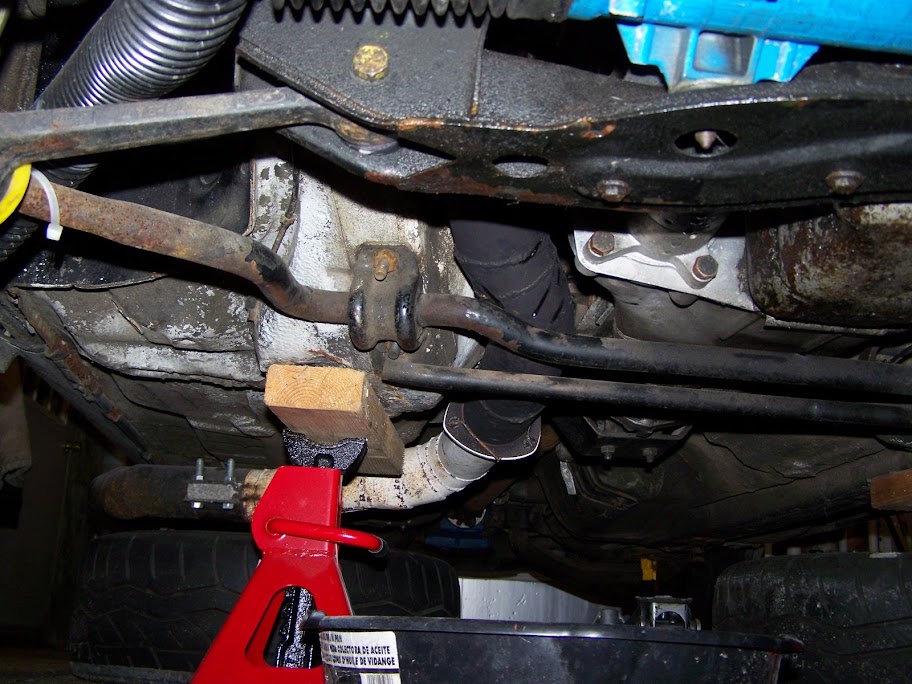
oil cooler now successfuly mounted above radiator with some thin flat stock that is reinforced welded where needed (painted semi-flat black)
Image

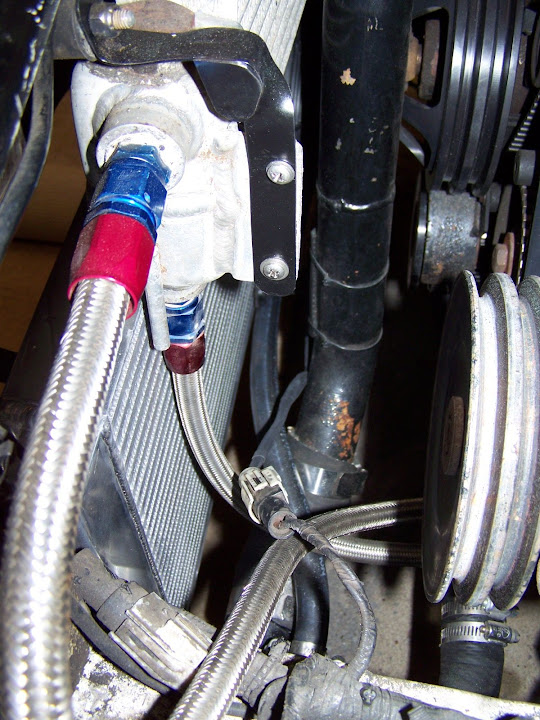
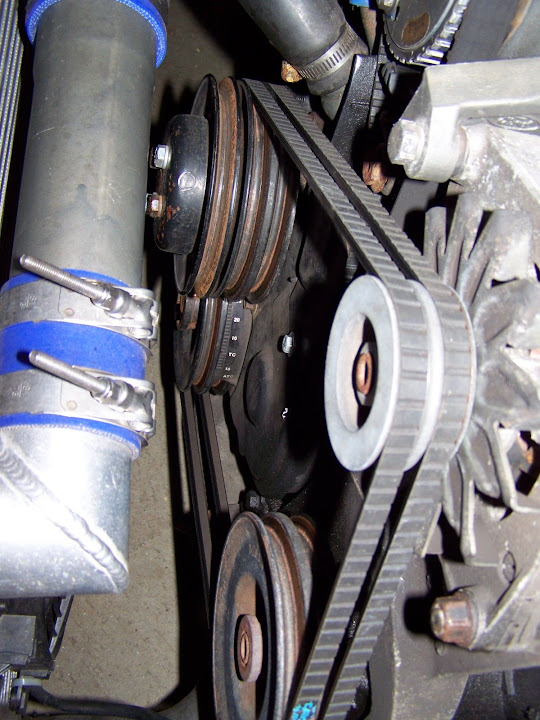
new fan - the oil cooler sits back from the radiator so the lines clear...
Image

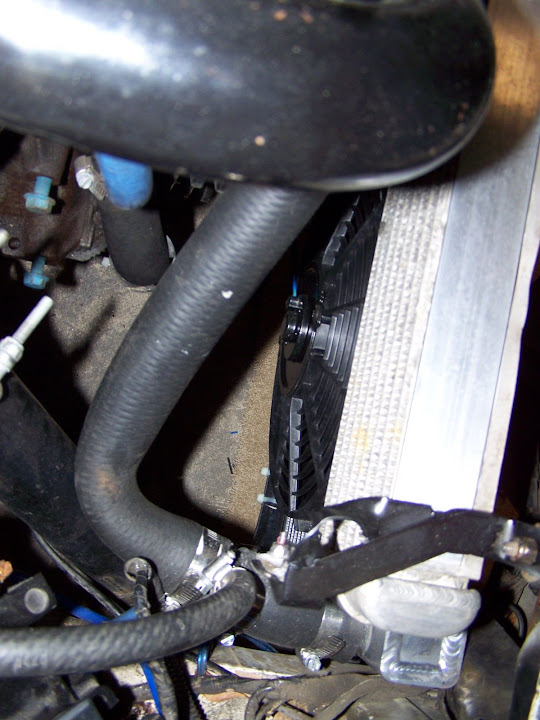
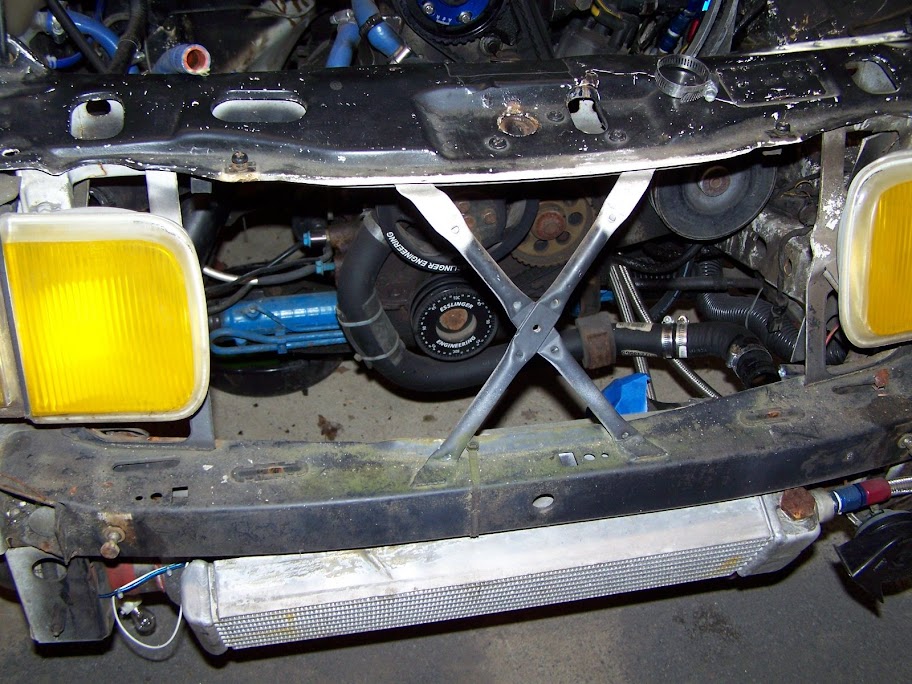
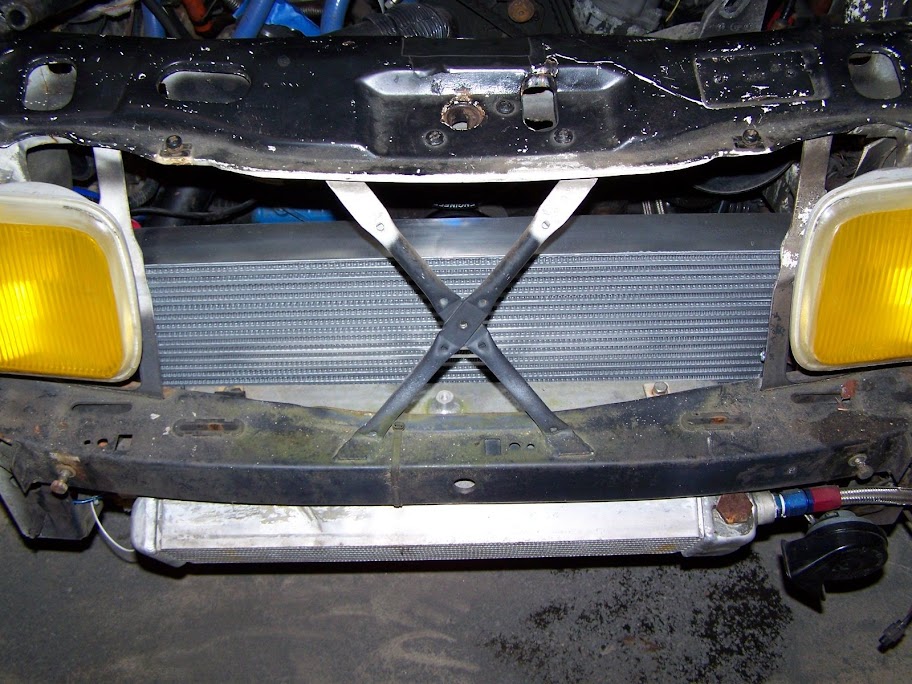
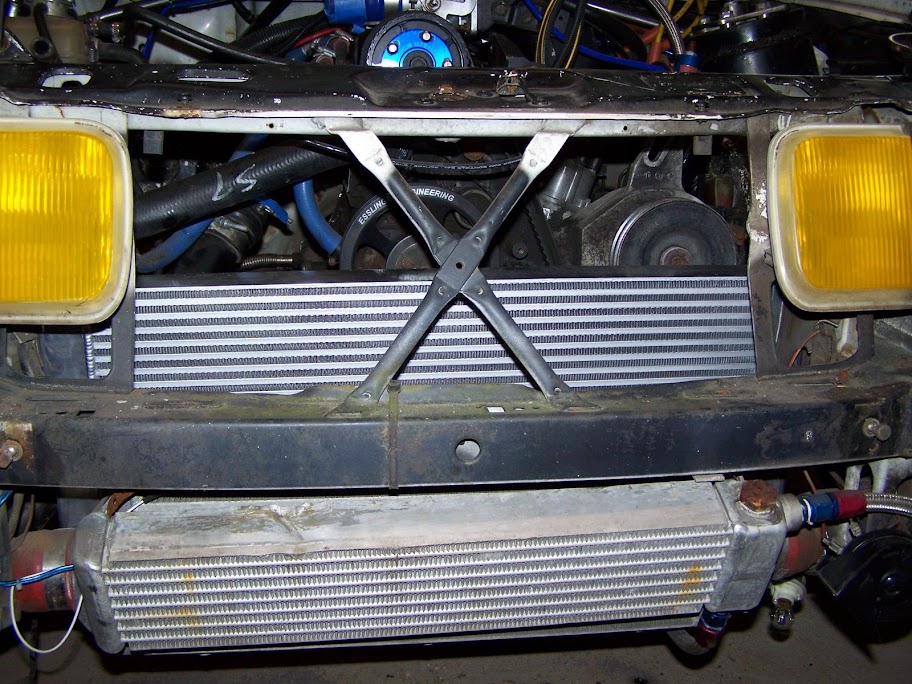
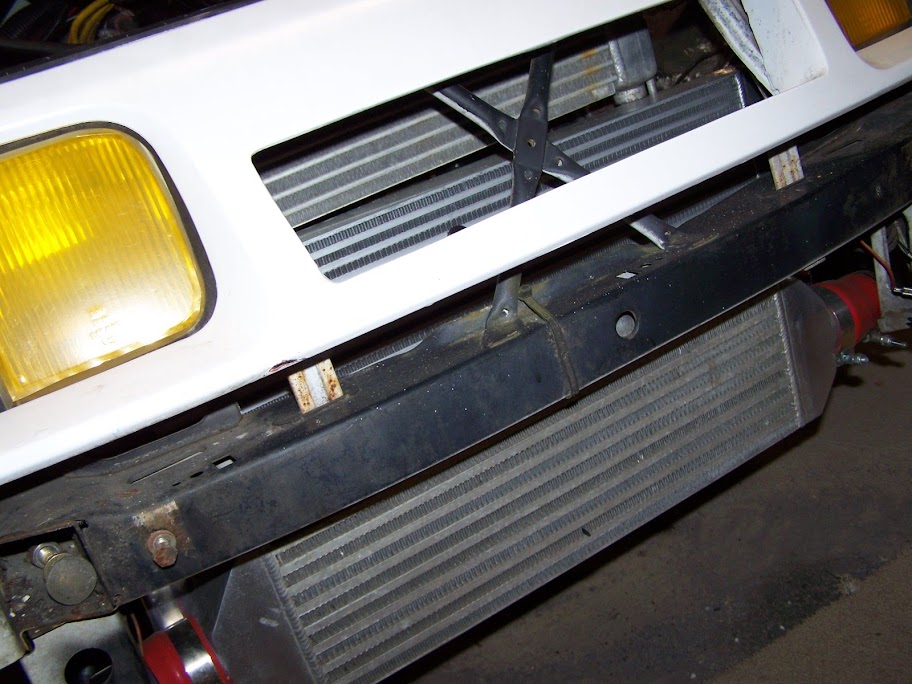
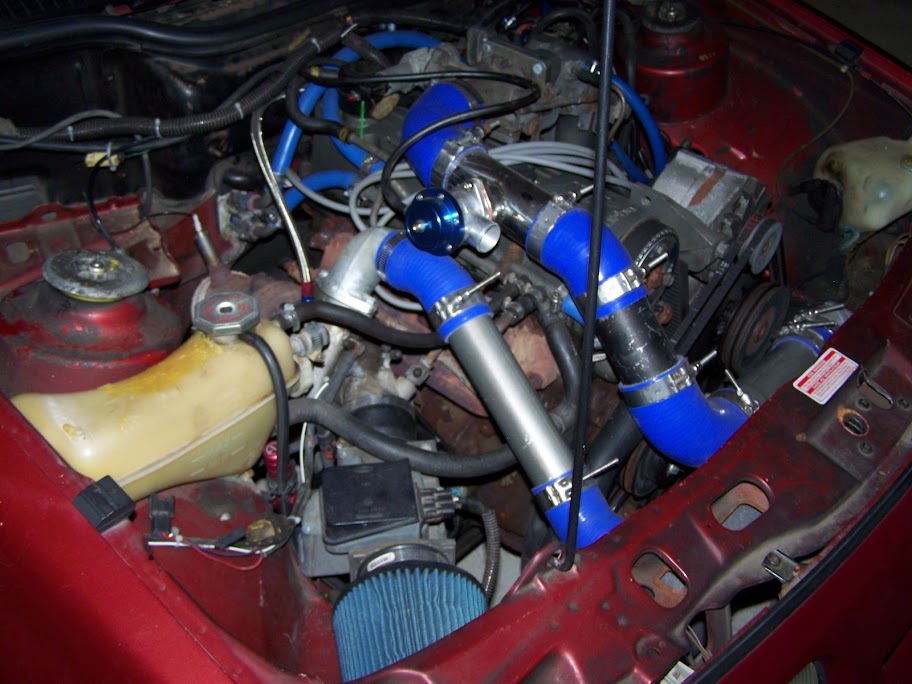
intercooler, oil cooler, radiator. grill mocked up to make sure everything will get good flow.
Image

sam's (smoke3006) old car, the blood monkey, now is owned by a friend of mine who is a great autoXr, and will be competing in my class this year. so, it's time to get that car ready too. yes, i'm helping my competitor make his car faster. and yes, i'm actually going to be hopefully helping the mustang guy with his car in my shop as well. we're all CP - why not? we're all friends.

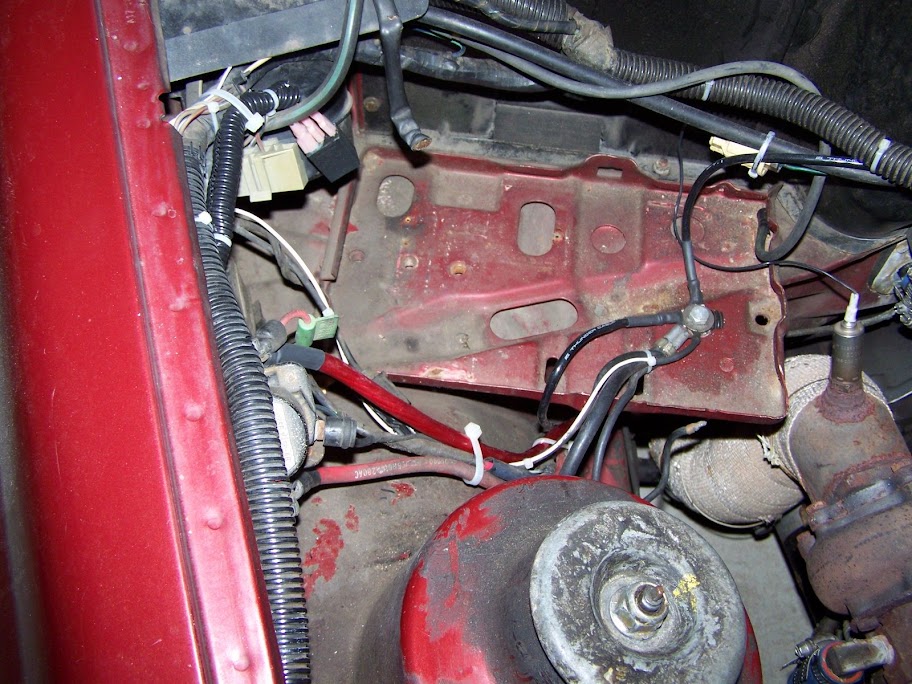
Okay, so the battery in this car is in the hatch. there was a kill switch and breaker installed. i didn't like where things were, as the kill switch was by the battery, and the breaker was under the hood. being a car audio guy, i need the breaker or fuse within 12" of the battery to protect the wire as the switch wont, and the switch should be easily accessible inside the car for obvious reasons. so, trim out some wire, move some stuff, use the old plate from my car that mounted the turbo timer, and
Image

these were later secured under the dash
Image

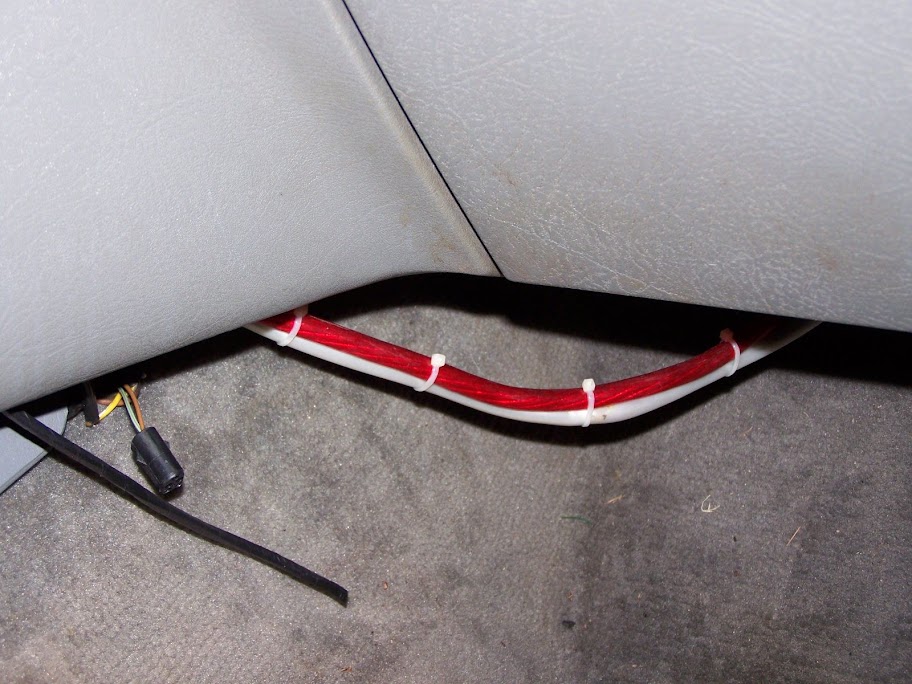
yes, it's grommeted.
Image

mmmm pretty
Image

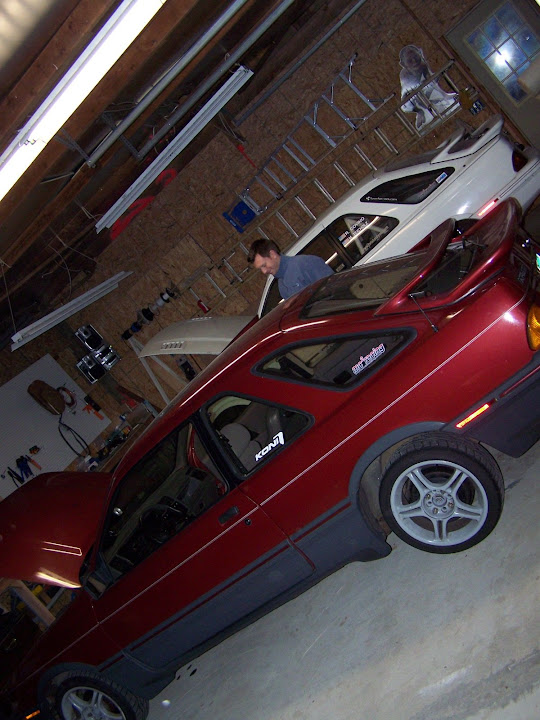
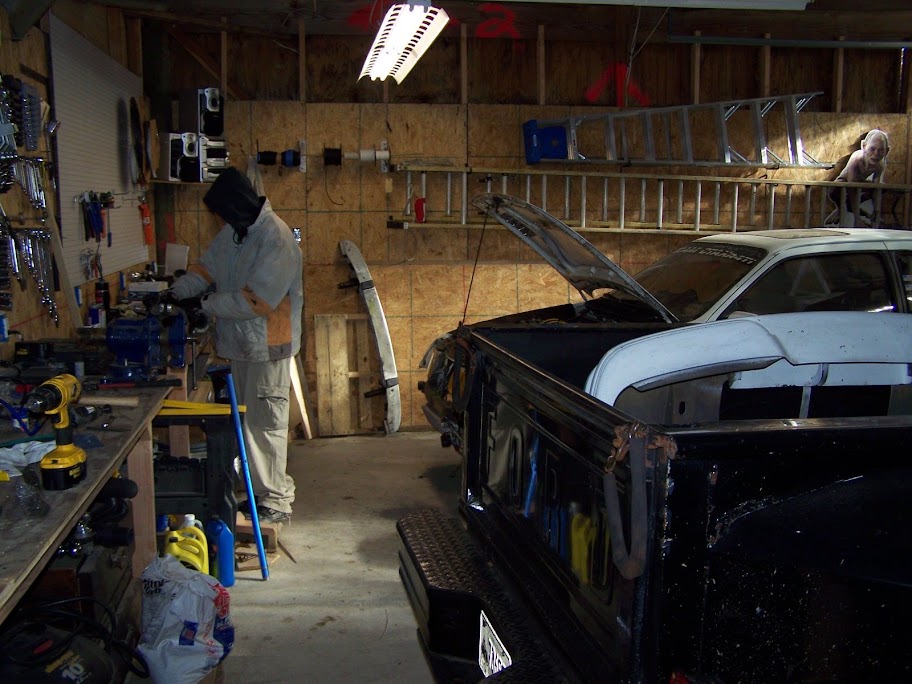
i like having more than one merkur in my shop.
Image

Image
-Ray
1985 Ford F150 - Tow Missile
1985 Merkur XR4Ti -#141 CP "Miss Daisy"
2005 Subaru LGT
http://www.cartct.com
steedafocusgirl
Level 2
Level 2
Posts: 148
Joined: Tue May 22, 2007 11:07 am
Location: Florida

Post by steedafocusgirl »

Hey Ray, What pedal covers are those? Kinda look like SVT ones (a little)
Kristin
#42-2001 Turbo Steeda Focus
1989 Merkur Xr4ti modded
1985 Merkur Xr4ti solid roof "comp shell" All stock and Beautiful
1989 Merkur Xr4ti hubbys Merk
I AM the TURBO PRINCESS

Image
User avatar
Ray
Level 7
Level 7
Posts: 4338
Joined: Sun Oct 24, 2004 10:40 am
Location: CT, USA

Post by Ray »

Kristin;

Those are actually aftermarket pedal covers for a focus that i got thru FJ back in 2002 or 2003. i forget the name, but i dont think they're made anymore.


I had to take some pictures for NST of the stock pulley configuration last night - luckily i had a car in the shop with the stock pullies. took a couple "finished" pics of the downpipe as well as i dont think i posted those. Also started installation of my battery kill switch, which is now mounted in the center console piece.

Image

under the frame rail

Image

under the car
Image

and if you're interested, stock pullies! (omg)
Image


oh, right. so the other day we had 2.5 inches of rain, on frozen ground. this is what happens when you do not have proper grade when you build a building. i spent a couple hours last night removing about 18 frickin' railroad ties stacked behind the shop, which had a tarp underneath them. this DIRECTED WATER to the shops back wall.

Here is how high the water got.
Image

I literally drilled thru the back corner of the floor, which has decent elevation (floor elev. about 15" above grade) to drain the water. Ask hEaT how much water came out. i sent him a video from my cell phone monday night.

So, with the "new" channel to direct water away from the building, i hope that's enough. I think i'm going to turn the diversion into more of a rock channel for looks, then do some trim behind that area and turn the 5' btwn the building and channel into a flower bed or something. I do have to bring in some geotextile fabric and some process for my trailer area. might hire that out tho.
-Ray
1985 Ford F150 - Tow Missile
1985 Merkur XR4Ti -#141 CP "Miss Daisy"
2005 Subaru LGT
http://www.cartct.com
BeefFajitas
Level 6
Level 6
Posts: 886
Joined: Mon Jan 12, 2004 2:15 pm
Location: MA

Post by BeefFajitas »

It's amazing what some people will do. We've had several "WTF were they thinking?" moments.
-Nate
'85 Merk. Back together. Only thing stock is the head and block.
User avatar
Ray
Level 7
Level 7
Posts: 4338
Joined: Sun Oct 24, 2004 10:40 am
Location: CT, USA

Post by Ray »

Yeah, tell me about it. Those suckers are heavy, too.

How is your car running?
-Ray
1985 Ford F150 - Tow Missile
1985 Merkur XR4Ti -#141 CP "Miss Daisy"
2005 Subaru LGT
http://www.cartct.com